EN - 5
English
A
A
1. Attach the alignment sticker to the ceilling/wall.
2. Through the two circles on the sticker, drill two pilot holes into the
ceilling/wall.
3. The Network Camera can be mounted with the cable routed
through the ceiling/wall or from the side. If you want to feed the
cable through the ceiling/wall, drill a cable hole A as shown in the
above picture.
4. Hammer the supplied plastic anchors into the holes.
5. Align the two holes on each side of the camera base with the two
plastic anchors on the ceilling/wall, insert the supplied screws to
corresponding holes and secure them with a screwdriver.
Wall Mount
Ceiling Mount
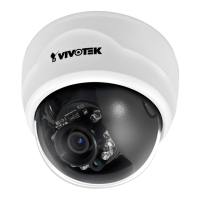
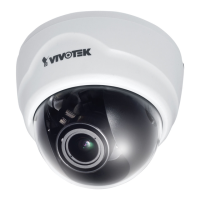
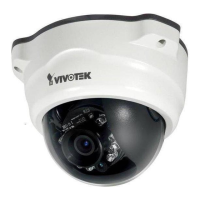
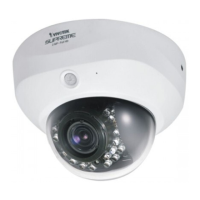
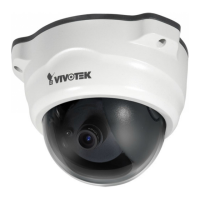
With idiot-proof mechanism design and very compact size, this Network Camera is very
easy for user to install in diverse indoor environment.
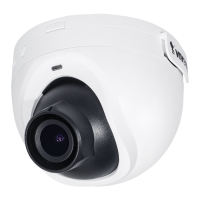
Tilt Adjustment Screw
Then remove the black cover as shown below.