VMAC – Vehicle Mounted Air Compressors
Toll Free: 1-800-738-8622 Local: 1-250-740-3200
Fax: 1-250-740-3201
15
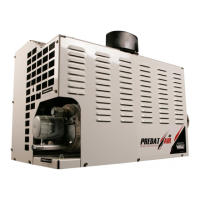
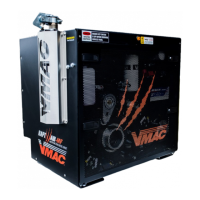
3.0 Installing the PREDATAIR60
3.1 Mounting the Compressor
1. Remove the unit from the packing. Make sure that the four
rubber isolator mounts remain fastened to the unit base.
2. Remove the two ORB plugs from the manifold on the side of the
compressor and install suitable ORB fittings to match your
connection requirements. The cold climate kit (A700146) can be
installed at this time.
Some hydraulic oil will run out when the fittings are
removed.
3. Remove the 3/4 inch NPT plug fitting from the tank and install a
suitable fitting to connect to the air delivery system.
4. Drill four 11/32 inch holes in the selected mounting location
spaced at 22 inches wide and 14 inches deep. Fasten the unit in
place using Loctite on the threads. A mounting bracket kit
(A700140) is available.
Do not mount the unit directly to the body without the
rubber insulators, as this will result in considerable
vibration and noise during operation.
5. Connect hydraulic and air hoses to the unit. Use a shut-off valve
if you have other hydraulic devices operating within the same
system.
Direction of hydraulic flow is critical. If reversed, high
pressure buildup may cause damage to the compressor
and a potential hose burst hazard.
3.2 Connecting the Wiring
There are three methods for connecting wiring:
• ground-actuating remote switch (Figure 11)
• power-actuating remote switch (Figure 12)
• direct-actuating switch (Figures 13 and 14)
The preferred method is to use a ground-actuating remote switch.
!