6 7
Ranging
With the Ranger 1000 powered up, activate Ranging by pressing and
releasing the Measure button—a crosshair will appear in the display.
Position the crosshair on the target object and press and release the
Measure button again to get the distance measurement. If the laser
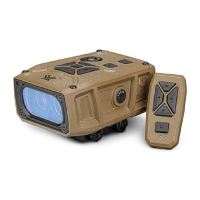
is not able to range due to the reflectivity of the target, you will see
a display similar to that shown here. To
range a new target, simply re-aim and
press the Measure button again.
Scan Ranging
With the Ranger powered up, activate Scan Ranging by pressing
and holding the Measure button down.
A blinking crosshair indicates Scan
Ranging is activated. By keeping the
button depressed, the Ranger will now
continuously measure distance as you pan
the crosshair back and forth across target
objects. Releasing Measure button will
return laser to the Power Up Condition.
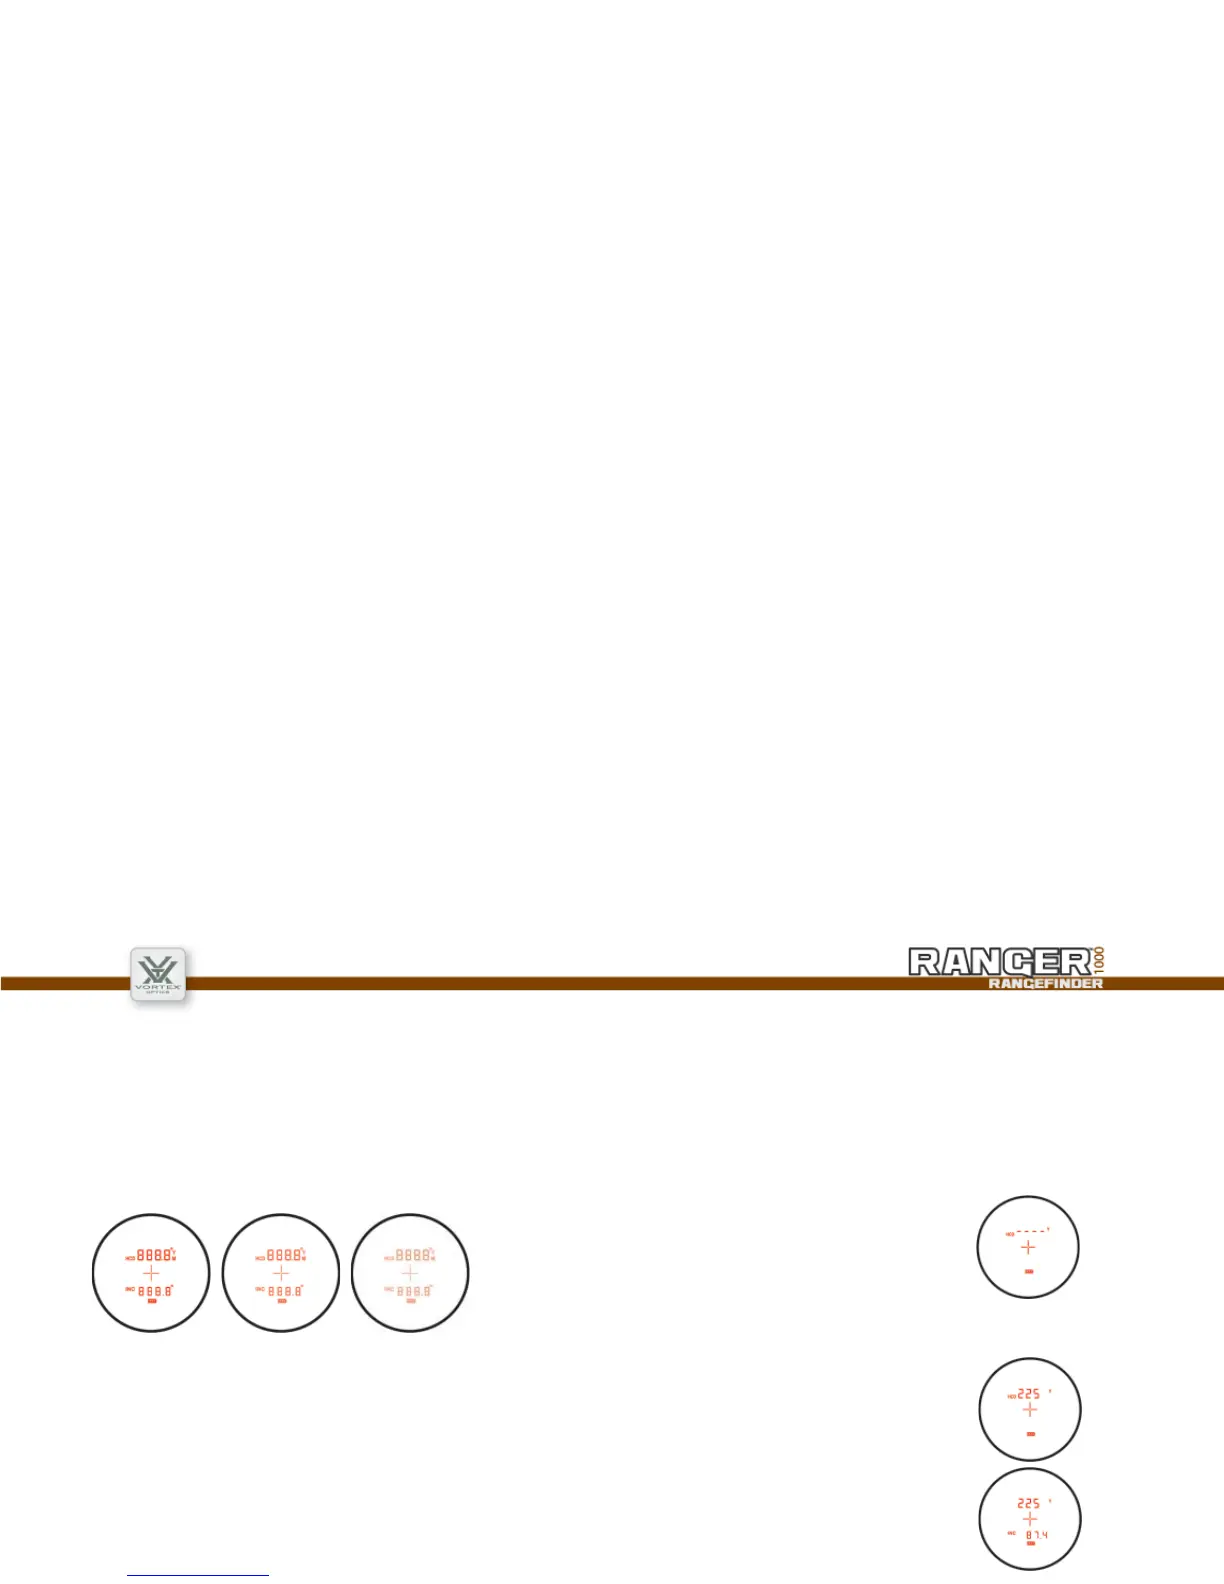
Step 3 — Choose the Brightness Setting
The Ranger 1000 provides three illumination settings. Press
the Measure button to toggle through the three Brightness
settings. Press the Menu button to save your desired setting
and move back to HCD/LOS selection screen.
Set and Save Mode Selections in 3 Steps
To exit Mode Selection and save settings, press and hold
the Menu button for four seconds. Settings will also save
when Ranger powers down automatically.
Choose Between One of Three Brightness Settings
No
Reflectivity
Displayed
HCD
D
ISPLAY
LOS
D
ISPLAY