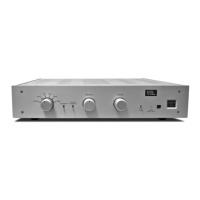
Powering your system on
After you have properly connected all your source and amplifier components to the
preamplifier you are ready to power your system on.
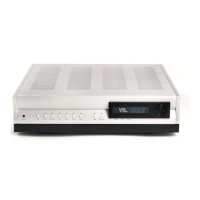
1. If you haven’t already done so, ensure that all the tubes inside the VTL
preamplifier are properly seated all the way into their sockets before connecting
the unit to an AC source.
2. Power on the source component(s) you intend to use for your listening session
3. From the preamplifier’s front panel Power On switch turn on the preamplifier.
Check to make sure that the Status LED indicates preamplifier warm up mode, as
indicated by the flashing Status LED. Check to ensure that the volume control is at
the minimum or desired level.
4. Once the preamplifier completes its warm up cycle the Status LED will stop
flashing to indicate that it has returned from the mute state into the operating state.
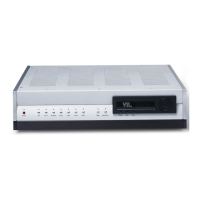
In case the Status LED do not behave as described above check to make sure that
the power cable is securely connected to the AC Power connector in the back
panel of the preamplifier, and that the power cable is plugged into the AC supply.
Contact your VTL dealer if the unit still will not power up after these checks have
been performed.
5. Adjust the Input Selector to the input source you would like to use. Make sure the
Tape Monitor and Surround Processor In switches are in default state (down
position) if you’re not utilizing these features.
6. Turn on the power amplifier(s) in your system.
7. Set the source component to play mode.
8. Turn up the volume control to the desired playing level. If the preamplifier is in
mute, (i.e. the Status LED is flashing), flip the mute switch again to reset the
system out of mute and into operating mode.
Using the Preamplifier with the Remote Control
1. Follow the power on sequence steps 1 to 4 as described in the previous section.
2. Refer to page 6 Fitting the Batteries to the Remote Control section for battery
installation instructions.
TL2.5 Preamplifier Owner’s Manual
VTL
9