5 Rotor Information
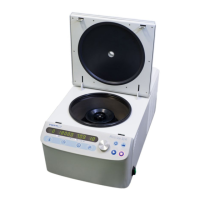
Rotor Installation
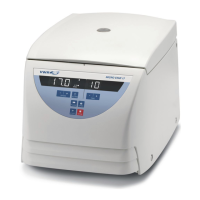
5-4 MICRO STAR 17 / 17R VWR
4. Thread the fastening tool into the centrifuge spindle clockwise. Hold the rotor with the other hand
into position.
5. Close the rotor.
The lid should audibly click into place.
6. Check if the rotor is properly installed by lifting it slightly on the handle.
7. Close the centrifuge door.
Operating the Rotor without Lid
If you plan to operate the rotor without the lid you must remove the seals.
CAUTION Do not force the rotor onto the centrifuge spindle.
If the rotor is very light, then it may be necessary to press it onto the centrifuge spindle
with a bit of pressure.
CAUTION If the lid will not lock or it locks only with difficulty, the seals must be
checkedfor proper fit and dirt. Clean the seals and lubricate the slightly. Check the lid
mechanism for dirt and proper functionality.
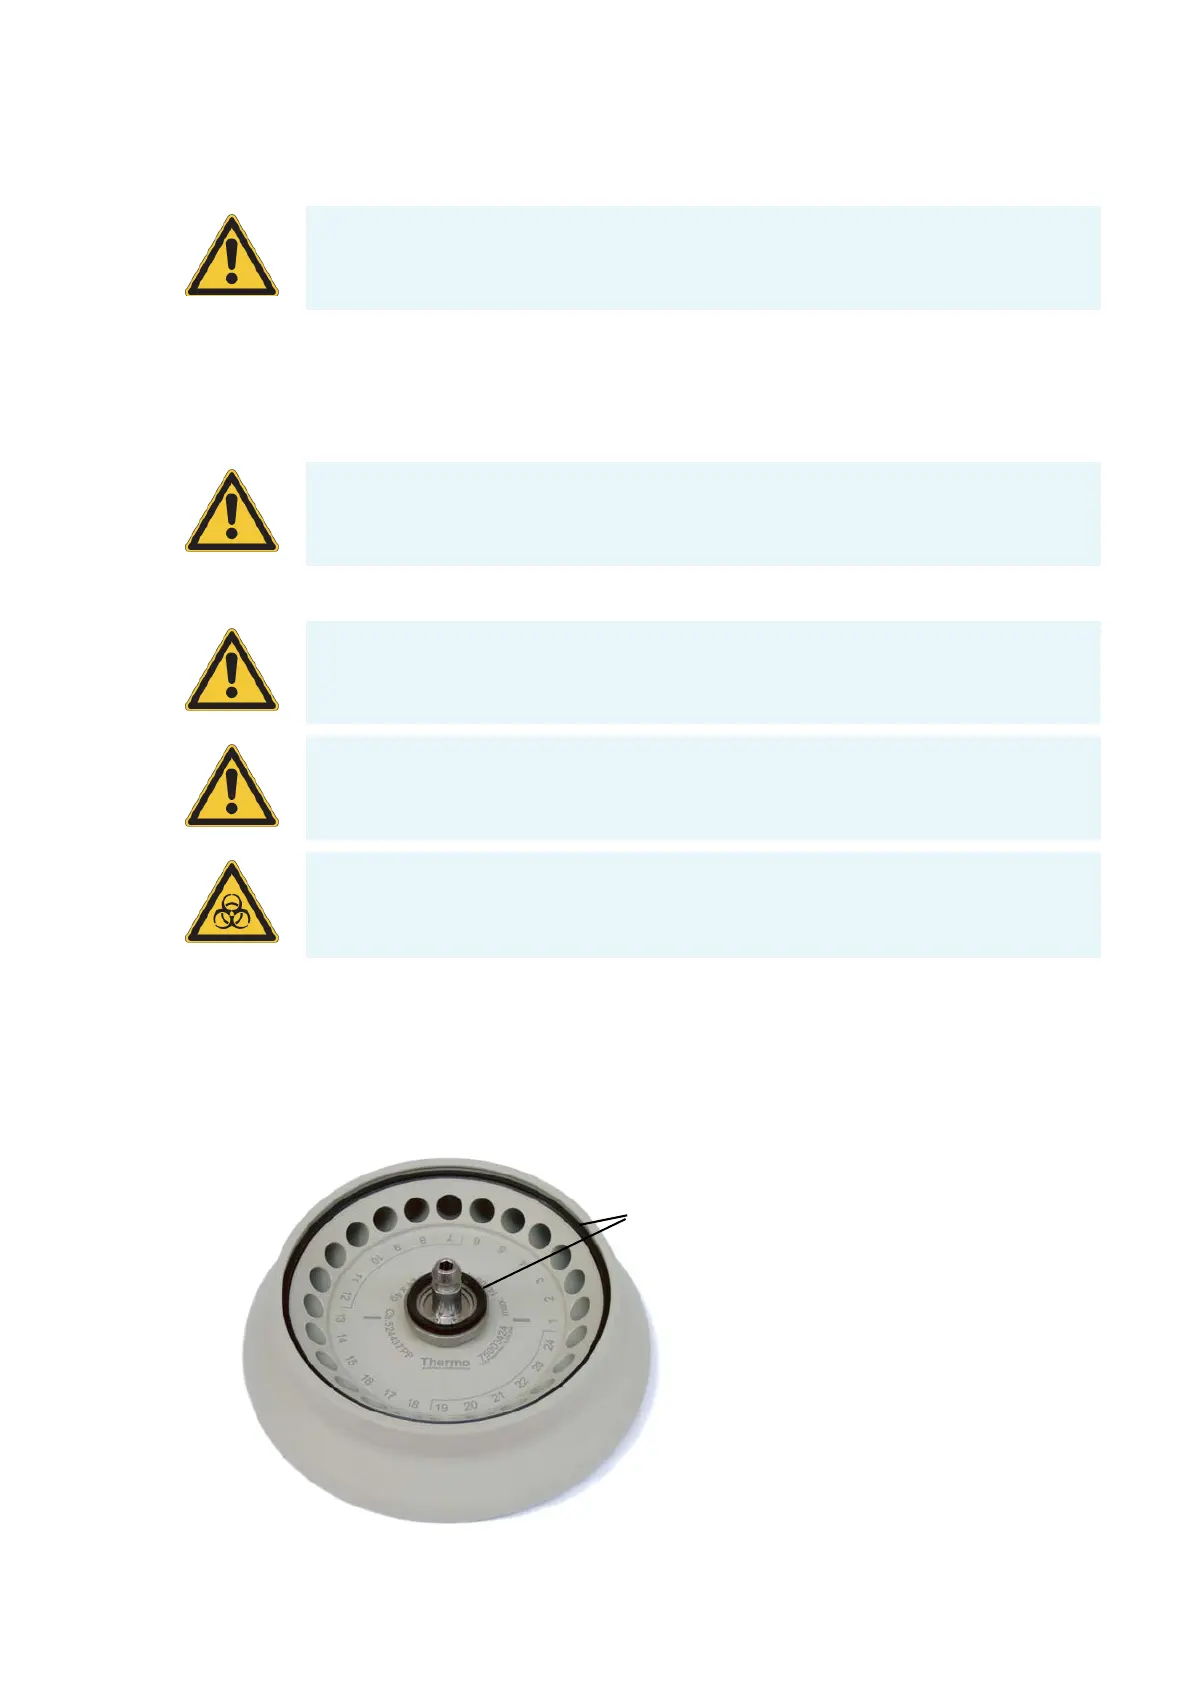
WARNING Check for any damage to the rotor: Damaged rotors must not be used.
Keep the centrifuge spindle area of the rotor clear of objects.
CAUTION Check that the rotor is properly locked on the centrifuge spindle before each
use by pulling it at its handle. Fasten the rotor.
Be sure to check all sealings before starting any aerosol-tight applications.
See the information in the rotor instruction manual.
 Loading...