4
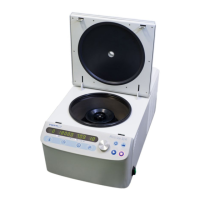
Introduction and description
Switch on centrifuge
4-2 VWR MICRO STAR 17 / 17R
Switch on centrifuge
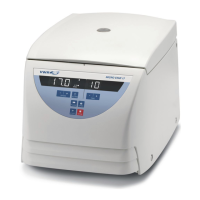
1. Switch on the centrifuge.
The centrifuge shows the actual value in the display. Speed and runtime show 0. The display shows
the current temperature of the sample.
Door opening
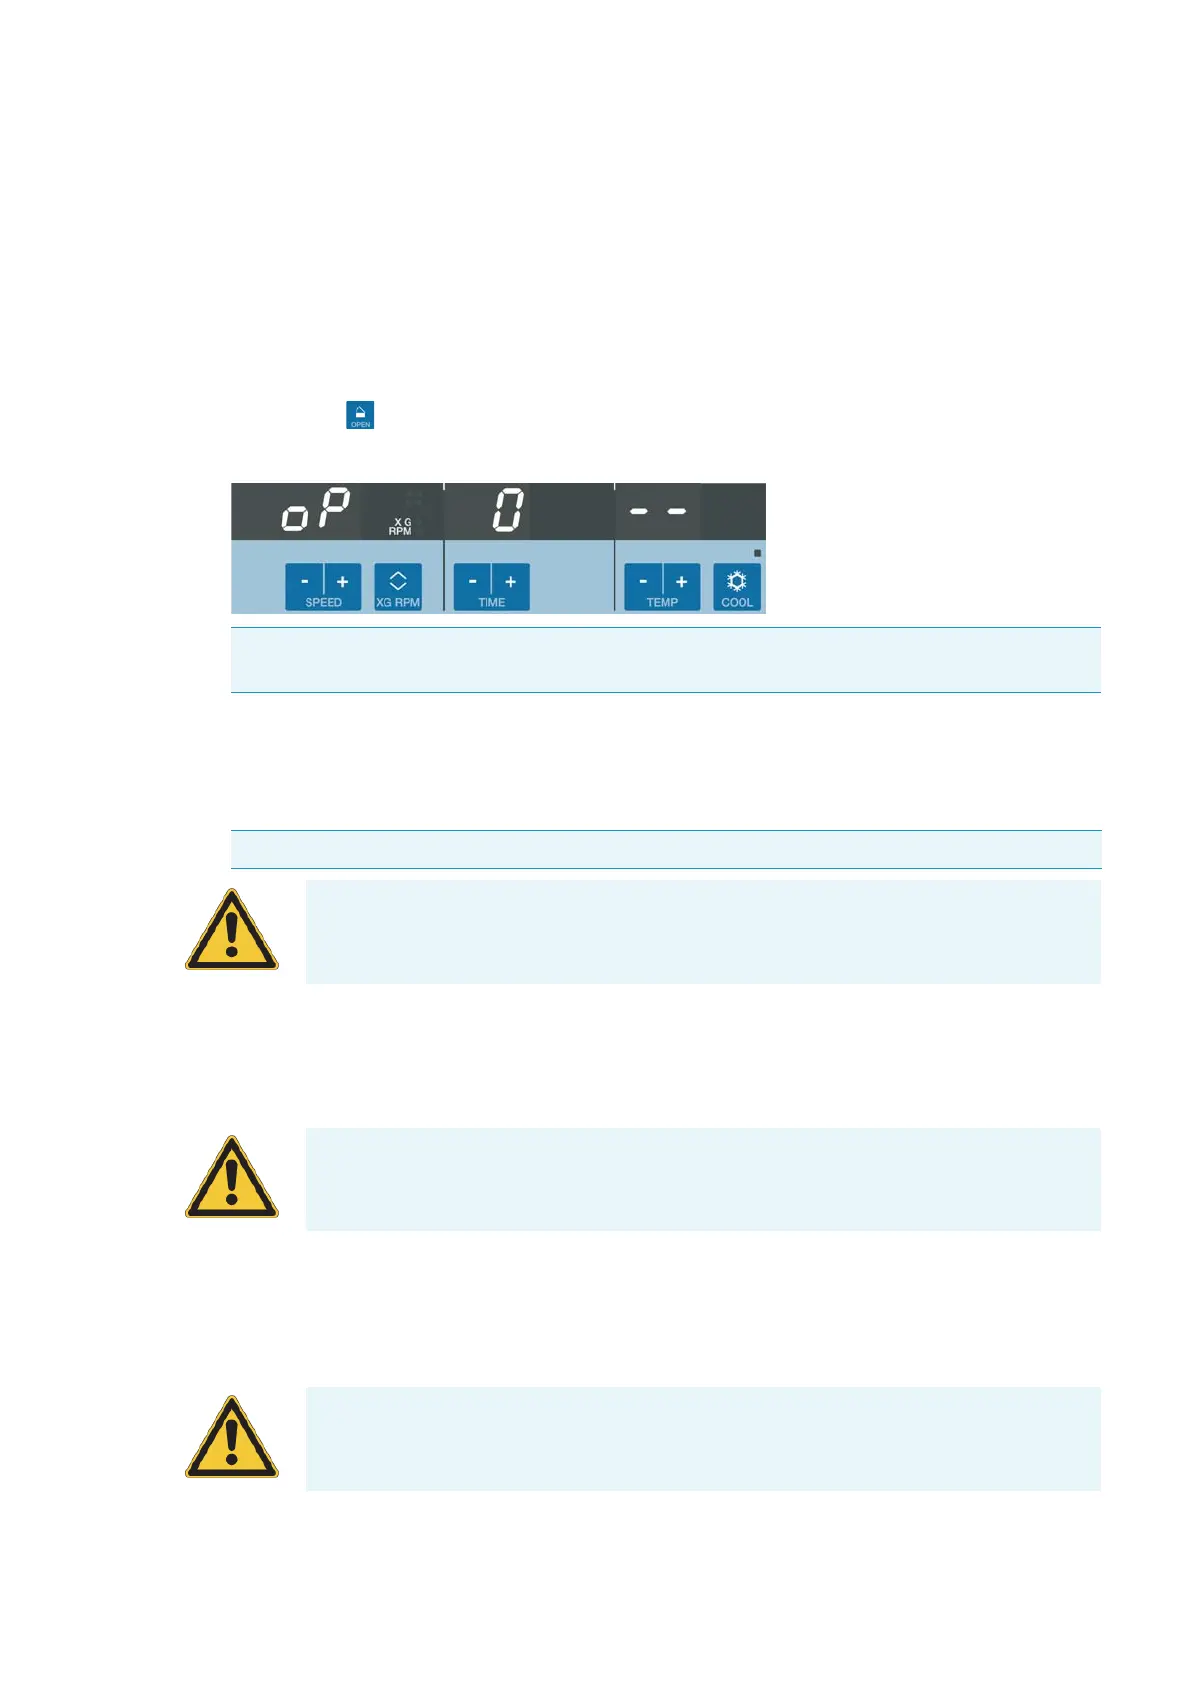
1. Press the key.
The display shows the following message:
Close door
1. Close the door by pressing down on it lightly in the middle or on both sides of it.
Rotor installation
Proceed as follows:
1. Open the lid of the centrifuge and if necessary remove any dust, foreign objects or residue from the
chamber.
Thread and o-ring must be clean and undamaged.
Note Use the emergency release only for malfunctions and power failures (see “Mechanical
emergency lid release” on page 7-2).
Note The door should audibly click into place.
CAUTION Do not slam the door.
CAUTION Unapproved or incorrectly combined accessories can cause serious damage to
the centrifuge.
CAUTION Do not install the rotor when the temperature difference between shaft and
rotor lock is >20 °C. Otherwise the rotor might jam during the installation. A jammed
rotor can lead to damages of centrifuge and rotor.
 Loading...