4
Introduction and description
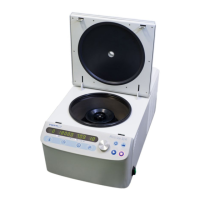
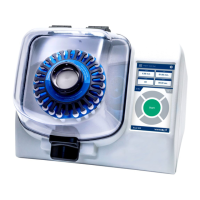
Rotor installation
VWR MICRO STAR 17 / 17R 4-3
2. Hold the rotor over the centrifuge spindle. The two bars in the labeling on the upper side of the
rotor (a) must be above the retaining pin (b) of the centrifuge spindle.
3. Let the rotor slide slowly down the centrifuge spindle.
4. Thread the fastening tool into the centrifuge spindle clockwise. Hold the rotor with the other hand
into position.
5. Close the rotor.
6. Check if the rotor is properly installed by lifting it slightly on the handle.
a
b
CAUTION Do not force the rotor onto the centrifuge spindle.
If the rotor is very light, then it may be necessary to press it onto the centrifuge spindle
with a bit of pressure.
WARNING Check for any damage to the rotor: Damaged rotors must not be used.
Keep the centrifuge spindle area of the rotor clear of objects.
CAUTION Check that the rotor is properly locked on the centrifuge spindle before each
use by pulling it at its handle. Fasten the rotor if necessary.
 Loading...