12
EN
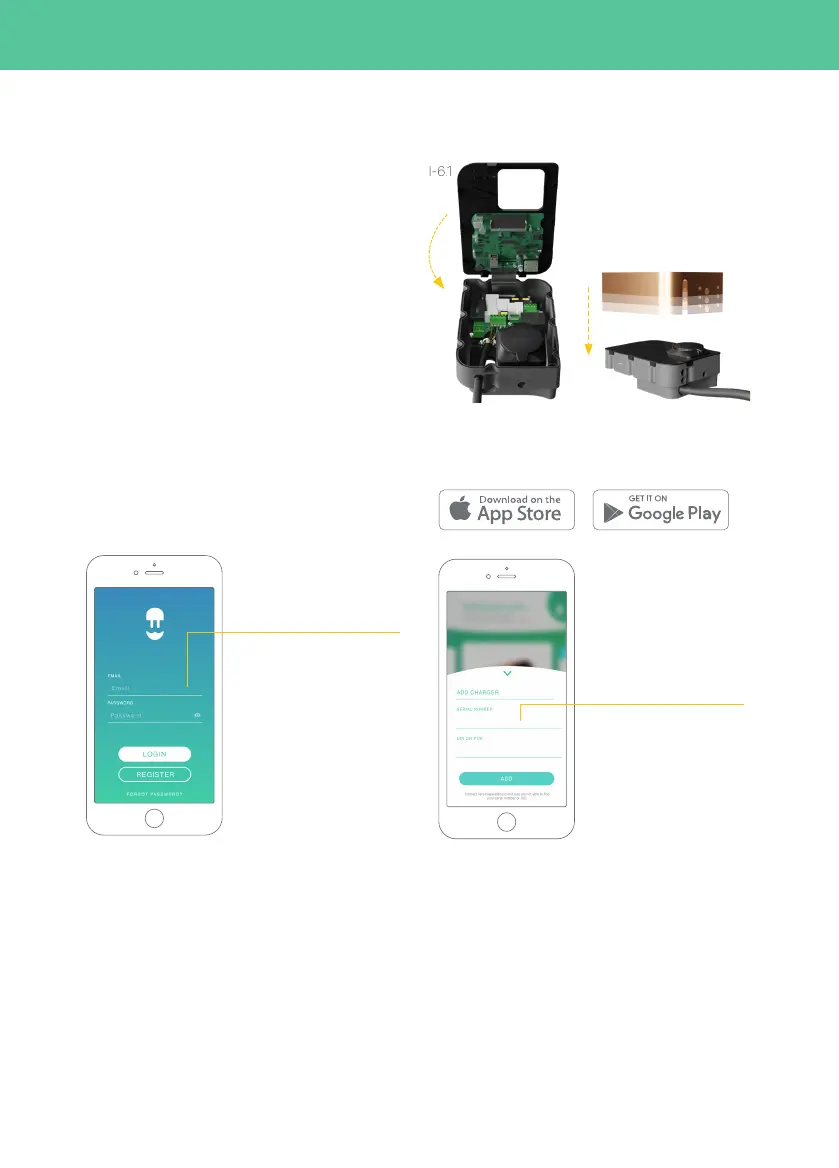
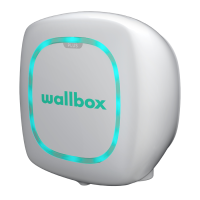
5. Closure of the device (I-6.1, I-6.2)
Step 5.1: Reconnect the ribbon cable to the cover.
Step 5.2: Close the front cover, taking special care
with the fitting and ensuring that the O-ring remains
in place. Then tighten the nine screws.
Step 5.3: Secure the frame by tightening the Torx
screws.
I-6.1
I-6.2
Step 6.3: Add your
charger by clicking on the
“+” button on the main
page, introduce the SN
and UID of your charger.
Step 6.2: Log-in using your
account.
At this point the Copper is registered in myWallbox.
To further configure the network as IT follow the
next steps:
Step 6.4: Enter Wallbox App and select your
charger from the charger list.
6.
Configuring IT network
Step 6.1: Download the Wallbox App available from
Android Play Store or Apple App Store.