18
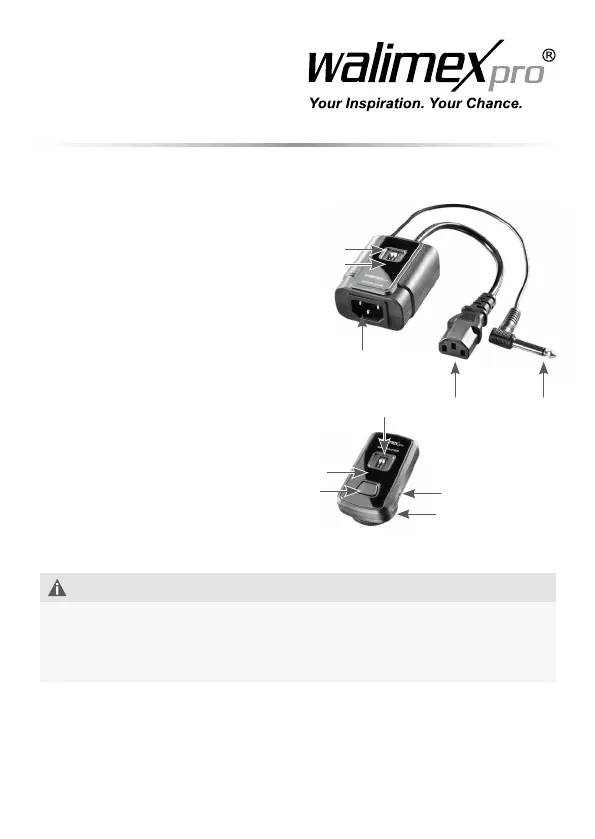
4. Overview about the parts
1 AC output plug
2 AC input socket
3 Trigger plug
4 Levers for channel
selection receiver
5 Signal reception LED
indicator (BLUE)
6 Signal reception LED
indicator (RED)
7 Flash mount
8 Connecting socket for sync cord
9 Transmitter signal LED indicator
10 Test button
11 Levers for channel selection
transmitter
5. Quick-start guide
ADVICE
The detailed instruction for the following operations can be found in the
respective chapters in this instruction manual.
Keep the sequences of the following operation steps when using the device
forthersttimetoavoiddamagesonthedevice.
1. Connectthereceiverwiththestudioashandpowersupply.
2. Adjust the frequency.
3. Mount the transmitter on the camera.
Trigger the test button.
4
7
8
5/6
1
11
3
2
9
10