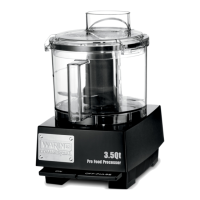
8
(batch bowl assembly continued)
Note: Do not put any food in the bowl before placing the accessory disc onto the shaft.
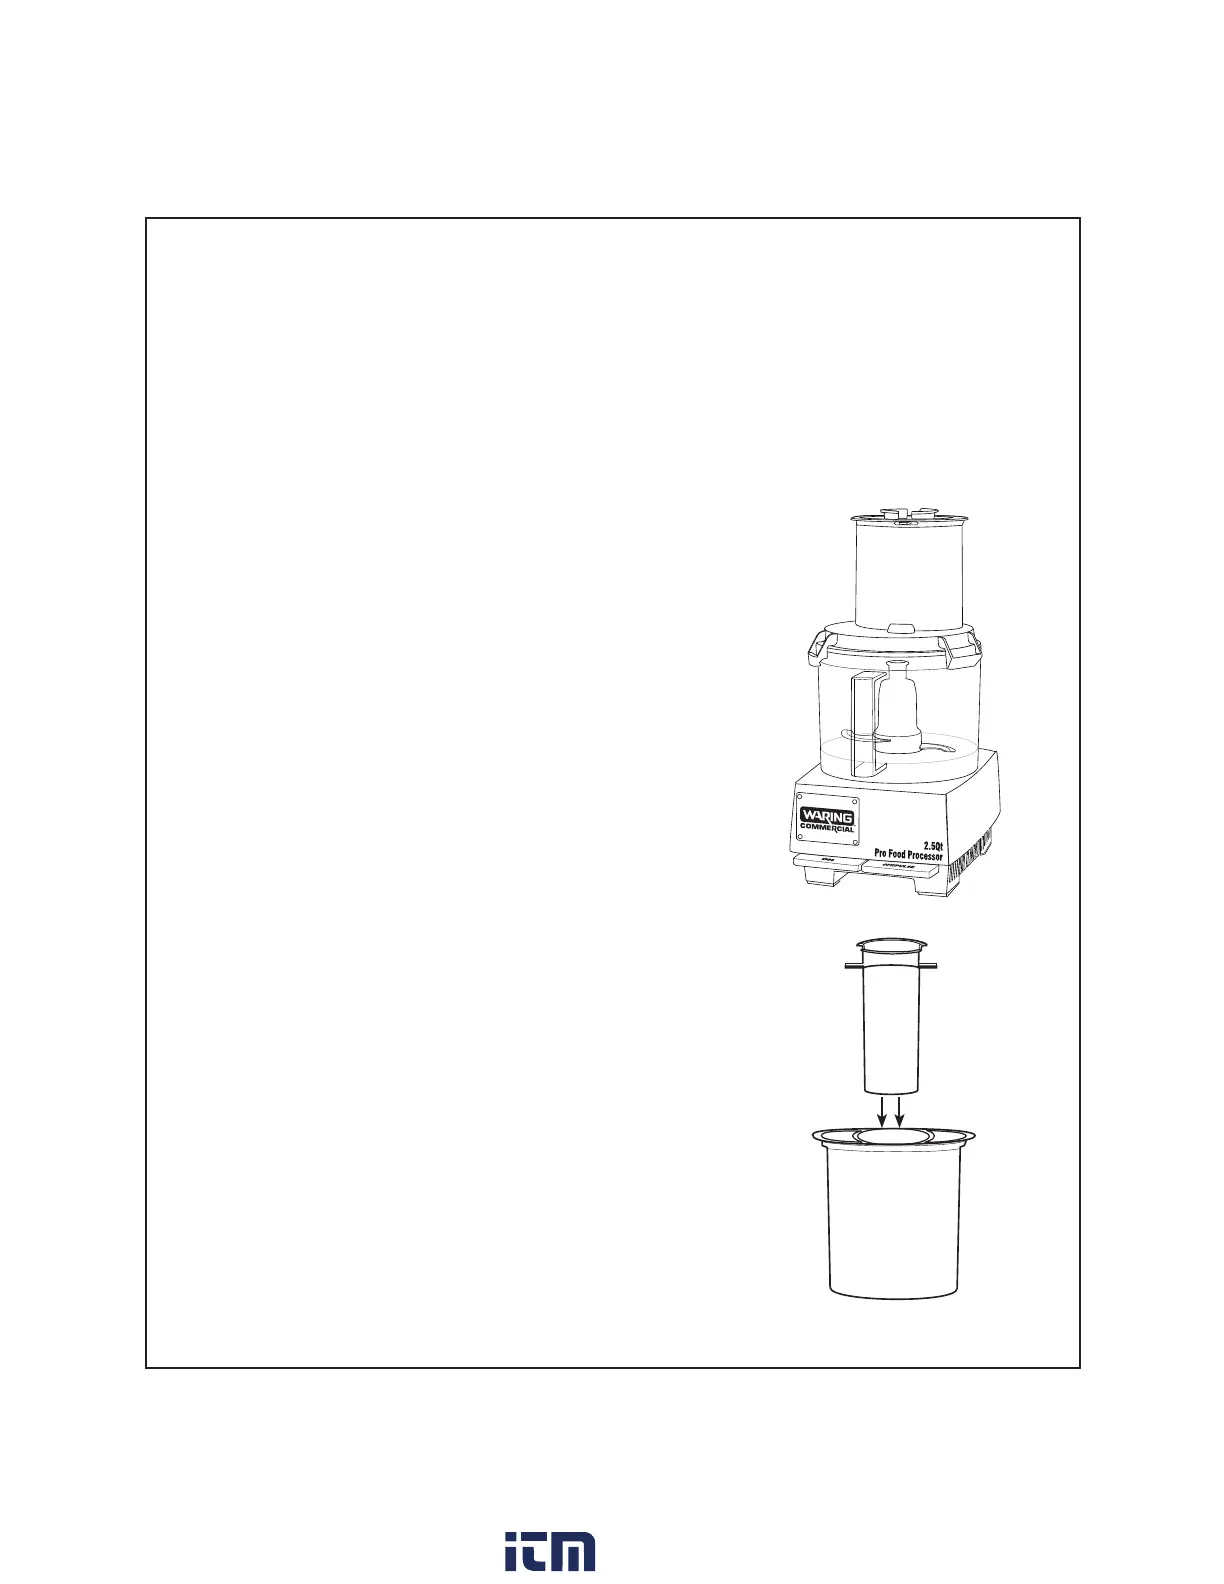
r1MBDFUIFDPWFSPOUIFCPXMXJUIUIFGFFEUVCFPOUIFMFGUTMJHIUMZUPXBSEUIFGSPOU5IFMPDLJOH
tabs on the cover should be at the left of the locking tabs on the rim of the work bowl.
r3PUBUFUIFDPWFSDPVOUFSDMPDLXJTFUPMPDLJUJOUPQMBDF8IFOUIFDPWFSJTSPUBUFEJOUPQMBDFUIF
safety interlock tab on the back rim of the cover will activate the interlock mechanism and your food
processor is ready to operate.
NOTE: The cover must be in place correctly, with the cover’s safety interlock tab firmly engaged, for
the food processor to operate. This is an important safety feature.
NEVER ATTEMPT TO START THE FOOD
PROCESSOR WITHOUT THE COVER LOCKED
INTO POSITION.
Two pushers for feed tube
Pick up the large food pusher and the small food pusher.
The large pusher is for processing larger vegetables. The smaller
pusher nests in the larger pusher and can be used for smaller
vegetables, guiding long thin vegetables for more precise cuts,
or for jobs like slicing pepperoni.
Large pusher
Insert the small food pusher into the large food pusher opening.
When it is fully inserted, rotate the small pusher clockwise to
lock it into place. Now you are ready to insert the large pusher
into the feed tube opening. Drop the pusher into the feed
tube gently.
Small pusher
To use the small pusher, rotate it counterclockwise to disengage
the locking feature. Now you can lift the small pusher up and
out of the large pusher. When using the small pusher, the large
pusher becomes the feed tube for the small pusher.
w ww . . co m
information@itm.com1.800.561.8187