ASSEMBLy
9
WEEDING FUNCTION ASSEMBLY
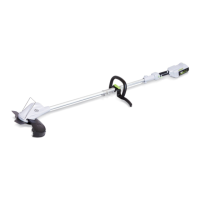
(1) TIGHTEN THE TRIMMER HEAD
WARNING
If the machine is not securely tightened before
starting, the trimmer head may fall out and threaten
personal safety to operator and others.
– Turn the trimmer head and insert the round rod into
the specified hole in the housing.
– Fix the round rod with one hand, and tighten the
trimmer head counterclockwise with the other hand,
and remove the round rod after tightening.
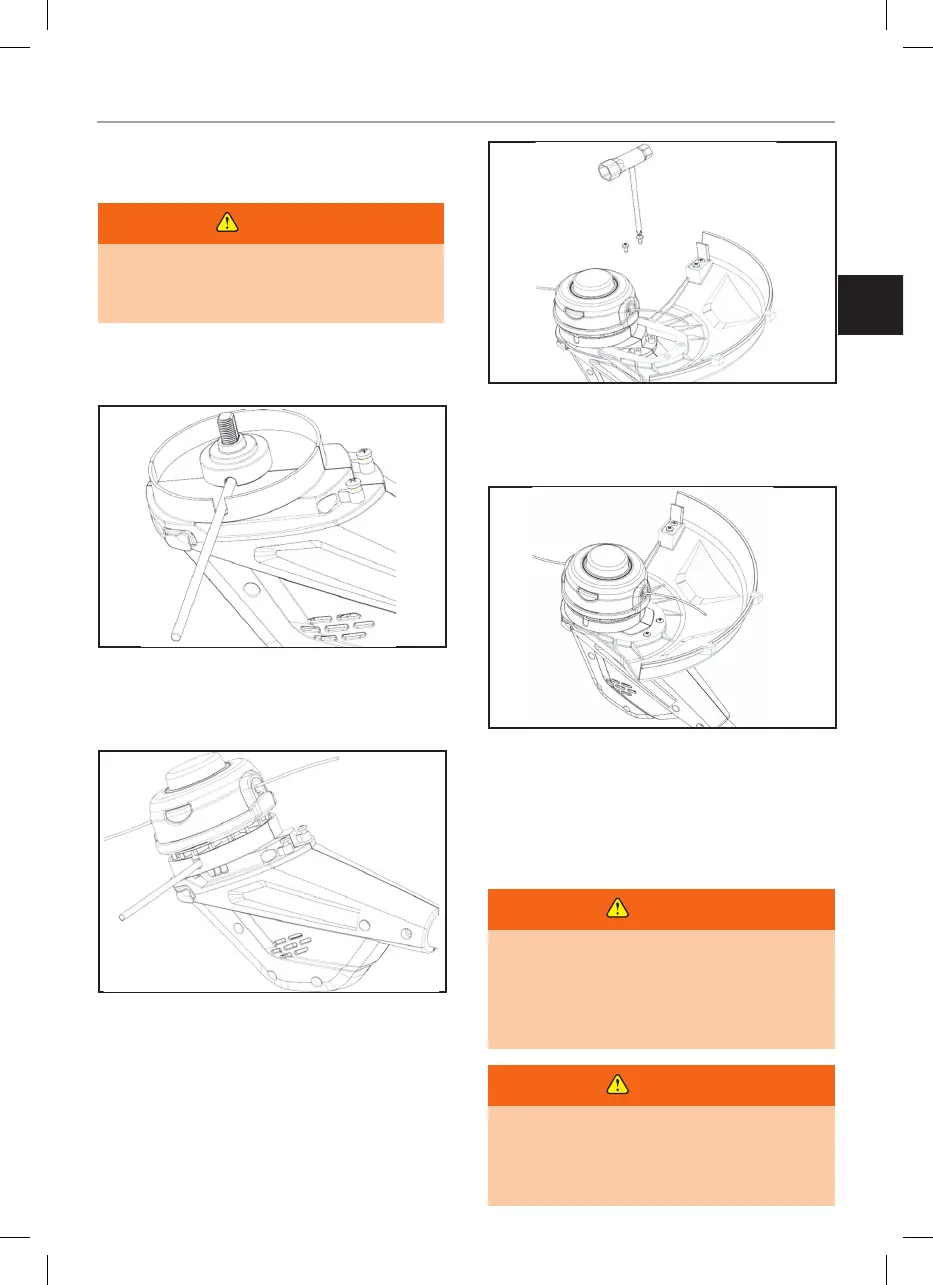
(2) ATTACHING THE GUARD
NOTE: Install the guard before the attachment is
connected to the rear handle.
– Using a Cross slot spanner, remove the pre-installed
screws from the trimmer head.
– Place the guard on to the trimmer head and slide
the guard onto the head by following the track on
the head (See Figure 6).
– Align the screw holes on the guard with the screw
holes on the trimmer head.
– Insert the screws into the trimmer head, fastening
the guard in place.
(3) CONNECT THE MACHINE HEAD TO THE HANDLE
WARNING
Read and understand entire Operator’s Manual for
each optional attachment used on this power head
and follow all warnings and instructions. Failure to
follow all instructions may result in electric shock,
fire and/or serious personal injury.
WARNING
Never install, remove, or adjust any attachment
while power head is running. Failure to stop the
motor can cause serious personal injury. Never
operate power head without an attachment