ENGLISH
EN
4
2019 / 06 Watts | PPLIMW15428C
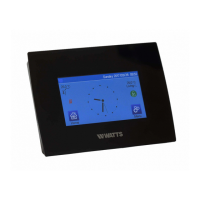
1. PRESENTATION
Thank you for choosing WATTS Vision
®
,
a Wireless communication system for con-
trolling heating and cooling system. It allows
multi zones management (up to 50) of your
electrical and hydraulic heating system.
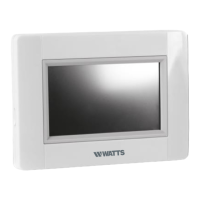
The central unit, main characteristics:
• Touch screen
• Interface via internet (WiFi)
• Wall mountable with power supply
85-265VAC (50-60) Hz
• Table mountable with supplied bracket
and mini USB power supply (0-5V)
(sold separately)
• Back up Battery for installation opera-
tion of 1 hour maximum
• RF Communication only with WATTS
Vision
®
devices (up to 40m internal,
extendable with repeater)
• Able to manage up to 50 zones or
rooms and 4 main supply circuits with
a dedicated pump or boiler on each
• Multiple heating / cooling devices control
• SD Card slot for updating software
• Intuitive menus for devices manage-
ment
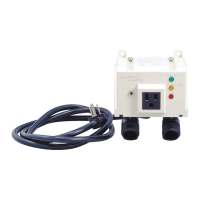
Content of the packaging:
• central unit
• 230V Flush mounted power supply
• wall/table support
• CE conformity declaration
• Installation and user guide
2. INSTALLATION
2.1 Installation sequence
Please follow the set-up sequence below;
STEP 1 Install your central unit (see 2.2
Install your central)
STEP 2 Create your house / create and
name your rooms (see 3.3 Configure your
house – page 10). Please note when pairing
the BT-M6Z02 RF with the central unit, the
rooms are automaticaly created according
to the number of RF thermostats.
STEP 3 Pair your devices to the central
controller / allocate them to the appropri-
ate rooms (see 3.4 Pair your devices to
the central – page 11) Please charge the
central unit for at least 1 hour before
pairing the devices already mounted
STEP 4 Personalise your central unit user
settings (see 3. Settings – pages 7 to 11)
STEP 5 Set up Wifi for remote control of
your system via smart-phone / tablet (see
6. Set up Wifi control – page 15)
STEP 6 Program your devices so that they
work on a time schedule (see 7. Heating /