Page 9
Black 1/4” Tube Connection - Inlet Water
Step 16
Locate the 1/4” black tube connected to the module labeled “Cold”
and insert into the plastic adapt-a-valve. Make sure the tube is
pushed in all the way to the tube stop.
( B ) Air-Gap faucet - Three tubes
Step 15B
Locate the blue 1/4” tube attached
to the RO faucet. Connect the
open end of tube to the elbow
fitting on the back of the RO
Module labeled “FAUCET”
making sure the tube is pushed
in all the way to the tube stop.
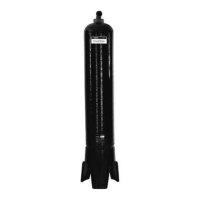
Thread the plastic valve onto the tank tting. Do not over tighten
or the valve could crack.
Step 17
Step 18
Teon tape must be applied in a clockwise direction. Wrap 5 to 7
turns around the male pipe threads (MPT) on the Stainless Steel
tting on top of the tank.
Tank Valve Installation - Metal Tank
Tank Valve Installation - Plastic Tank
Thread the plastic valve onto the tank tting. Do not over tighten
or the valve could crack.
Step 19
Step 20
Make sure the O-ring is located at the bottom of the recess for the
tank connection.
DO NOT use Teon tape on plastic tank.
Note:
FAUCET LINE
1/4” BLUE
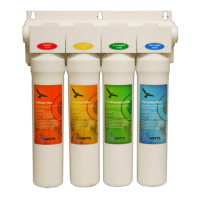
SEDIMENTPRE-CARBONRO MEMBRANEPOST-CARBON