4. [GARDA only] Ensure the dual
channels cut into the panels are
facing outwards, with the channels
at the bottom.
5. [GARDA only] As you build the
foam structure, leave the two
panels opposite the heater to last;
they can be pushed into place after
fitting the support frame. Lower
the outer liner to add the frame.
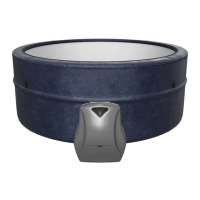
6. [GARDA only] Construct the
support frame around the foam
structure, starting with the lower
poles. Each straight pole should be
fitted to a corner connector and
clicked into position.
7. The heater and inner liner are
supplied pre-connected. Place
them inside the foam walls,
ensuring the heater is positioned
directly behind the warning panel
of the outer liner.
8. With the heater laid flat, run the
heater power cable through the air
circulation vent below the warning
panel. The drainage pipe from the
inner liner should also be fed
through this vent.
9. Disconnect the pre-attached
controller, and pass the
heater-side cable through the hole
into the pocket on the outer liner.
The controller can be reconnected
to the cable (please take care
when aligning the pins), then the
sleeve covering the connector
should be screwed securely to
ensure it is waterproof.
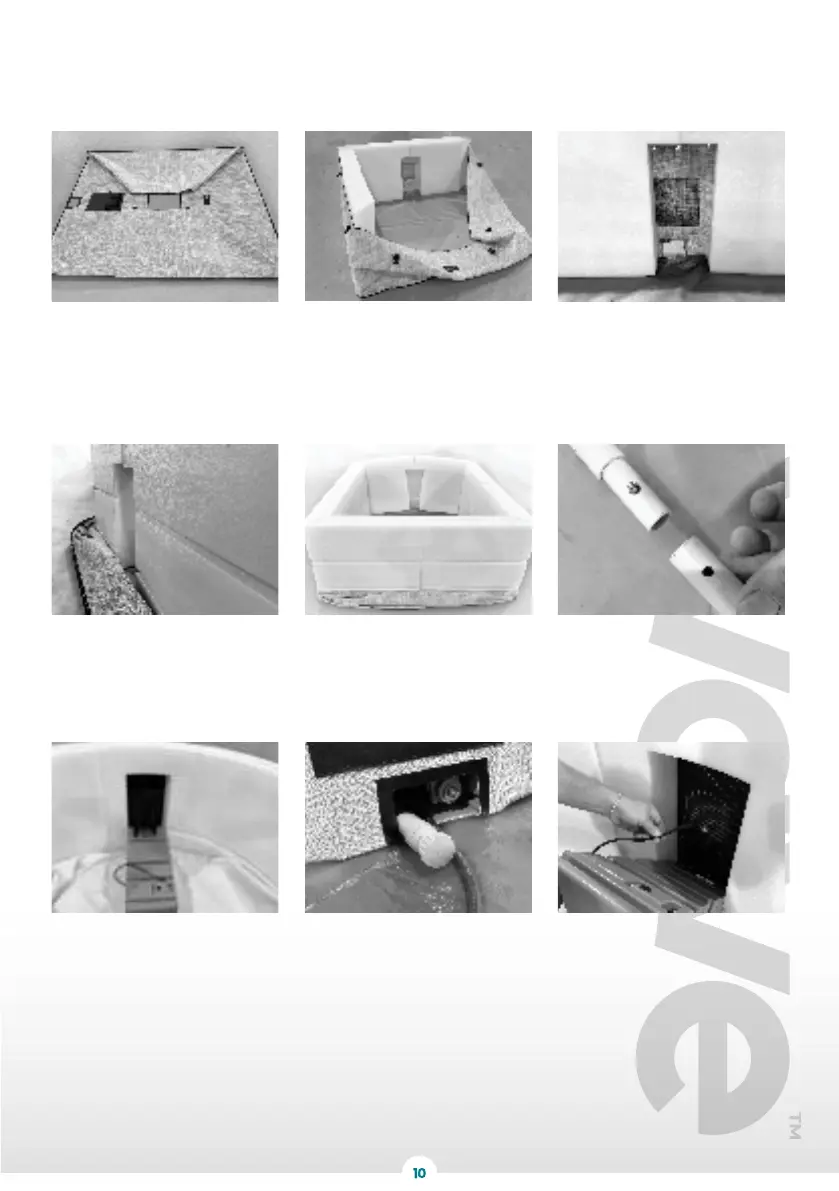
1. Unpack the spa in a warm
environment to help keep the liner
flexible. Lay out the outer liner on
a flat, even surface, ensuring it is
clear of any sharp objects. We
recommend using a foam floor mat
for protection and insulation.
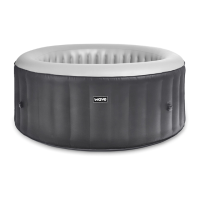
2. Unfold the sides of the outer liner
and begin to insert the foam panels to
build the structure of your spa. Refer
to the foam panel set up diagrams for
positioning guidance. Then lay the
separate foam insulating sheet inside
the outer liner.
t with the panels cut to fit
water outlet has sufficient space to
fit th
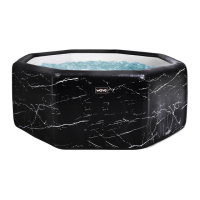
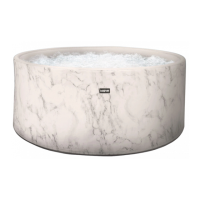
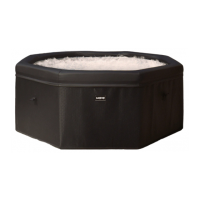
SETTING UP YOUR WAVE SPA
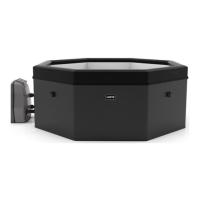
3. Start with the panels cut to fit
around the heater, positioning
these directly behind the warning
panel of the outer liner, so that
when the heater is put in place, the
water outlet has sufficient space to
fit through the outer liner vent.