STARTING PROCEDURE
STARTING BURNER
1. Be sure main switch is in “OFF” position, thermostat is
substantially above room temperature, the oil tank is
filled, all valves are open, and controls set for
operation.
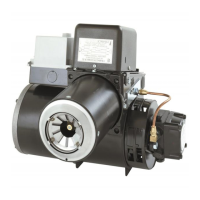
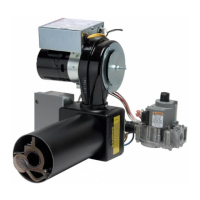
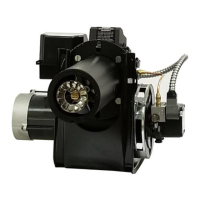
2. Adjust air supply on burner by loosening the screw on
the primary air damper, and open partially. (See
Figure 12 and Table 2 for inputs and damper
adjustments).
Table 2: Listed Burner Settings
GPH INPUT
FLAMELOCK
SETTING
“A”
STATIC
BAFFLE
ANGLE “B”
PRIMARY AIR
DAMPER
“C”
0.50 – 0.75 0 – (*0”) 65°
Set to optimal
CO
2
and trace
smoke.
0.85 – 1.75 2 – (*1/8”) 30°
2.00 – 3.00 8 – (*1/2”) 30°
Burner is equipped with Air Cone to fire 0.50 to 2.50 GPH,
and baffle to fire 0.50 to 0.75 GPH. Use air cone 100531-
001 for inputs over 2.50 GPH, and 30° baffle (packed
w/manual) for inputs over 0.75 GPH.
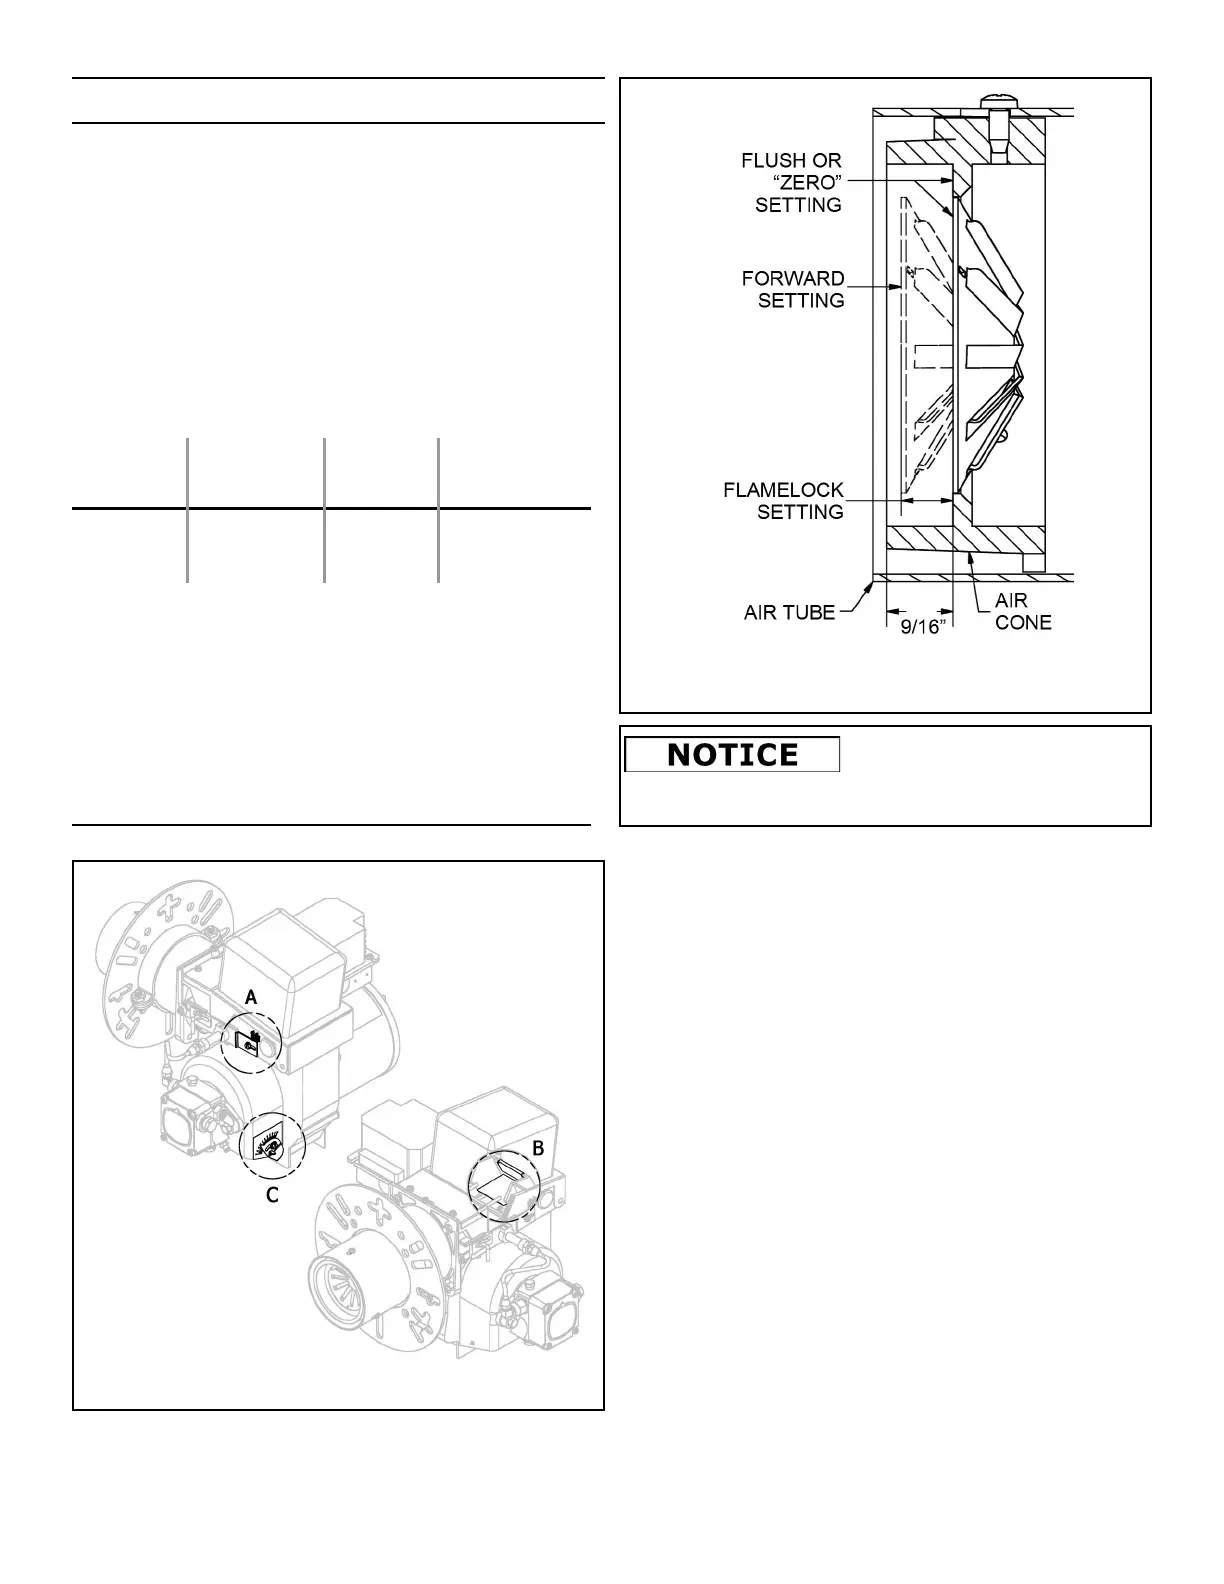
Setting “A” - Flamelock™ settings are a direct reading in
1/16” steps. A number 2 setting indicates the Flamelock™
is 1/8 inch ahead of the Air Cone “Flush Setting”. (See
Figure 13)
Figure 12: Burner Settings
Figure 13: Flamelock Diagram
Note the direction of the air
cone when installing it in the
air tube. The beveled side of the inner diameter is
installed toward the burner.
3. Open the inspection door and turn on switch.
4. Prime pump according to the pump manufacturer’s
recommendations and check pressure. If safety
lockout occurs, reset after one or two minutes. Do not
run fuel pump dry for more than five minutes.
5. When fire is established make a temporary air
adjustment for a clean combustion flame, reduce air
supply until flame tips appear slightly smoky, then
readjust so flame tips are clean looking.
6. Leave inspection door open until chamber is dry.
7. When normal temperatures are reached, close
inspection door. (See page 3 under “Draft
Regulators”).
FINAL ADJUSTMENTS
1. At this point, a final adjustment should be made by the
use of a COMBUSTION TEST KIT.
2. After operating ten minutes to warm up the unit, a
smoke tester should be used to take a smoke reading.
Smoke test should read no greater than #1 (Shell
Bacarach scale), and less than a #1 smoke is desired.
At times, a new heating unit requires more time than
this to burn clean due to the oil film on the new heater
unit surfaces.
7