Use UP and DOWNbuttons to select %adjustment. Use
NEXTand BACK buttons tomove between zones.
This feature can beuseful to reduce run timeadjustments for
shadyand partially shaded zones. The table provided may be
used forgeneral shade guidelines. Other factors may result in
needingto use MORE/LESS for ne tune adjustments including
sprinklereciency, zone eciency, and wind. Sprinkler
eciency variesbetween types of sprinklers and the manufacturer’s design. Zoneeciency varies based on
the design layout of sprinklers in azone, sometimes overlapping or sometimes not. High winds can
serve to dry out plant and soil to increase the need for water.For optimum results considering the many
unique variables ineach zone, users should periodically monitor plant life health andwater usage,
especially after initial controller setup, so properadjustments can be made.
THIS COMPLETES PROGRAMMING FOR SMART WATERING.RETURN THE DIAL TO THE RUN POSITION.
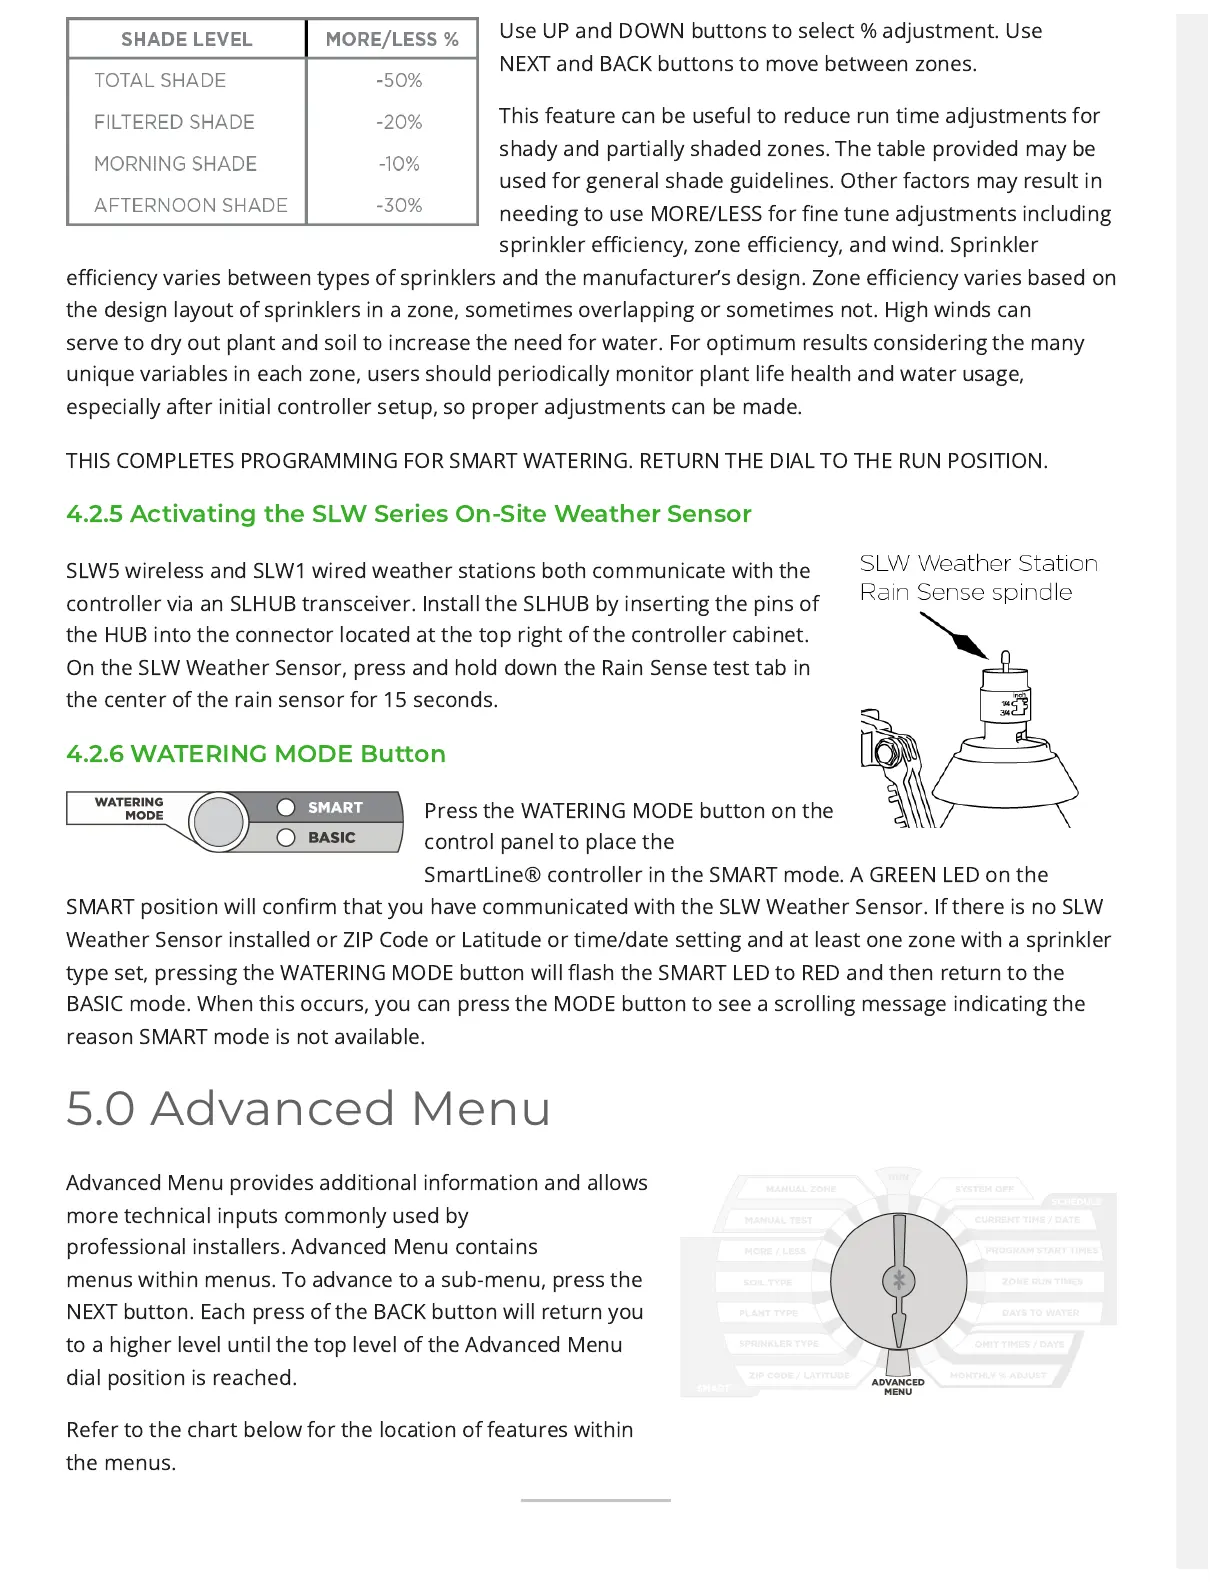
4.2.5 Activating the SLW Series On-Site Weather Sensor
SLW5 wireless and SLW1 wired weather stations bothcommunicate with the
controller via anSLHUB transceiver. Install the SLHUB byinserting the pins of
the HUB into theconnector located at the top right of thecontroller cabinet.
On the SLW WeatherSensor, press and hold down the RainSense test tab in
the center of the rainsensor for 15 seconds.
4.2.6 WATERING MODE Button
Press the WATERINGMODE button onthe
control panel toplace the
SmartLine®controller in the SMART mode. A GREEN LED on the
SMARTposition will conrm that you have communicated with the SLWWeather Sensor. If there is no SLW
Weather Sensor installed orZIP Code or Latitude or time/date setting and at least one zonewith a sprinkler
type set, pressing the WATERING MODE buttonwill ash the SMART LED to RED and then return to the
BASICmode. When this occurs, you can press the MODE button to seea scrolling message indicating the
reason SMART mode is notavailable.
5.0 Advanced Menu
Advanced Menu provides additionalinformation and allows
more technicalinputs commonly used by
professionalinstallers. Advanced Menu contains
menuswithin menus. To advance to a sub-menu,press the
NEXT button. Each press of theBACK button will return you
to a higherlevel until the top level of the AdvancedMenu
dial position is reached.
Refer to the chart below for the location of features within
the menus.