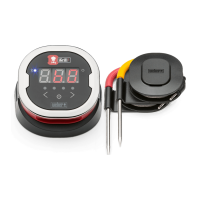
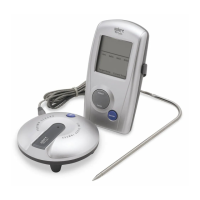
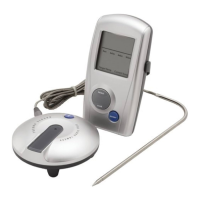
1. In the Box
Inside your iGrill
2
box, you will find:
• 1 iGrill
2
• 2 AA Batteries
• 2 Pro Meat Probes
• 2 Probe Wraps
• 2 Colored Probe Indicators
• 1 Optional Magnetic Disc
• Quick Start Guide
2. Quick Start Instructions
1. Download the iDevices Connected app from the App Store℠ and launch it
from your iPad® (generation 3+), iPad® mini, iPhone® (generation 4S+) or
iPod touch® (generation 5+).
2. Enable Bluetooth on your smart device under ‘Settings’.
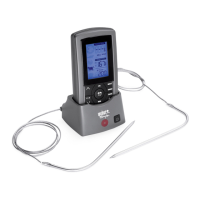
3. Separate the iGrill
2
from its base by firmly holding the base with one hand
and gently pulling the top of the iGrill
2
upwards with the other hand.
4. On the underside of the iGrill
2
, depress and remove the battery door. Insert
the two supplied AA batteries with their negative terminals compressing a
spring and reinstall the battery door.
5. Clip the iGrill
2
top back into its base.
6. Plug one or more probes into the probe ports.
7. Press the iGrill
2
power button located at the bottom of the faceplate
between the < and > buttons for 2 seconds. The iGrill
2
’s display will
animate and a single beep will sound, indicating that the device has
powered on.
8. Open the iDevices Connected app to connect to your iGrill
2
. Click on the
iDevices logo in the gray toolbar at the top of the app. Select your iGrill
2
from the dropdown menu.
9. You are ready to use your iGrill
2
!