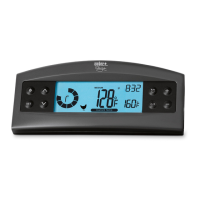
7
Disconnecting
While your iGrill 3 is turned on, open the Weber iGrill App with your smart
device. Your smart device will automatically recognize any available and
previously connected iGrill products. You can display them in the ‘Available
Products’ drop-down by tapping the 3 lines or dots at the top right-hand
corner of the screen.
If your iGrill 3 is connected, it will be listed under ‘Connected Devices.’
If you would like to disconnect your iGrill 3, you can swipe to the left on
the product name (i.e. iGrill 3) to expose the ‘Disconnect’ option.
Tap ‘Disconnect.’
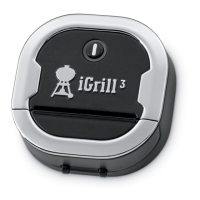
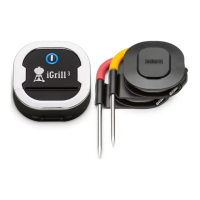
Mounting
Follow the printed instructions enclosed with your iGrill 3. Your iGrill 3 will
mount to the right side table of Genesis
®
II and Genesis
®
II LX grills.
• The iGrill 3 mounts to the front of the right side table, replacing the
iGrill 3 Ready panel, or on Genesis
®
II LX grills, replacing the LED
Fuel Gauge.
• The battery pack mounts to the underside of the right side table.
• The iGrill 3 comes with a magnetic fuel level sensor. This allows the
Fuel Gauge in the Weber iGrill App to display the fuel level of your
LP tank. (Not available for natural gas grills.)
• For Genesis
®
II LX grills, connect the wiring harness of your grill to
the iGrill 3 to control the lights feature of your grill using the Weber
iGrill App.
Use a soft cloth to clean the iGrill 3. Do not use any
chemicals or abrasive cleaners.