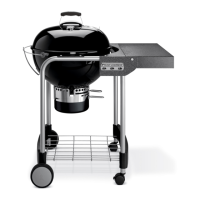
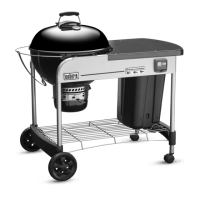
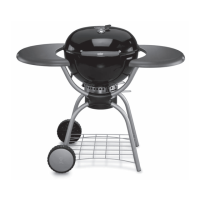
Figure 1
Step 1
Assemble wheels
You will need: axle, two wheel hubcaps, two wheels, wheel frame, hammer
and a block of wood.
Place one end of the axle on the block of wood (or other protected surface).
Tap on one hubcap.
Put one wheel on the axle, WEBER side toward the hubcap. Slide the axle
through the frame. Add the other wheel, WEBER side out. Tap on the
hubcap. Figure 1.
Figure 2a
Step 2
Install Ash Catcher Ring
Hold the Ash Catcher Ring in position over bottom of bowl as shown in figure 2a. (Note
the position of the bowl and the ring in the picture):
- Tilt the Ash Catcher Ring slightly so the One Touch Handle can slide through the
handle slot in the ring.
Ash Catcher Ring
One Touch Handle
 Loading...
