7
22
22
20
1
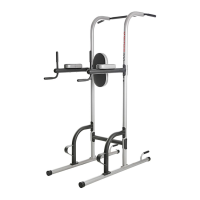
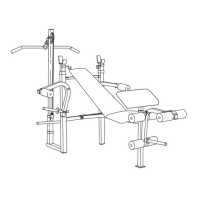
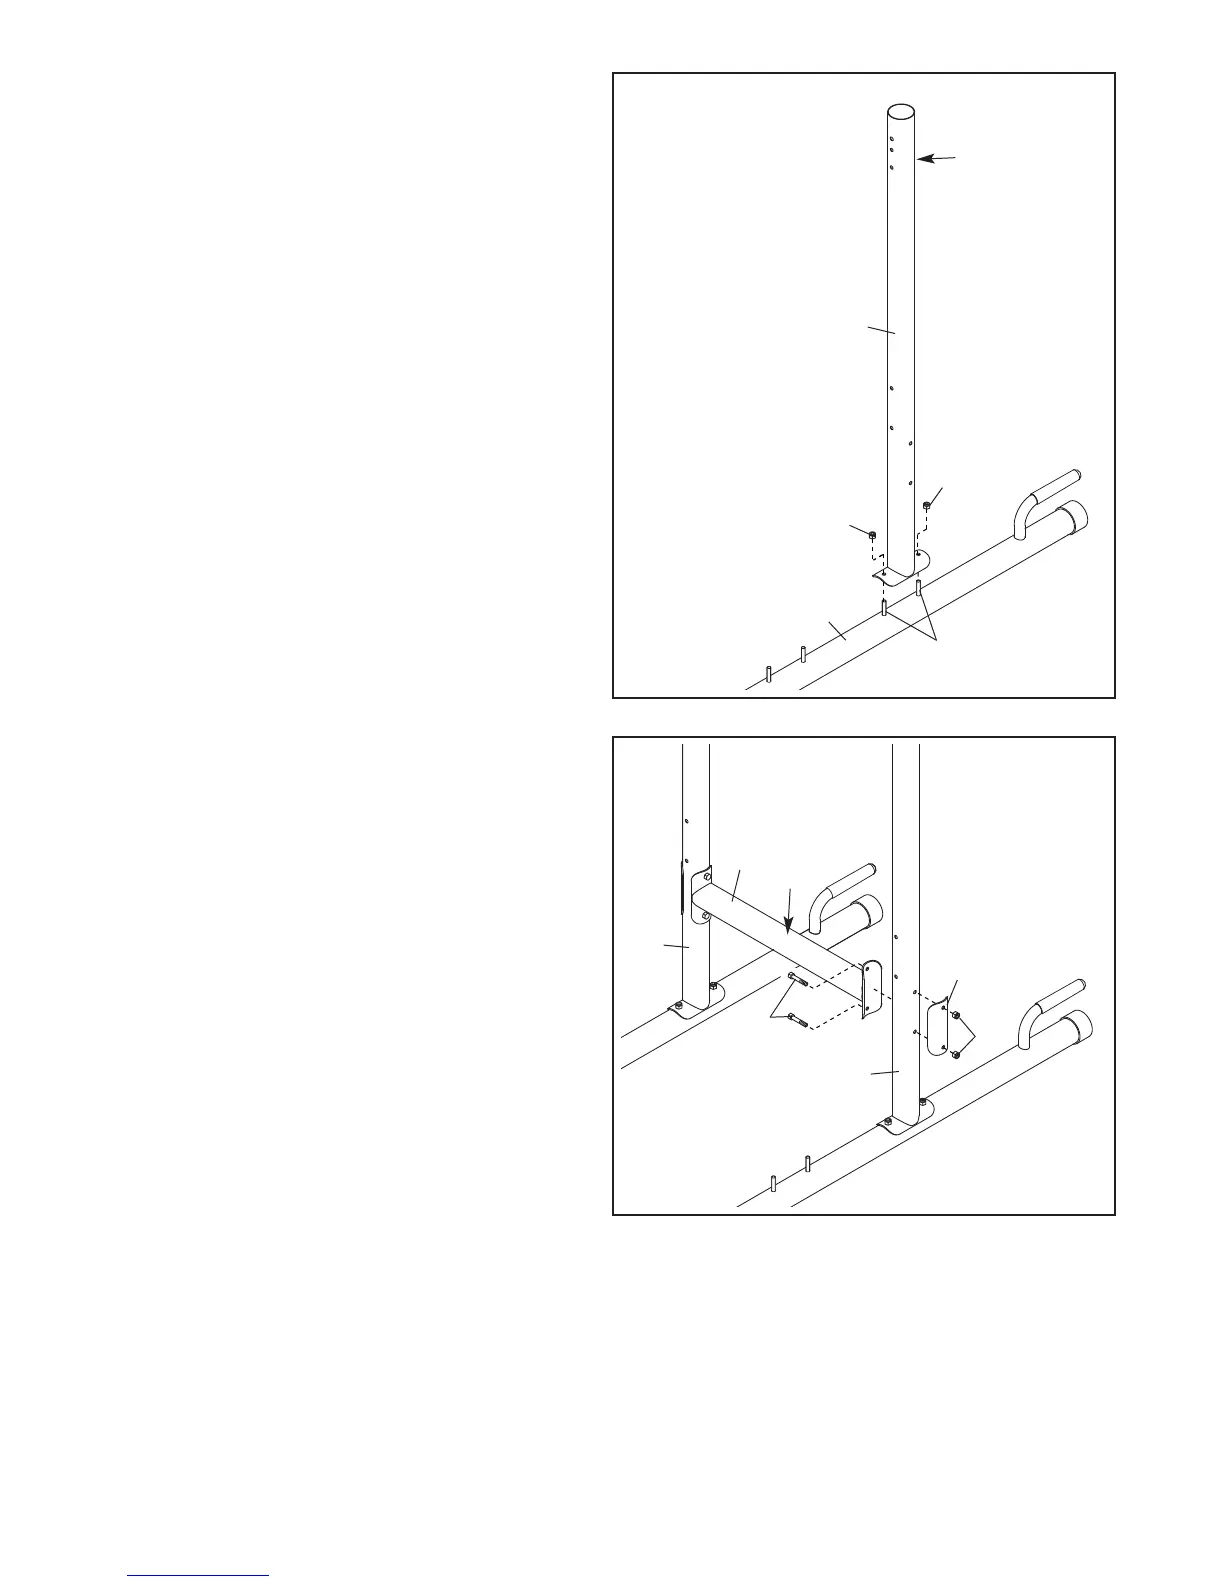
3. Orient the Bottom Crossbar (10) so that the
warning decal is on top. Attach the Bottom
Crossbar to one of the Upright Bases (2) with
two M8 x 77mm Bolts (28), a Support Plate
(13), and two M8 Locknuts (22). Do not tighten
the Locknuts yet.
Attach the Bottom Crossbar (10) to the other
Upright Base (2) in the same way.
2
2
Hexagonal
h
oles on
this side
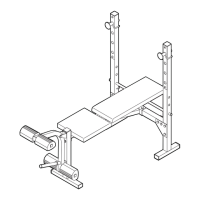
2. Attach an Upright Base (2) to one of the
Stabilizers (1) with the indicated two M8 x
68mm Carriage Bolts (20) and two M8 Locknuts
(
22). Note: Attach the Upright Base so that
the hexagonal holes are on the indicated
s
ide. Do not tighten the Locknuts yet.
Attach the other Upright Base (not shown)
to the other Stabilizer (not shown) in the
same way.
28
2
10
2
13
22
Decal
3