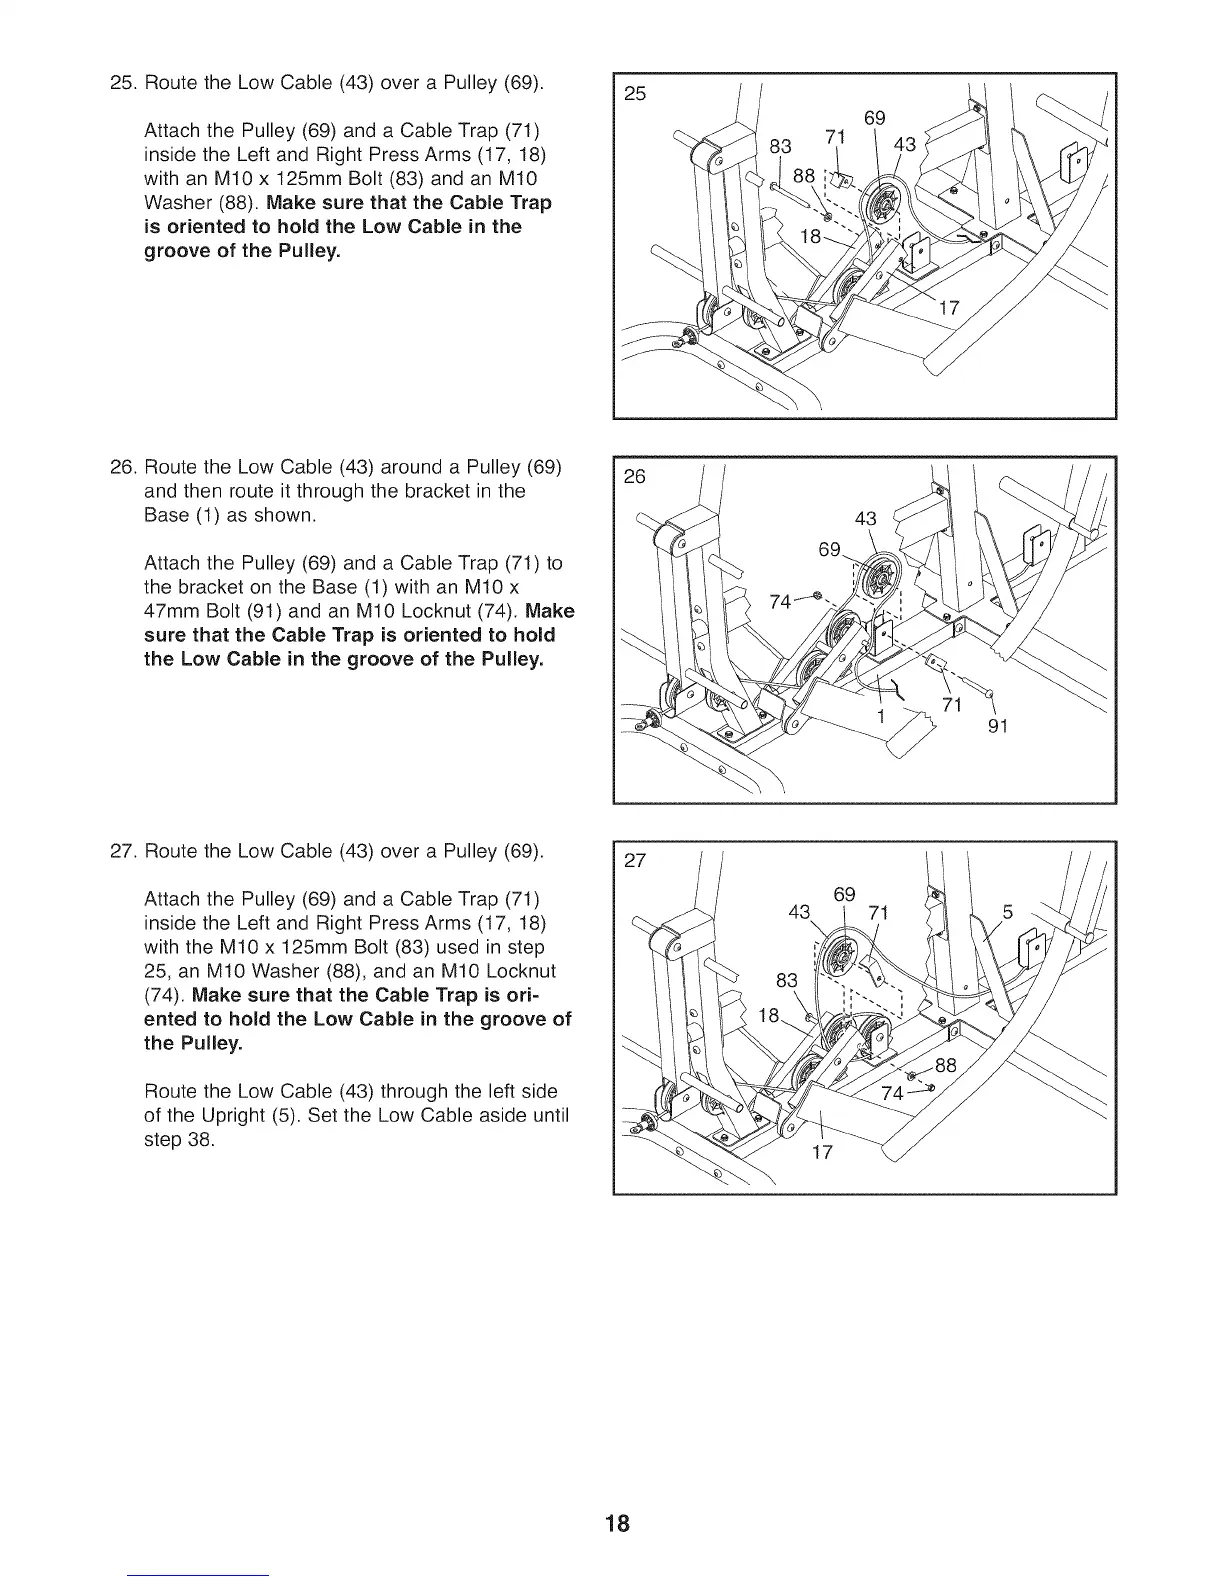
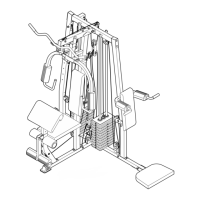
25. Route the Low Cable (43) over a Pulley (69).
Attach the Pulley (69) and a Cable Trap (71)
inside the Left and Right Press Arms (17, 18)
with an M10 x 125mm Bolt (83) and an M10
Washer (88). Make sure that the Cable Trap
is oriented to hold the Low Cable in the
groove of the Pulley.
25
71
69
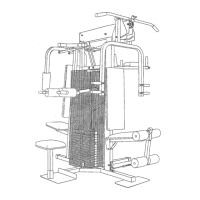
26. Route the Low Cable (43) around a Pulley (69)
and then route it through the bracket in the
Base (1) as shown.
Attach the Pulley (69) and a Cable Trap (71) to
the bracket on the Base (1) with an M10 x
47mm Bolt (91) and an M10 Locknut (74), Make
sure that the Cable Trap is oriented to hold
the Low Cable in the groove of the Pulley.
26
43
71
91
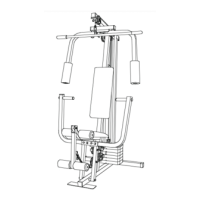
27. Route the Low Cable (43) over a Pulley (69).
Attach the Pulley (69) and a Cable Trap (71)
inside the Left and Right Press Arms (17, 18)
with the M10 x 125mm Bolt (83) used in step
25, an M10 Washer (88), and an M10 Locknut
(74). Make sure that the Cable Trap is ori-
ented to hold the Low Cable in the groove of
the Pulley.
Route the Low Cable (43) through the left side
of the Upright (5). Set the Low Cable aside until
step 38.
27
43
\
83
69
71
17
18