© weinor GmbH & Co. KG 6 | EN © weinor GmbH & Co. KG EN | 7
Mounting of wall bracket
• Make sure that the holes are not
drilled into electric cables when
fi tting the wall bracket.
• Before installing the unit in the
required position, check that
the transmitter and receiver are
functioning perfectly.
• Attach the bracket to the wall
with the wall plugs and screws
provided.
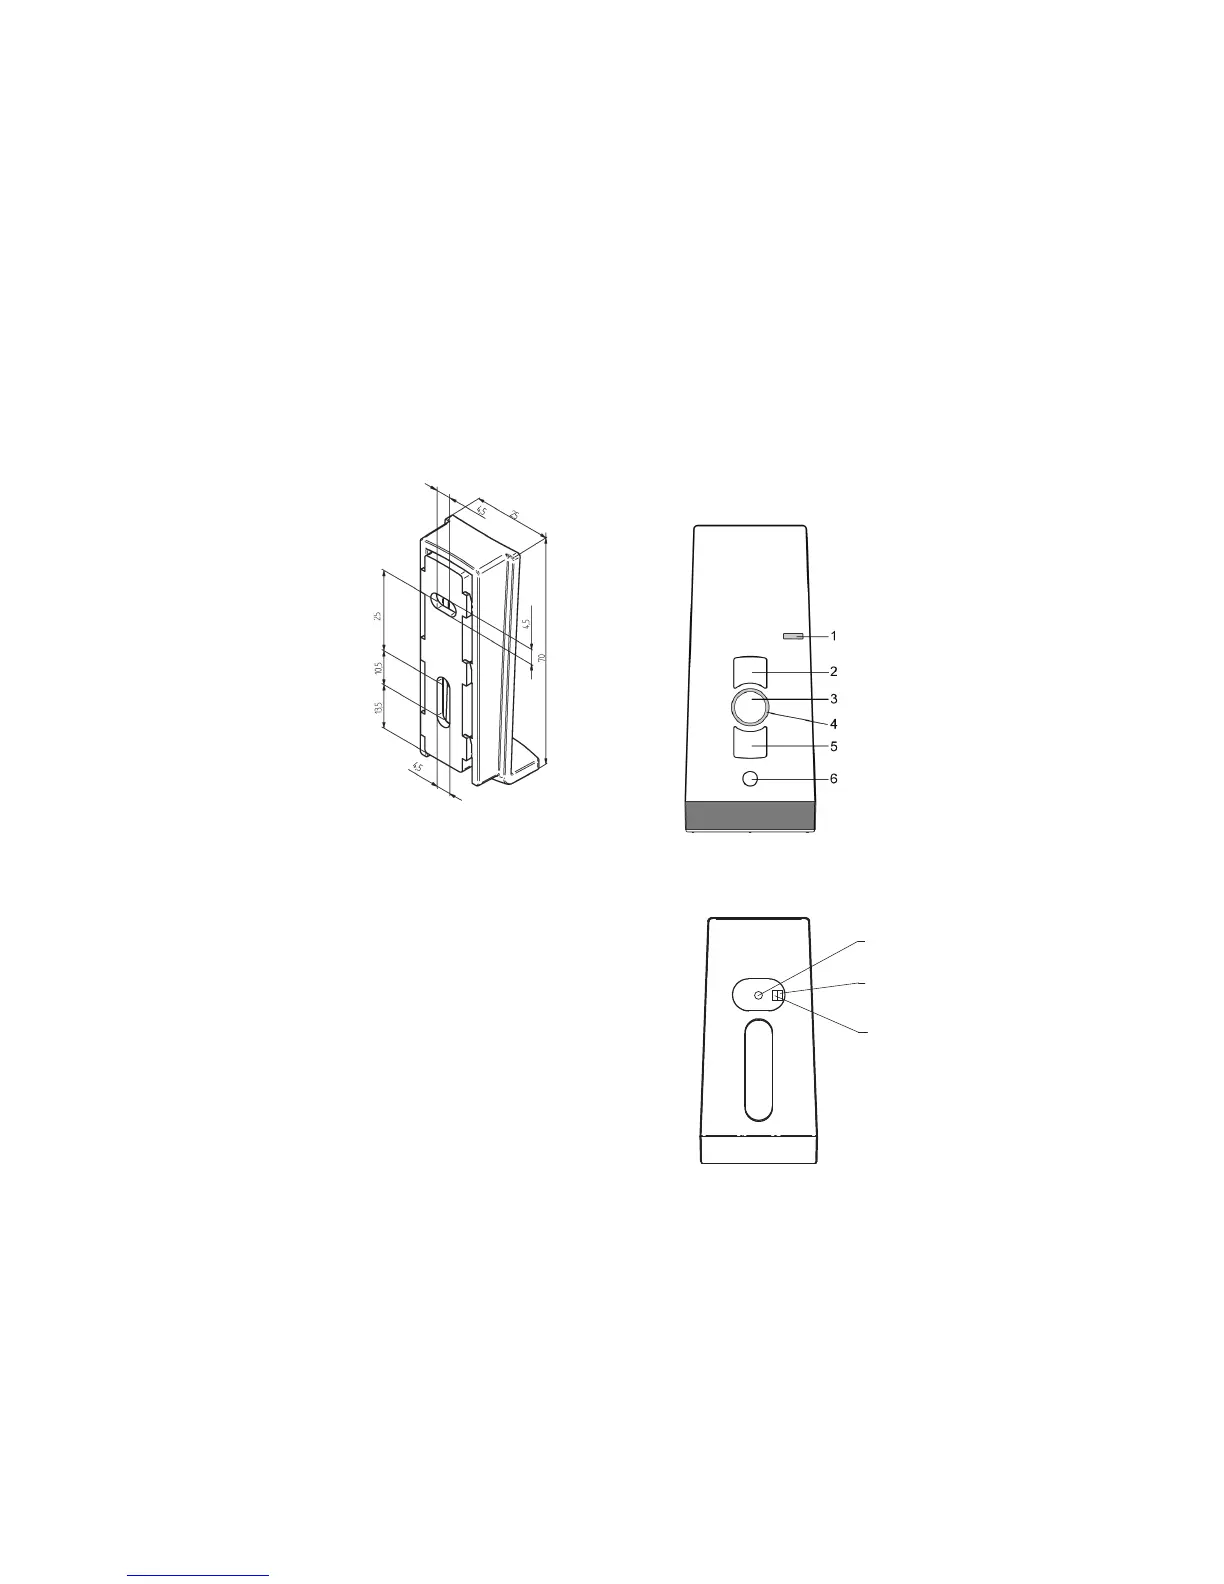
The top part of the wall bracket can
be moved.
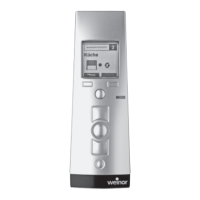
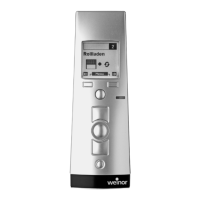
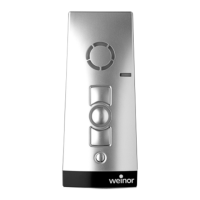
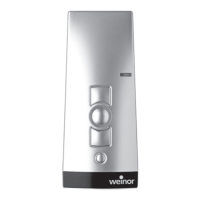
Description of the device
Front side of the device
1 Operating mode indicator
2 UP button
3 STOP button
4 Status indicator
5 DOWN button
6 Select button
Rear of the device
7
8
9
7 Programming button P
Only for experts:
8 DIP switch 1
9 DIP switch 2
 Loading...