OPERATION
• Before connecting the sander to the power source, make sure the
ON/OFF switch is in the OFF position identified with a “O”.
• After connecting to the power source, push the ON/OFF switch to “1”
which is the ON position.
• Make sure the surface to be sanded is free of any foreign matter
before placing the running sander onto the surface. Move the sander
slowly using forward and backward strokes. Do not put additional
pressure on the sander. This will only slow down the speed of the pad and
reduce sanding efficiency as well as put an additional burden on the
motor.
• Always remove sander from the work piece before shutting the sander
off.
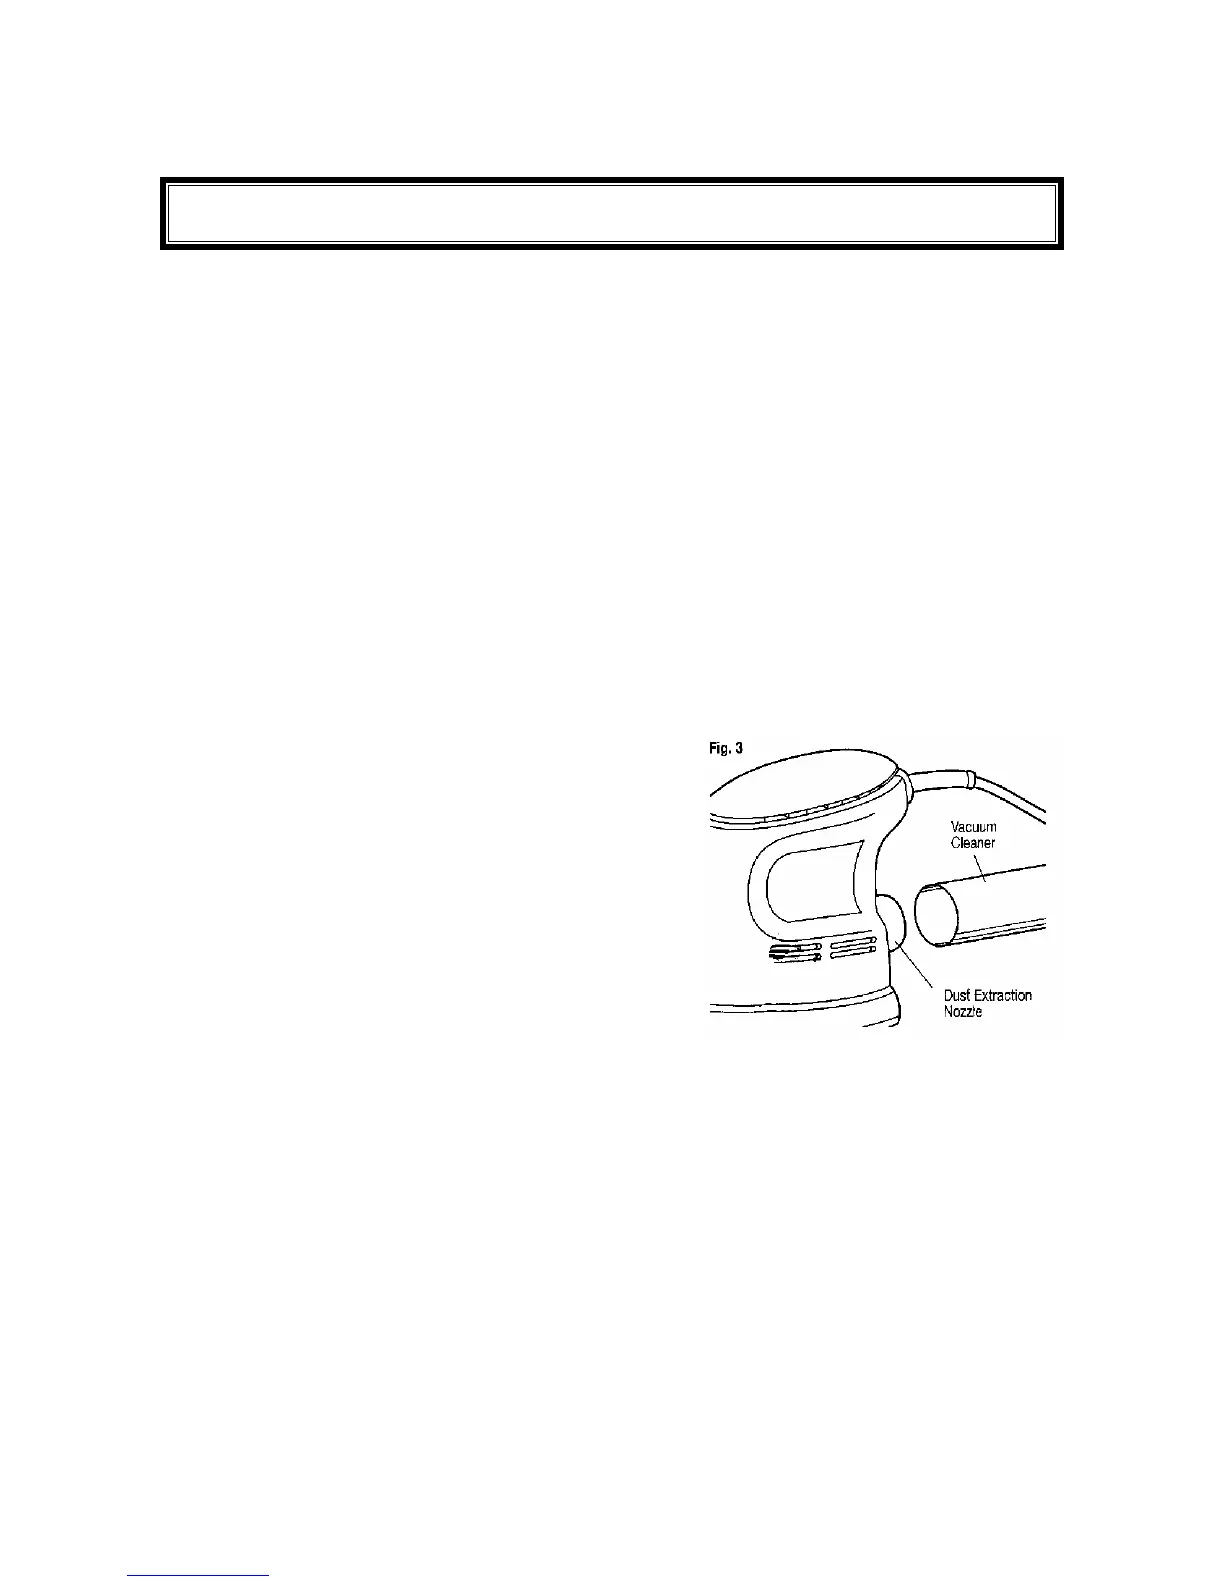
DUST EXTRACTION
• The majority of the sanding dust is
discharged though the dust extraction
nozzle located in the rear of the unit.
However, some dust will remain around
and on the work area when sanding
horizontal surfaces.
• Regularly clean the sanding surface of
excessive dust. Failure to do so may
result in a poor finish and premature
wearing of the sandpaper.
• A vacuum cleaner can be fitted to the dust extraction nozzle to minimize
residual dust.
• This Detail Sander is designed for accepting a dust vacuum. If a dust
vacuum is to be used please drill five holes on the sander paper. The holes
on the sand paper should match those on the sanding pad.
11

 Loading...