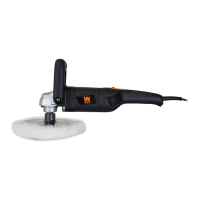
88
Always be sure the polisher is switched off and unplugged before assembling parts, making adjustments, assem-
bling or replacing the Velcro base pad, assembling or replacing the polishing pad, or checking the functionality of
the polisher.
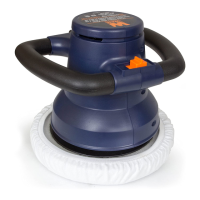
ON/OFF SWITCH
Push the on/off switch forward as the arrow of “I” position shown to start the polisher. Push the switch backward
as the arrow of “O” position shown to stop the polisher.
VARIABLE SPEED
Press the plus (+) button to increase the speed and the minus ( - ) button to decrease the speed. Below are sugges-
tions for waxing operations. Avoid holding the polisher completely flat against a surface in one location, otherwise
you run the risk of damaging the coat. These are purely guidelines for beginners - advanced users are advised to
follow their own preferences.
A FEW TIPS ON WAXING AND POLISHING A CAR
- Be mindful when polishing around or over sharp corners or contours of an object, using less pressure than you
would elsewhere.
- Wax at a 15° angle to avoid streaking on the body of the car.
- Before applying any wax or compounding solution, make sure to wash the vehicle with soap and water. Remove
all dirt and bug residue from the surface and then dry completely with a clean microfiber towel. Use polishing
clay after cleaning if you want to give the extra 10 percent.
- Mask off areas such as handles, mirrors, bumpers, molding and decals to combat possible damage from the
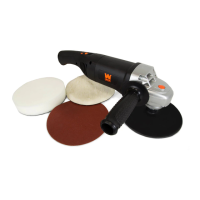
polisher. Attach a clean polishing pad to your tool. Try to keep the pad dry, otherwise waxing and application will
become increasingly difficult.
- Apply all solutions to a two by two foot area before moving on to the next two by two foot area of the car. It is
recommended to not compound and wax in direct sunlight; use a shaded area or a garage if possible. Read the
instructions on your bottles of wax and compound to ensure that these are the right directions, as suggested ap-
plication changes slightly depending on the product.
- If done correctly, water droplets will form tiny beads on the surface of the car’s finish. Feel free to try out differ-
ent things and figure out a personal style that works best for you and your vehicle.
POLISHING INSTRUCTIONS
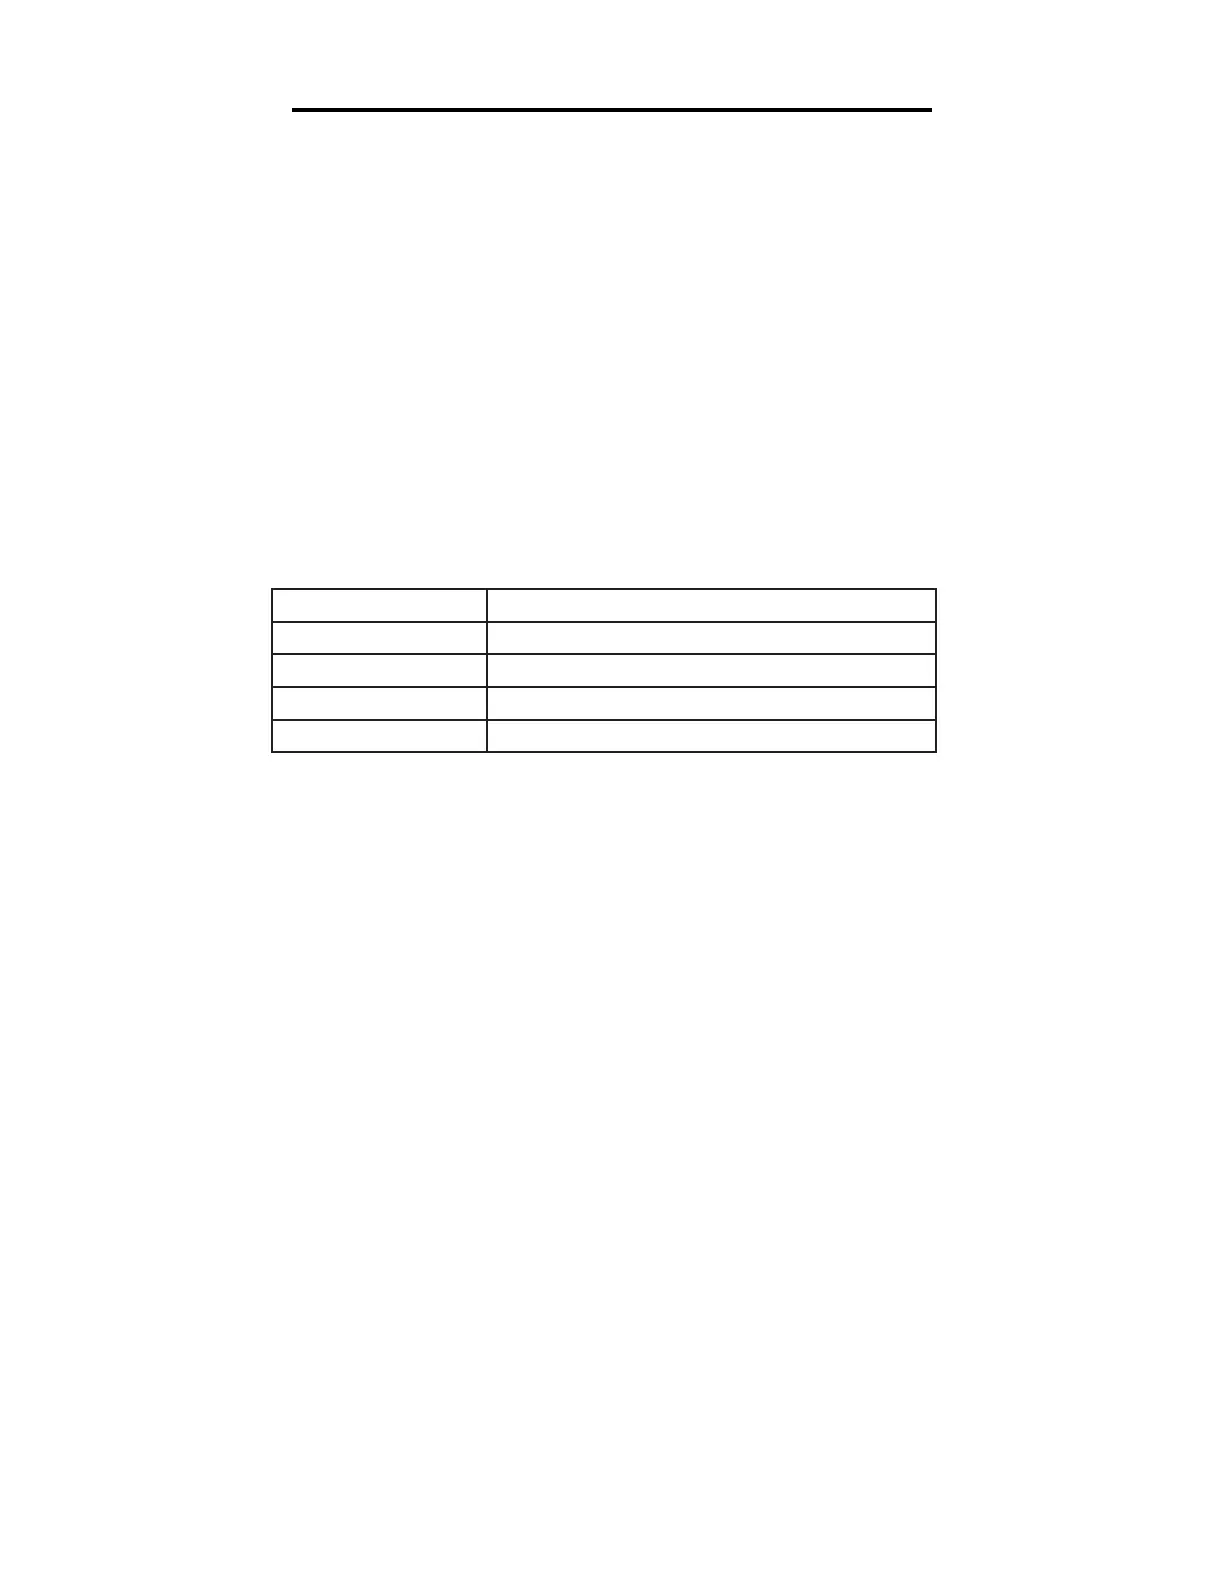
SPEED RANGE OPERATION
0 to 700 RPM Finishing and Detailing
700 to 1500 RPM Compounding and Waxing
1500 to 2400 RPM Polishing and Buffing
2400 to 3500 RPM Heavy Correction Work