ASSEMBLY & ADJUSTMENTS
WARNING! To prevent serious injury from accidental operation, make sure the power cord is disconnected
from the power source and the tool is switch to OFF before assembly or making any adjustments.
The air filtration system is designed to circulate air and filter wood and other non-metallic dust. To achieve the best
performance possible, it is important to consider how and where to place the unit. When selecting a site, make sure
there is a suitable power source nearby. The use of an extension cord is not recommended.
REMOVE THE FOAM BLOCKS
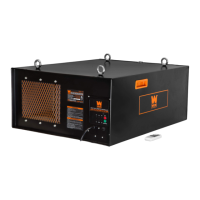
IMPORTANT! Foam blocks (Fig. 2) are installed around the
motor to protect it from shipping damage. They must be re-
moved before operation.
1. Lift up the filter lock clips on the back of the machine to remove
the outer filter and inner filter.
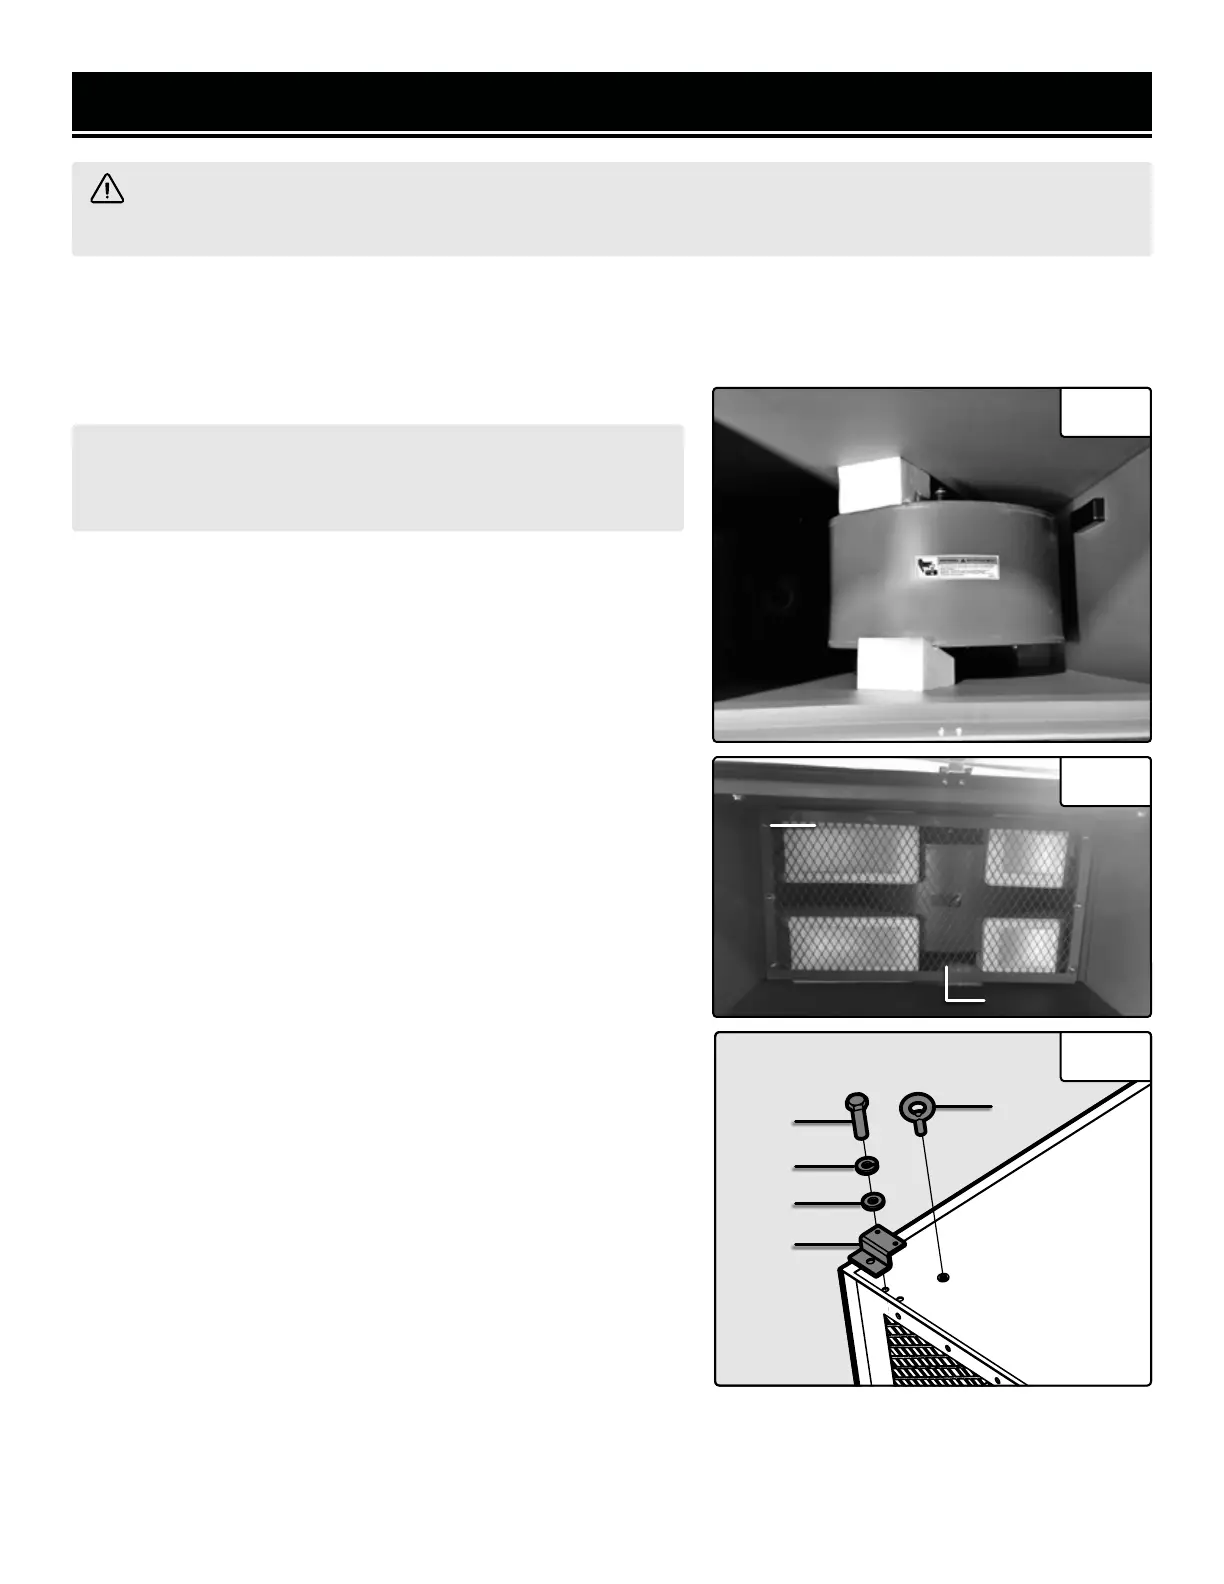
2. Remove the inner grating (Fig. 3 - 1) by unscrewing the six
Phillips head screws (Fig. 3 - 2).
3. Remove the foam blocks (Fig. 2).
4. Replace the inner grating. Replace the inner and outer filters
and close the lock clips.
ATTACHING THE RUBBER FEET
If desired, attach the four rubber feet to the bottom of the air fil-
tration system (recommended if it will not be ceiling-mounted).
Peel the adhesive backing paper off the feet and stick them to the
bottom of the system.
MOUNTING THE UNIT ON THE CEILING
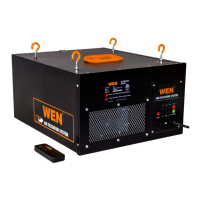
If desired, you can mount the unit to the ceiling using one of
two methods: mounting hangers (eyebolts, Fig. 4 - 1) or brackets
(Fig. 4 - 2).
INSTALLING THE HANGERS
Use this option if you would like to hang the unit from the ceiling
using wood screws and chains (not included). Thread a mounting
hanger (Fig. 4 - 1) into a mounting hole on the top of the air filter
housing. Rotate the hanger clockwise to fully tighten it into the
hole. Repeat for all four hangers.
INSTALLING THE BRACKETS
Use this option if you would like to mount the unit directly to
the ceiling joists using wood screws (not included). Attach the
mounting brackets (Fig. 4 - 2) using two M6 x 4.8 bolts (Fig. 4 -
3), two M6 lock washers (Fig. 4 - 4) and two M6 flat washers (Fig.
4 - 5). Tighten bolts securely using a 10mm socket or wrench
(not included). Repeat for all four mounting brackets.
Fig. 2
Fig. 3
1
2
Fig. 4
3
4
5
1
2
9