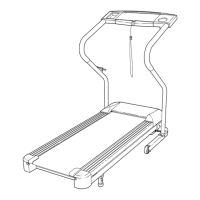
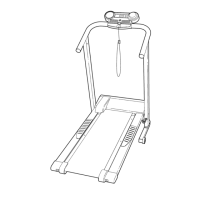
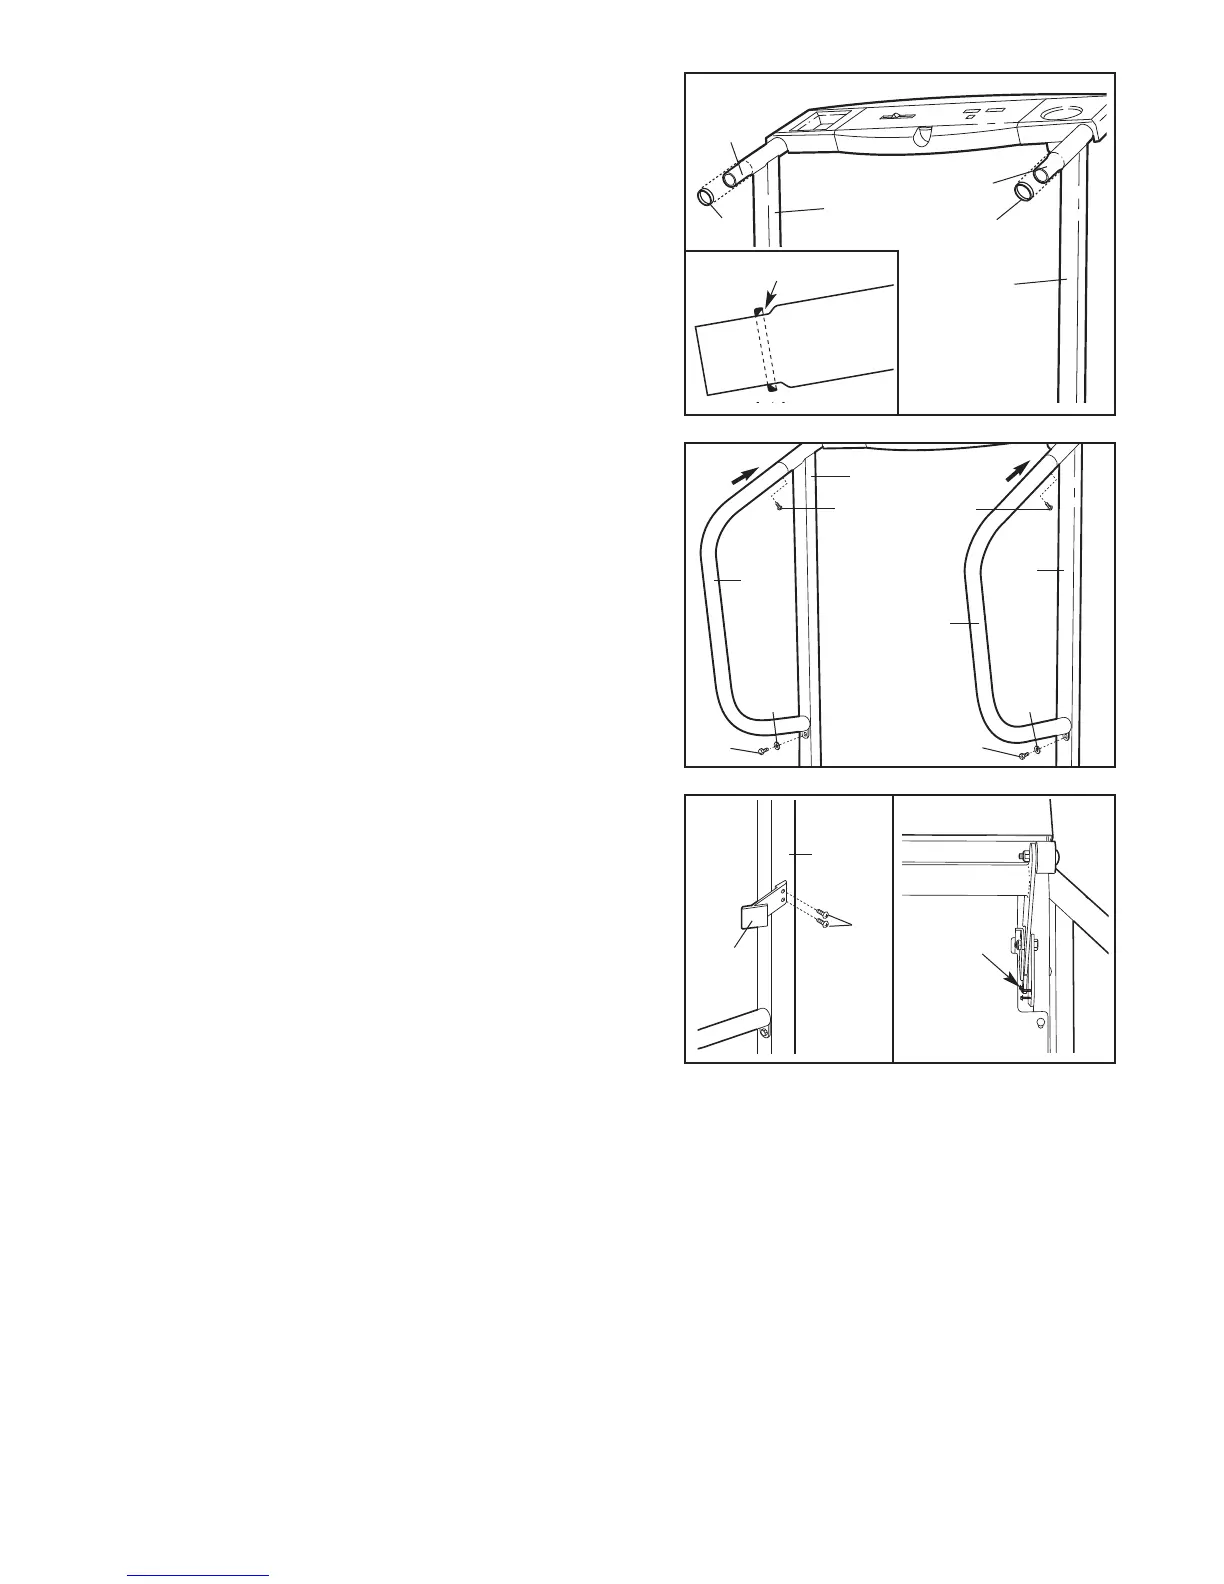
4. Slide the upper end of one of the Handrails (2) onto the
post on one of the Uprights (14). Push the Handrail as far
forward as possible. Loosely thread a Handrail Screw (4)
into the Handrail. Next, align the lower end of the
Handrail with the hole in the Upright. Loosely thread a
Handrail Bolt (15) with a Handrail Washer (16) into the
Handrail and the Upright.
Attach the other Handrail (2) as described above.
Tighten the Handrail Screws (4) first, then the
Handrail Bolts (15).
5. Attach the Storage Latch (12) to the left Upright (14) with
two Latch Screws (13). Be careful not to overtighten
the Latch Screws.
Note: The ratchet screws shown at the far right are fac-
tory set and should not be adjusted.
6. Make sure that all parts are tightened before you use the treadmill. Keep the included allen wrench in a
secure place. The allen wrench is used to adjust the walking belt (see page 13). To protect the floor, place a
mat under the treadmill.
14
4
14
4
15
16
2
2
15
16
4
13
12
14
5
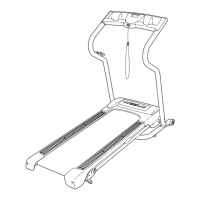
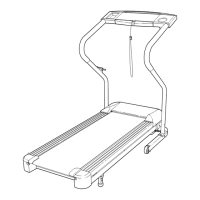
3. Slide a Rubber Ring (74) onto the post on each Upright
(14). Refer to the inset drawing. Make sure that each
R
ubber Ring is turned so the tapered edge is toward
the thickest part of the post.
74
74
P
ost
Post
14
1
4
3
Ratchet
Screws
6
T
apered Edge
 Loading...