English | 11
FUEL
Fire and explosion hazard. Never use a gasoline
container, gasoline tank, or any other fuel item that is
broken, cut, torn or damaged.
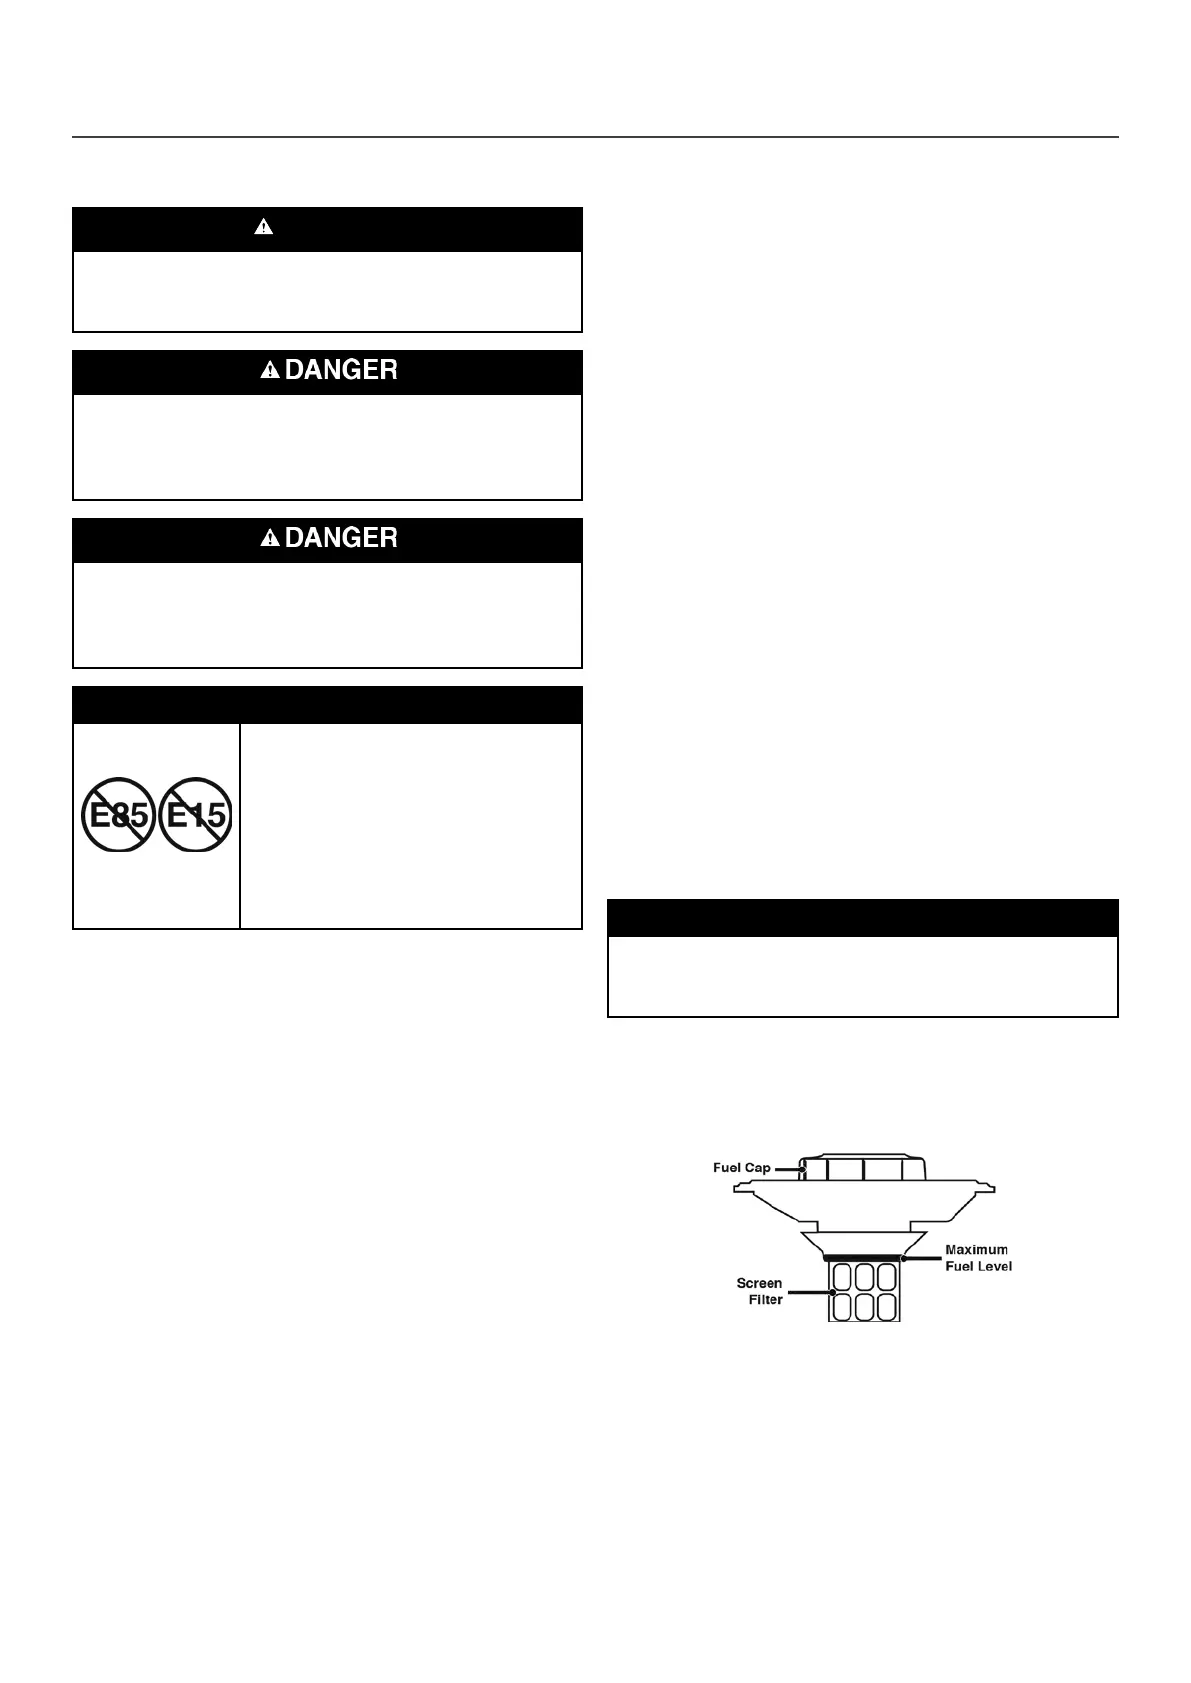
Fire and explosion hazard. Do not overll fuel tank. Fill
only to the red ll ring located in the in-tank fuel screen
lter. Overlling may cause fuel to spill onto engine
causing a re or explosion hazard.
Fire and explosion hazard. Never refuel the generator
while the engine is running. Always turn the engine off
and allow the generator to cool for two minutes before
refueling.
NOTICE
Do not use E15 or E85 fuel in this
product. Engine or equipment
damage caused by stale fuel or
the use of unapproved fuels (such
as E15 or E85 ethanol blends) is
not covered by warranty. Only use
unleaded gasoline containing up to
10% ethanol.
FUEL REQUIREMENTS
• CLEAN, FRESH, unleaded gasoline, 87–93 octane.
• Up to 10% ethanol (gasohol) is acceptable (where
available; non-ethanol fuel is recommended).
• DO NOT use E85 or E15.
• DO NOT use a gas oil mix.
• DO NOT modify the engine to run on alternate fuels.
• DO NOT fuel indoors.
• DO NOT create a spark or ame while fueling.
USING FUEL STABILIZER
Adding a fuel stabilizer (not included) extends the usable
life of fuel and helps prevent deposits from forming that
can clog the fuel system. Follow the manufacturer’s
instructions for use.
Always mix the correct amount of fuel stabilizer to gasoline
in an approved gasoline container before fueling the
generator. Run the generator for ve minutes to allow the
stabilizer to treat the entire fuel system.
FILLING THE FUEL TANK
1. Turn the generator OFF and allow to cool for a minimum
of two minutes before fueling.
2. Place the generator on level ground in a well ventilated
area.
3. Clean area around fuel cap and remove the cap slowly.
NOTICE
Only ll the tank from an approved gasoline container.
Make sure the gasoline container is internally clean and
in good condition to prevent fuel system contamination.
4. Slowly add the recommended fuel. Do not overll. Fill
only to the red maximum ll ring on the fuel screen lter
visible in the ller neck.
Install the fuel cap and tighten until a click is heard.
ASSEMBLY
 Loading...