PA
GE 3
FOR SERVICE TECHNICIAN’S USE ONLY
DO NOT REMOVE OR DESTRO
Y
FA
ULT CODE DISPLAY MODE (Pgs 6–7)
To access fault/error codes, perform steps 1 and 2 of Activating
the Service Diagnostic T
est Modes. Turn the cycle selector knob
until the status LEDs correspond as follows:
“Done” LED On
Press the START button to enter F
ault Code Display Mode.
The status LEDs flash on and off.
1.
To view last 4 fault codes:
Toggle cycle selector knob to view fault codes in the order
of most recent to oldest. (Refer to F
ault/Error Code charts
on pages 6 & 7.)
NOTE: A fault/error code will be removed from memory
if it does not reoccur after 10 consecutive wash cycles.
2.
To clear fault codes:
Toggle cycle selector knob until the status LEDs
flash ON and OFF (see figure 2, page 2).
Press and hold the START button for 3 seconds to clear
all fault codes and exit F
ault Code Display Mode.
Fault/Error Code Display Method
Fault/error codes are displayed by alternating the state of
the Status LEDs in one second intervals. All fault/error codes
have an F# and an E#. The F# indicates the suspect System/
Category and the E# indicates the suspect Component system.
If the Sensing Load LED is ON, the Fault Number is represented;
if OFF, the Error Number is represented (see example below).
The remaining LEDs (Soak/Wash, Rinse, Final Spin, and Done)
represent the fault and error code in binary. (See Fault/Error
Code Charts on pages 6 & 7 for more information.) = ON.
LED names may vary between makes and models.
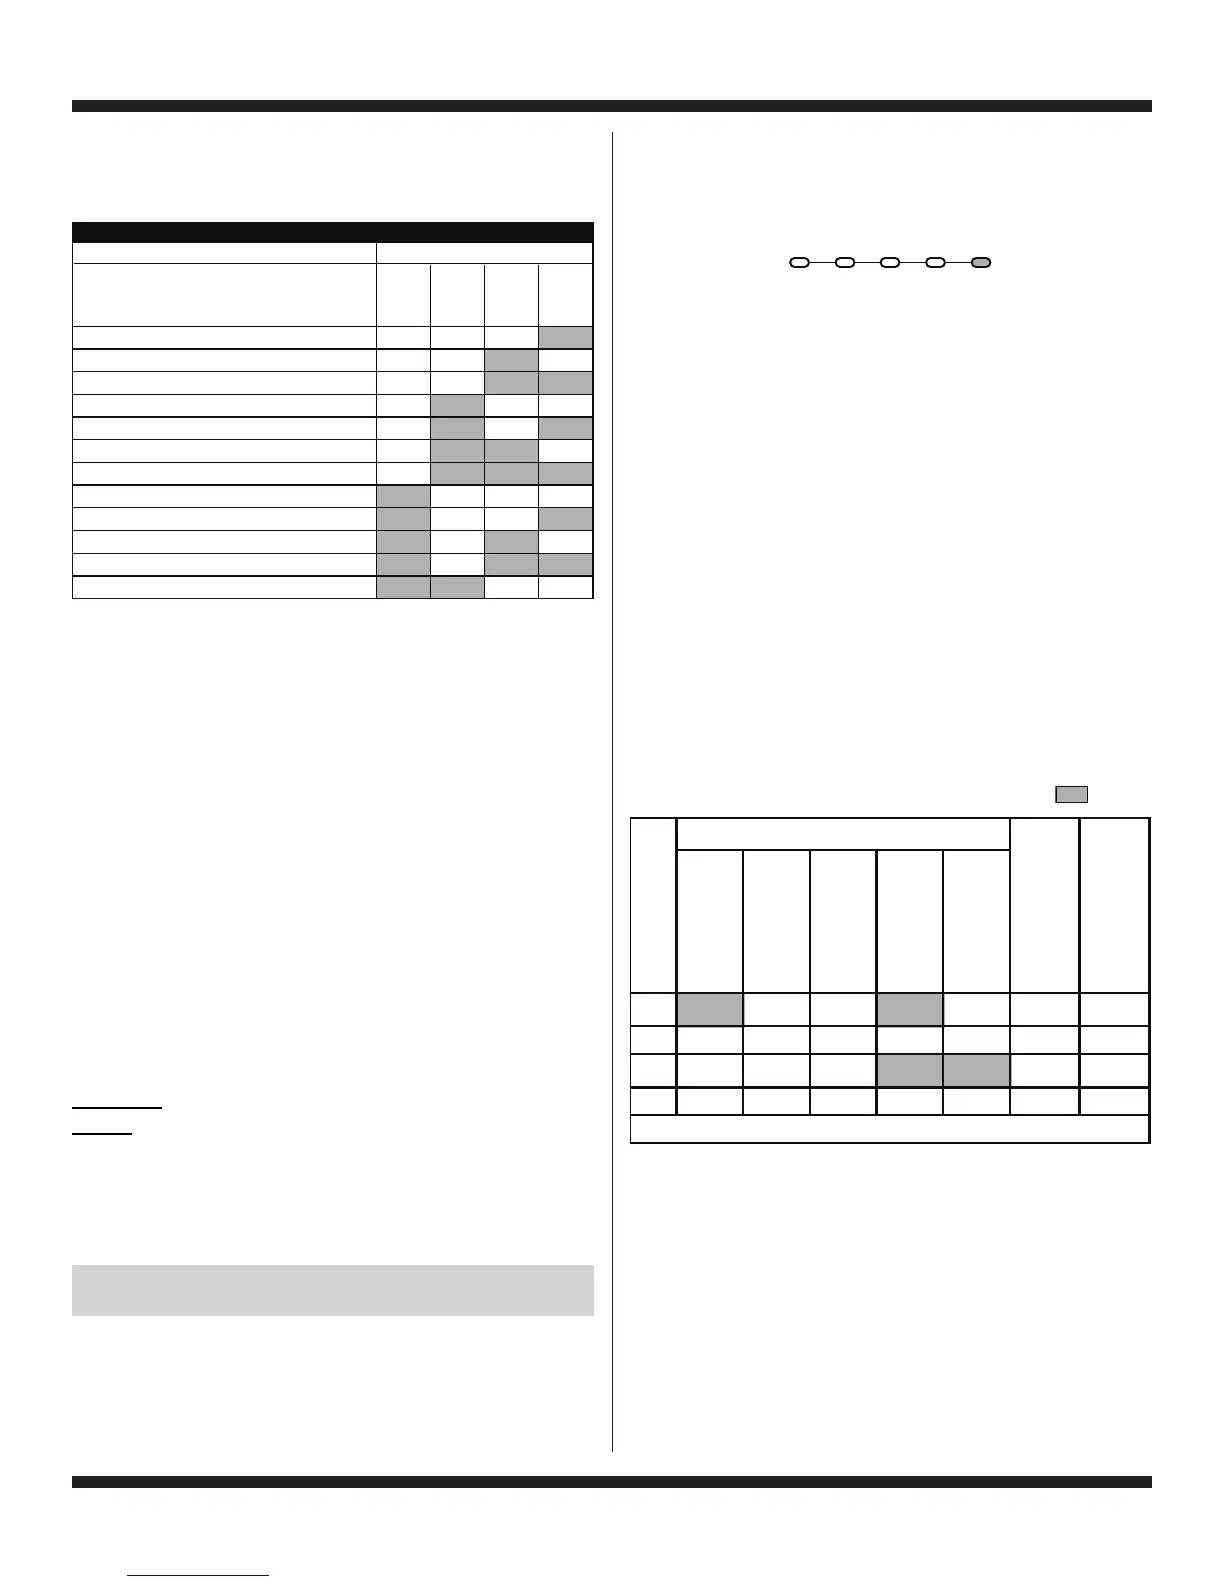
3. There are several accessible Diagnostic Test Modes shown
in the chart below. T
o select the desired Mode of Operation,
toggle the cycle selector knob until the status LEDs match
the mode desired to enter.
4.
Press the START button to enter desired mode of operation.
Refer to the following pages for detailed information on each
mode of operation:
FA
ULT CODE DISPLAY MODE: Page 3
QUICK OVERVIEW TEST MODE: P
age 4
MANUAL O
VERVIEW TEST MODE: Page 4
CALIBRATION MODE: P
age 4
SALES DEMO MODE: NOT FOR SERVICE USE*
UI TEST MODE: Page 4
SW VERSION DISPLAY MODE: P
age 5
FACTORY DIAGNOSTIC
S: If accessed, washer must be
recalibrated (see Calibration Mode)
T
ACHOMETER VERIFICA
TION MODE: Page 5
DRY FACTORY DIAGNOSTIC
S: Page 5
FACTORY CAL TEST MODE: P
age 5
CLEAN W
ASHER CY
CLE: Page 5
*To exit, press and hold the ST
ART button for 3 seconds.
Unsuccessful Entry
If entry into diagnostic test mode is unsuccessful, refer to the
following indication and action:
Indication: None of the LEDs turn on.
Action: Press ST
ART button to enter setting mode.
If indicators come on, repeat steps 1 through 4 of Activating
the Service Diagnostic Modes. NOTE: Rotating the dial too
fast or too slow will affect entry.
If no indicators come on after pressing the START button,
go to TEST #1, page 12.
EXITING THE SERVICE DIAGNOSTIC
TEST MODES
Press and hold the START button for 3 seconds at any time
to exit diagnostic test modes.
W
asher will exit diagnostic test modes after 5 minutes of
inactivity or unplugging the power cord.
E
DOM
SOAK/
W
ASH
RINSE
FINAL
SPIN
DONE
Fault Code Display Mode
1
Quick Overview
Test Mode
2
Manual Overview Test Mode
2
Calibration Mode
4
Sales Demo Mode
4
UI Test Mode
4
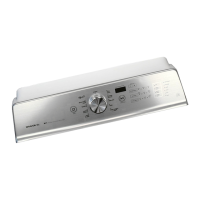
STATUS LEDs
DIAGNOSTIC TEST MODES
SW Version Display Mode
41
Factory Diagnostics Mode
Tachometer Verification Mode
18
8
(Status LED names may vary
between makes and models)
1
1
2
2
Dry Factory Diagnostics
Factory Cal Test Cycle
Clean Washer Cycl
e
8
8
84
2
21
Sensing Soak/ Final
Load Wash Rinse Spin Done
1F 8421F2
0.5
20.5
3E 8421E3
0.5
41.0
Repeat…
STATUS LEDs
Frame Numbe
r
SENSING
LOAD
SOAK/WASH
RINSE
FINAL SPIN
DONE
Fault / Error Code
Frame Timing (sec.)