8
Installation and Operation
CONTROLS
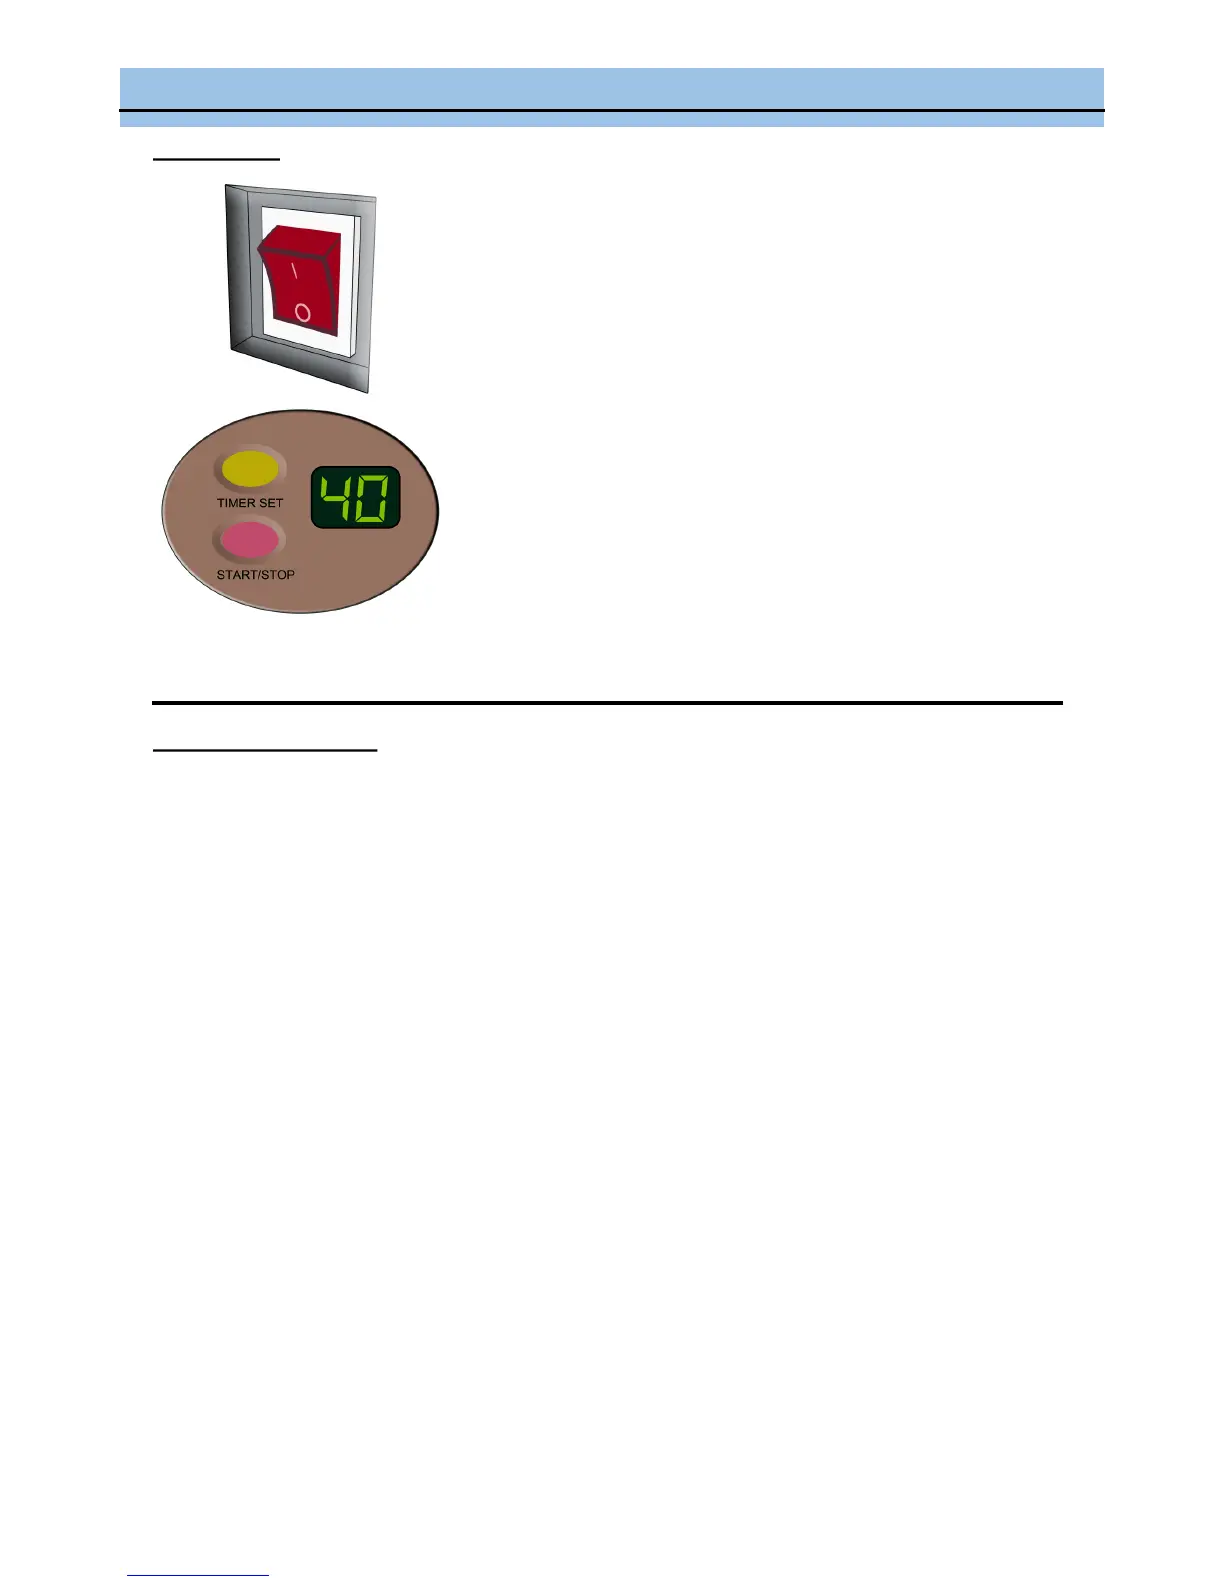
POWER SWITCH:
I - Switch to turn ice cream maker ON
O - Switch to turn ice cream maker OFF
TIMER SET Button: The ice cream maker defaults at 40:00 minutes
Start Time. 00:00 – 60:00 minutes of operation time can the selected by
pressing the Timer Set Button in 1:00 minute increments. Once the time
has been set, press the Start/Stop Button to start operation.
NOTE: The Timer Set function works as a timer only; it does not turn
the churn motor “OFF” automatically. To turn off the unit, use Power
Switch.
START/STOP Button: After choosing the desired operating time,
press the START/STOP Button to initiate operation. The unit will be
paused by pressing the START/STOP during operation. At pause,
press START/STOP button again, the machine will resume its unfin-
ished operation.
ICE CREAM MAKING
WARNING: Before first use, wipe the cooling cylinder of the unit with a moist cloth. Do not immerse the cool-
ing cylinder in water. Wash the removable mixing bowl and churn blades in warm, soapy water to remove
any dust or residue from the manufacturing and shipping process. Please note that the parts are not dish-
washer safe. Do not clean any of the parts with abrasive cleaners or hard implements.
OPERATING INSTRUCTIONS
1. Plug the unit into the power outlet.
2. Prepare ingredients (see pages 10 - 11 of the User Manual for recipes).
3. Place removable mixing bowl into the cooling cylinder. Be sure bowl is properly aligned. Make sure the
outside of the mixing bowl is completely dry before inserting it into the appliance.
4. Place churn blade in the removable mixing bowl so that it rests in the center of the bowl.
5. Pour mixture into the removable mixing bowl. When mixture is ready, position the churn motor properly
into the churn motor plug and mixing paddle.
Note: Please make sure that the pre-mixture does not exceed the -H- line to avoid overflowing.
6. Turn ON the Power Switch.
7. Press the TIMER SET button and choose desired operating time. The time will default to 40:00 minutes.
8. Press the START/STOP button to begin. The timer will count down to 00:00 and the unit will beep five
times to indicate the mixture is ready.
Tip: Additional ingredients such as nuts and fruits can be added towards the end of mixing time. Once the
mixture has begun to thicken (usually about 5 minutes from end time), add the ingredients through the Refill
Lid opening.
9. Turn the unit off using the Power Switch. Remove the churn motor and lift removable mixing bowl out of
the cooling cylinder with handle. Remove churn blade from removable mixing bowl.