Kunststoffschweißtechnik
WIDOS Einsteinstr. 5 Phone +49 (0) 71 52 99 39 - 0
W. Dommer Söhne GmbH D-71254 Ditzingen-Heimerdingen Fax +49 (0) 71 52 99 39 - 40
Website: http://www.widos.de Email: info@widos.de
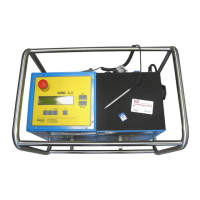
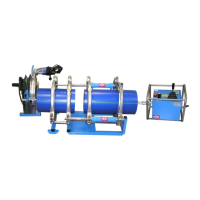
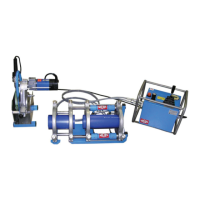
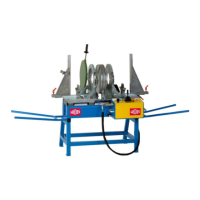
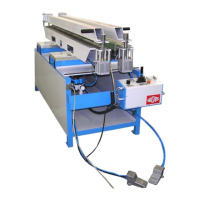
22.11.2005 Working Instructions WIDOS 4900 CNC 3.0 (110 V) Page 45 of 76
7. Equipment care / maintenance / repair
Goal of the chapter is:
• Keeping the nominal state and the operation capacity of the machine.
• Increasing the efficiency by avoiding non-planned outage.
• Efficient planning of the maintenance works and the maintenance tools.
7.1. Storage
• The cylindrical waves of the basic machine are to be kept free from dirtiness and need to
be covered with a thin oil film if they are not being used.
• Store dry.
7.2. Cleaning the machine
The used materials and tissues are to be handled and disposed of properly, especially
• when cleaning with solvents.
7.3. Clamping elements
• For a long service life, clean and grease regularly the threaded spindles and the joint parts
which are used for clamping the pipes.
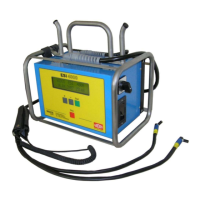
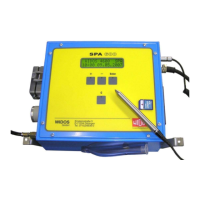
7.4. Checking the hydraulic oil level
• To avoid damages check the oil level of the hydraulic pump before each starting of the
control unit.
• Open front plate on the lefthand side of the control unit.
• Unscrew the cover of the filler neck of the tank (with integrated oil dipstick).
• Clean the oil dipstick with a fiber-free tissue and insert it again in the tank (do not screw).
• Remove the oil dipstick again and check the oil level by means of the two marks on it (the
oil level should be between both marks).
• If the oil level is under the lower mark, then hydraulic oil of the quality HLPD 32 should be
added.
• The oil level may not be over the upper mark because otherwise there is the risk of
inondation.
• After completion ot the works, close the tank cover again and close the front plate.
 Loading...