46 WIKA operating instructions pressure transmitter, model IS-3
MM/YYYY country code based on 14095850.02 12/2014 EN/CN
EN
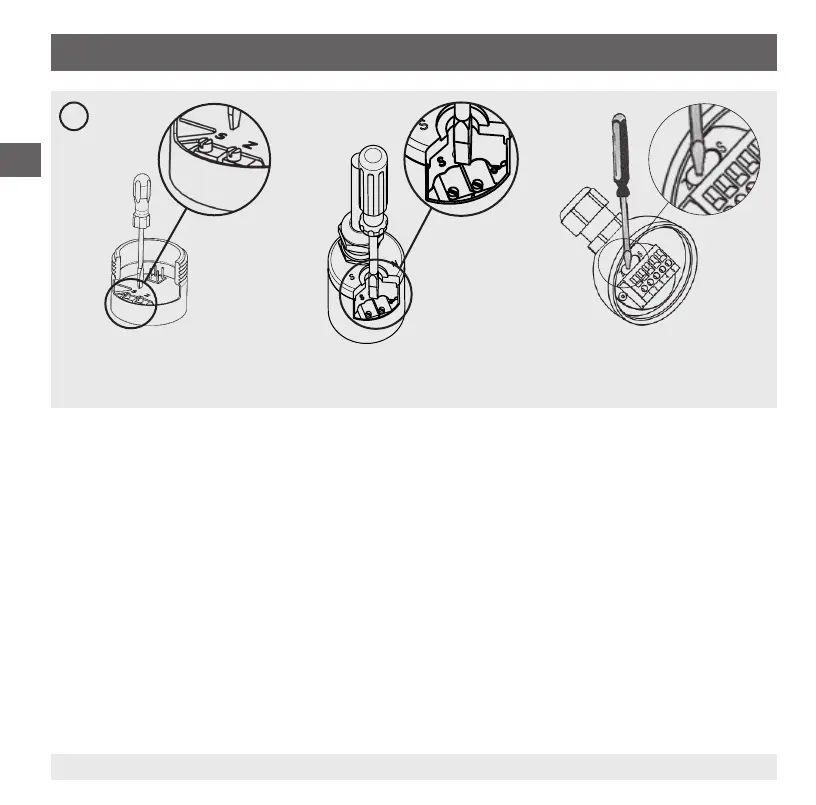
7.4 Finishtheadjustment(gureA)
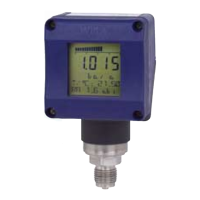
Clampingnut(gureA)
1. Disconnect the instrument connector (3) from the power supply and the display unit.
2. Carefully insert the instrument connector (3) into the instrument, without damaging the wires or sealing. The seals
must be clean and free from damage in order to ensure the specied ingress protection.
3. Tighten the clamping nut (2).
Screw,eldcase(gureA)
Screw the screw or the case cover back in.
After the adjustment, check that the system is functioning correctly.
Recommended recalibration cycle: Annually (see chapter 8.3 “Recalibration”)
For any questions, please contact the manufacturer. See application consultant under chapter 1 “General information”
B
Field caseClamping nut Screw
S = span
Z = zero point
7. Adjusting the zero point and span
 Loading...