English
32 WILO SE 08/2019
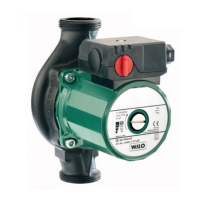
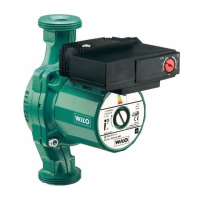
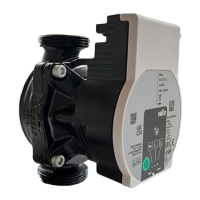
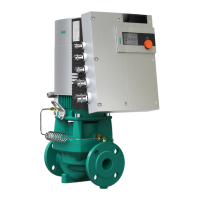
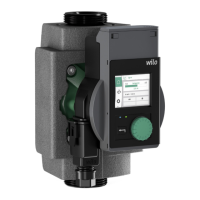
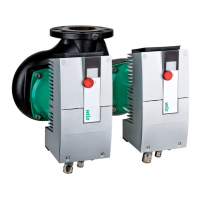
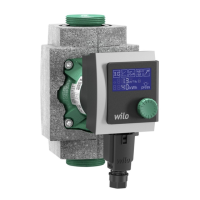
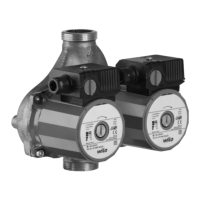
7.1 Installation
• Only install the pump after all welding and soldering work has
been completed and the pipe system has been flushed through.
• Mount the pump in a readily accessible place for easy inspection
and dismantling.
• If the pump is installed in a domestic hot water circulation sys-
tem, a non-return valve must be installed on the pressure side.
• Shut-off valves should be installed upstream and downstream
of the pump to facilitate a possible pump replacement.
• Perform installation so that any possible leaking water cannot
drip onto the terminal box.
• To do this, align the upper gate valve laterally.
• In thermal insulation work, make sure that the pump motor and
the module are not insulated. The condensate-drain openings
must remain uncovered (fig. 3, item 2).
• Install the pump with the pump motor horizontal and free from
mechanical tension. See fig. 2 for installation positions of the
pump.
• Direction arrows on the pump housing and the insulation shell
(accessories) indicate the direction of flow (fig. 3, item 1).
• Use an open-end wrench to secure the pump against twisting
(fig. 4).
• The motor housing can be twisted after undoing the motor
attachment screws if it is necessary to position the terminal box
(fig. 5).
Note: In general, turn the motor head before the installation is
filled. When turning the motor head in a system that has already
been filled, do not pull the motor head out of the pump housing.
Turn the motor head with a small amount of pressure on the
motor unit so that no water can come out of the pump.
 Loading...