5
– protect electrical components from drain water.
– Take care when undoing the Allen screws at the
motor flange; depending on system temperature
and pressure, hot liquid or vapour can forcefully
erupt.
Grave risks of scalding!
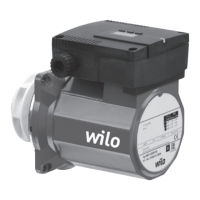
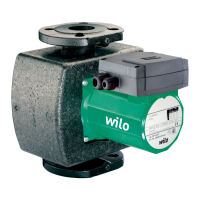
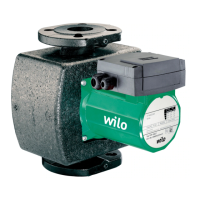
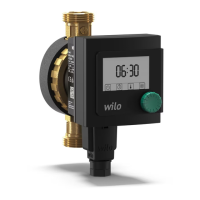
4. Dismantling procedure (Fig. 1)
4.1 Existing Motor
– Undo and remove the four fixing screws (5.3) and
remove the module cover (5.1).
– Remove wiring connections to terminals (not
illustrated).
– Undo the PG gland nut at the motor module box.
– Remove power cable.
– Undo the four Allen (1.1) screws and extract
motor head from pump housing 6).
4.2 Module
– Undo the earth screw (5.4) and the two fixing
screws (5.7) and remove the module base (5.2).
4.3 Impeller
– Remove circlip (2.2).
– Extract the impeller (2.1).
4.4 Rotor Unit/Stator Unit
– Remove cover plate (4.1) at rear end of Stator
housing (4).
– Set auxiliary tool against vent plug (3.1) and
press-out the rotor unit (3).
5. Re-assembly
5.1 Stator Unit
– Affix type stickers, one at the rear end below the
cover plate and the other above the side name
plate (Fig. 2).
5.2 Rotor Unit
– Press home into stator unit (4).
5.3 Impeller
– Fully push home impeller onto the rotor shaft (3.2)
and secure with new circlip (2.2).
Ensure that circlip sits fully inserted in
shaft groove
5.4 Module
– Insert module base (5.2) at right angle into stator
housing (4).
– Securely fix earth screw (5.4) + spring washer
(5.5) + serrated washer (5.6) and the two fixing
screws (5.7).
– Place module cover (5.1) onto module base and
secure with the four fixing screws (5.3).
5.5 Exchange Motor
– Place new O-ring (1.2) twist-free onto the edge of
the can flange (3.3) facing the impeller (2).
– Firmly press exchange motor (1) onto the seat of
the pump housing (6) and firmly secure by means
of the four Allen screws (5.8).
– Re-insert power cable through the cable gland
(5.8).
– Re-wire to terminals (not illustrated) and tighten
PG cable gland (5.8).
ATTENTION!
5.6 Screw Torque Exertion Levels
Glands/Screws Size Torque Remarks
(Nm)
Cable gland (5.8) PG 4 +1
Terminal screws 0.4 + 0.1
Terminal box base (5.4/5.7) M5 1+ 0.1
Terminal cover screws (5.3) M4 0.4 – 0.1
Internal hexagon screws (1.1) M6 8 +1 fasten evenly
M10 30 +/– 0.5 fasten evenly
ENGLISH
6. Commissioning
6.1 Fill and Vent Procedure
Carefully refill and vent the pipe system. The pump
rotor space will be automatically vented after a short
operating period. Short term dry-running will not harm
the pump. If, however, a direct venting of the rotor
space becomes necessary, proceed as follow:
– Switch off power supply to the pump.