38 Wilo SE 08/2017
en
• Hold the motor head (2+5) and unscrew the 4 housing
screws (4).
• Carefully rotate the motor head (2+5).
• Observe the permitted installation position (Fig. 2)
and the direction arrow on the pump housing (1).
• Tighten the 4 housing screws (4).
Installing the pump
Observe the following points when installing the pump:
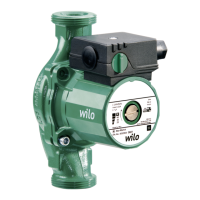
• Note the direction arrow on the pump housing (1).
• Install glandless motor (2) horizontally, without
mechanical tension.
• Place gaskets in the screwed connections.
• Screw on threaded pipe unions.
• Use an open-end wrench to secure the pump against
twisting and screw tightly to piping.
• Re-mount the thermal insulation shell if required.
CAUTION!
Damage to the inner gasket causes leakage.
• Carefully rotate the motor head (2+5) without
removing it from the pump housing (1).
1
2
3
CAUTION!
Insufficient heat dissipation and condensation water
may damage the control module and the glandless
motor.
• Do not thermally insulate the glandless motor (2).
• Ensure all condensate drain openings (3) are kept
free.
 Loading...