USER MANUAL WINIX ZERO 5 AIR PURIFIER
Page 14
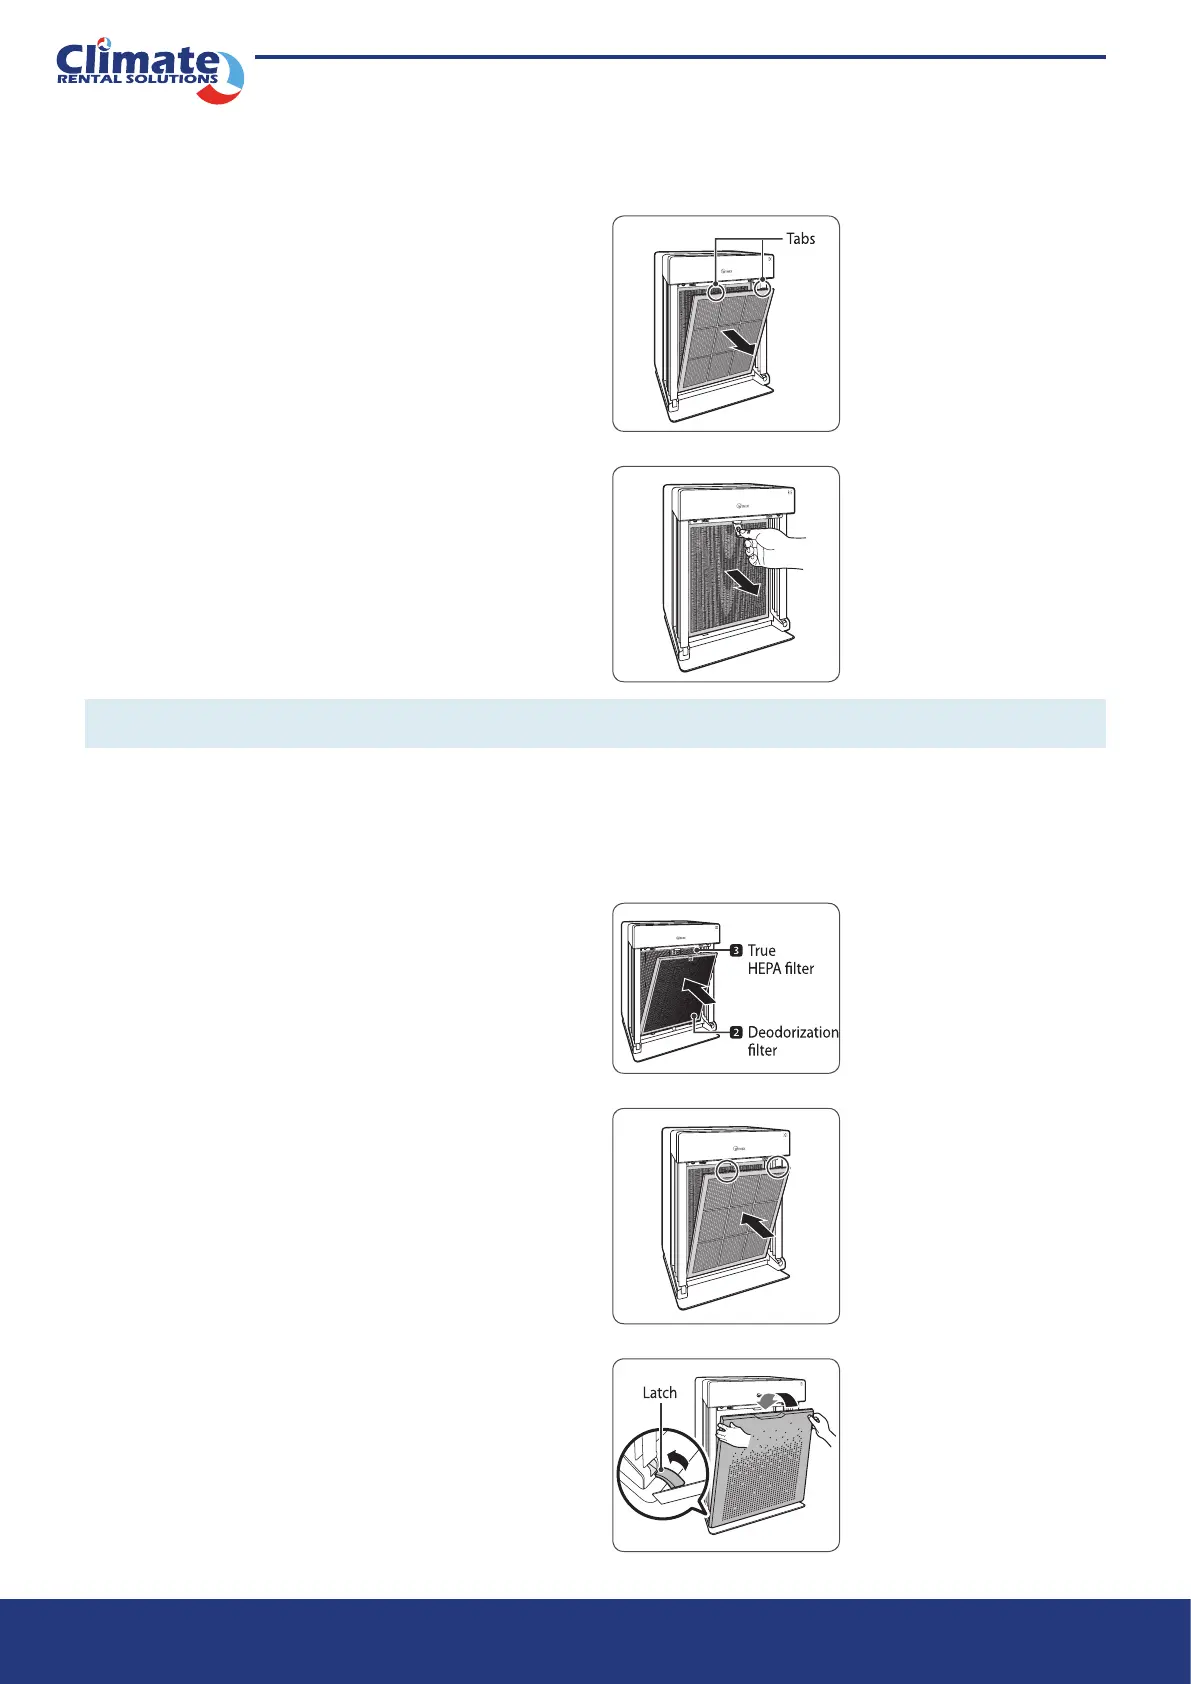
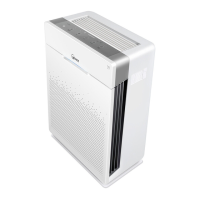
2. Press the tabs on the top edge to remove the 1
Pre-lter.
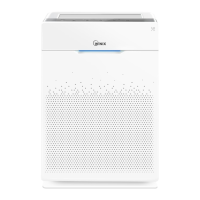
3. First remove the 2 Deodorization lter and then
the 3 True HEPA lter by pulling on the numbered
tags at the top of each lter.
NOTICE : For optimal performance, only genuine Winix lters should be used with this unit.
Filter Assembly and Replacement
Filters should be re-installed in the reverse order of their removal.
1. Insert the replacement 3 True HEPA lter (rear) 2
Deodorization lter (middle)
• Remove the protective plastic wrap from new l-
ters. Operating the unit without removing the pro-
tective plastic wrap may cause abnormal noise,
deformation, or re as a result of overheating.
2. Insert the 1 Pre-lter (front).
• To install the pre-lter, insert bottom tabs into the
slots on either side of the lower part of the unit,
then rotate upward to insert the upper tabs into
the slots at the top part of the unit until both sides
audibly click into place.
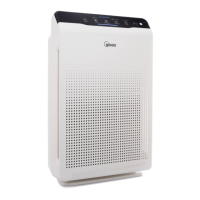
3. Replace the front panel by rst inserting the latch
at the bottom edge into the base of the unit, then
rotate the panel upward toward the top of the unit
until it magnetically snaps closed.