9
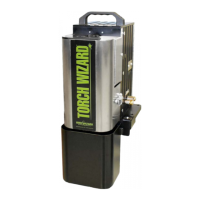
TORCH WIZARD INSTALLATION & OPERATION MANUAL
wire-wizard.com
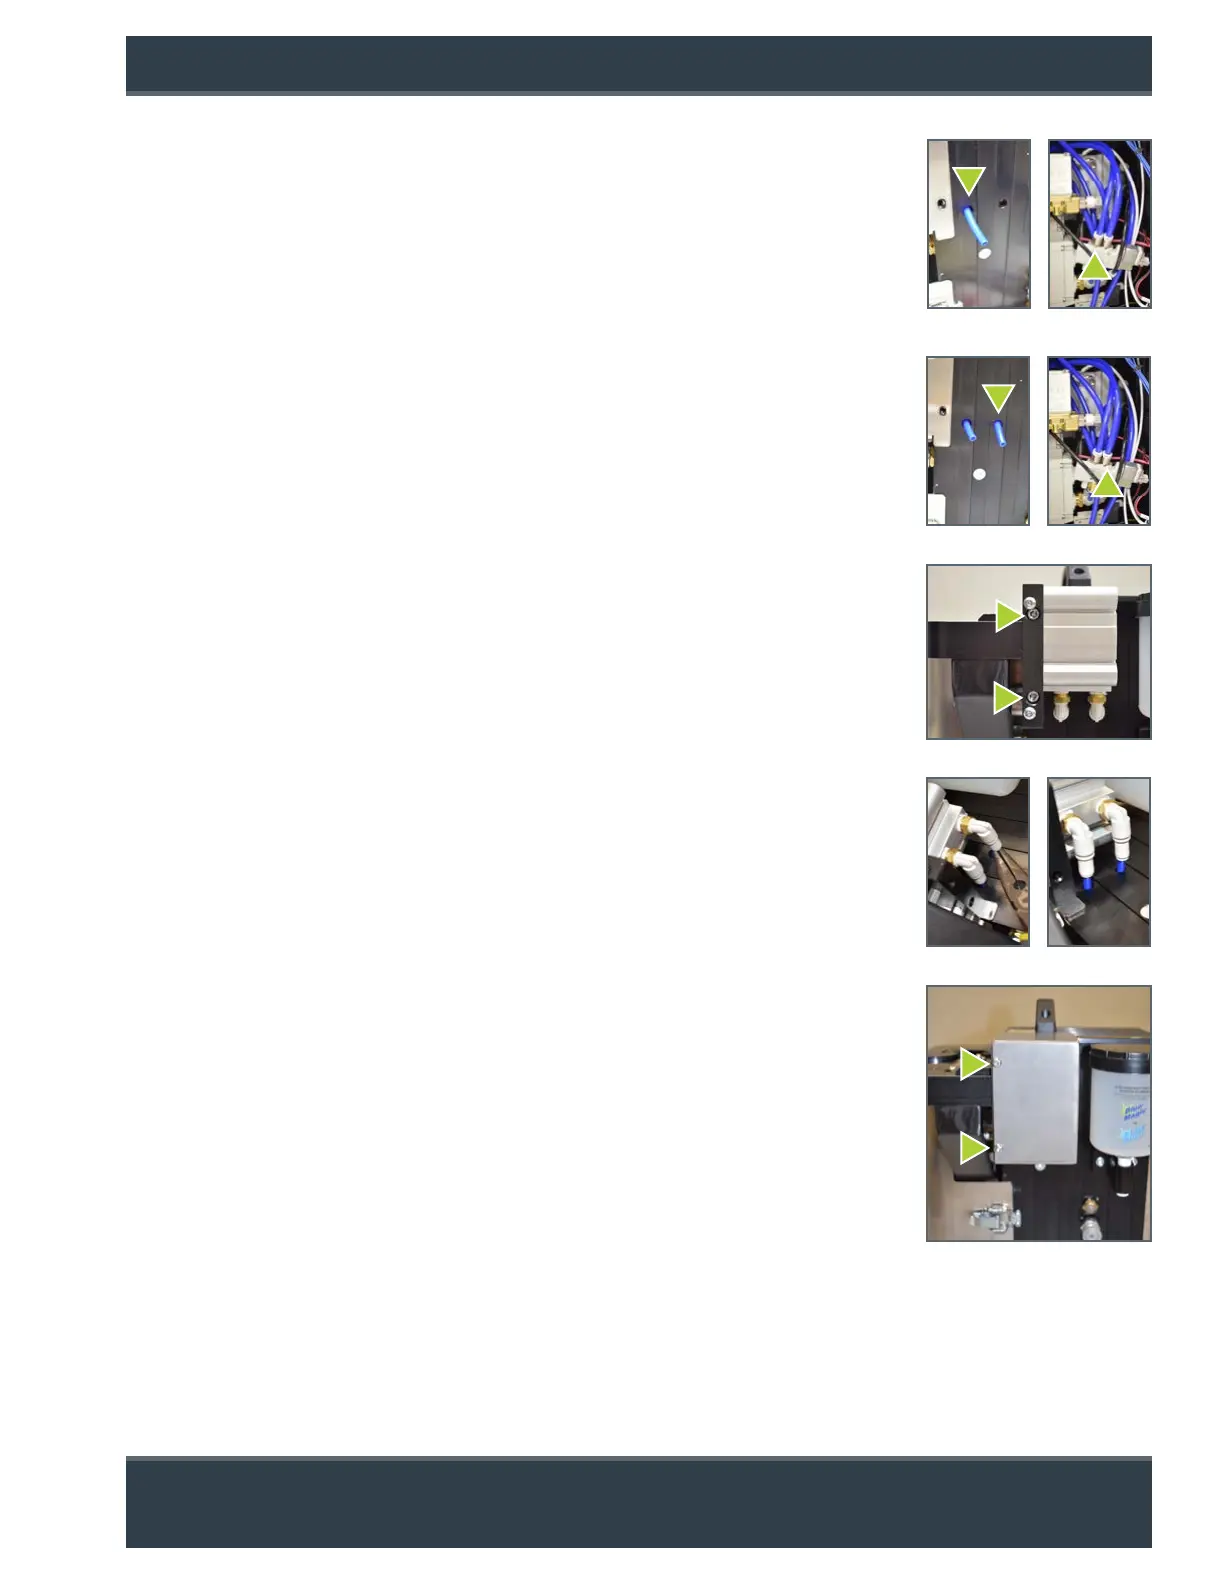
Figure F
Figure H
Figure E
Figure G
Figure DFigure C
10. Cut two pieces of approx. 10" tubing. Insert the first piece of tubing into the front hole on
cleaning station (Fig. 10a) and install into the push-to-lock fitting on the le side of the
valve assembly (port B) (Fig. 10b).
11. Insert the second piece of tubing into the back hole on cleaning station (Fig. 11a) and install
into the push-to-lock fitting on the right side of the valve assembly (port A) (Fig. 11b).
12. Install the wire cutter by securing the two mounting bolts with a 5 mm Allen wrench.
13. Using a pair of needle-nose pliers, firmly push in the two air lines into the push-to-lock
fittings on the wire cutter (Figs. 13a and 13b).
14. Re-install the steel cover on the wire cutter using the two screws to secure cover back in
place (Fig. 14).
15. Test wire cutter functionality per the instructions in the Torch Wizard® Cleaning Station
operation manual.