Thank you for choosing Wolverine
Having difficulty using this product?
Please try the following options:
.
Call us at 949-458-9888 M-F 9:00-5:00 Pacific Time
.
E-mail our technical support staff at support@wolverinedata.com
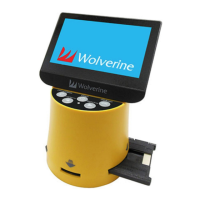
Quick Start
1. Attach power cord.
2. Insert optional SD/SDHC memory card.
3. Turn SNaP Converter on.
4. Convert photos:
1. Move lever to Photo side then press OK.
2. Press Left/Right Arrow key to select photo size, then press OK.
3. Open top lid and place proper Photo Guide.
4. Place photo against Photo Guide and close lid.
5. Edit image brightness or orientation - optional steps.
6. Press CONVERT key to convert photo.
7. Press OK key to save image.
8. Open lid, replace photo, repeat steps.
5. Convert film:
1. Move lever to Film then press OK.
2. Press Left/Right Arrow key to select film type, then press OK.
3. Place film into proper tray.
4. Insert tray into SNaP from right side slot.
4. Edit image brightness or orientation - optional steps.
5. Press CONVERT key to convert film.
6. Press OK key to save image.
7. Push film tray to left (one direction) for new film, repeat steps.