7
2.1.3 Instruction of torque wrench (See Figure 6)
a) The torque wrench's structure is designed in special way which can control
the strength of the scaling tip's installation properly and correctly. It also can
guarantee the operator screw or unscrew the scaling tip eectively and keep their
hands away from being scratched.
b) Operation
①
Take the scaling tip into the torque wrench, operate as showed in gure 6.
②
Tip installation: Hold the handpiece, turn the tip toward direction as
showed in gure 6 with the torque wrench. Turn one more circles when the tip
stops, then the tip is installed.
③
Tip uninstallation: Hold the handpiece, turn the wrench toward anti-
clockwise direction.
④
Sterilize it in sterilizer after each treatment.
⑤
The torque wrench must be cooled naturally after sterilization to avoid
scald when using next time.
⑥
Keep the torque wrench in a cool, dry and ventilated place and keep it
clean.
2.2 Auto-water supply function
2.2.1 Usage process
a) Pull out the water bottle vertically.
b) Open the lid, ll the bottle with adequate puried water and tighten the lid.
c) Clean the joint and interface of water bottle.
d) Place the bottle with water upside down, insert the joint into the interface
vertically (See Figure 4).
e) Press "WATER" to choose auto-water supply.
2.2.2 Notice
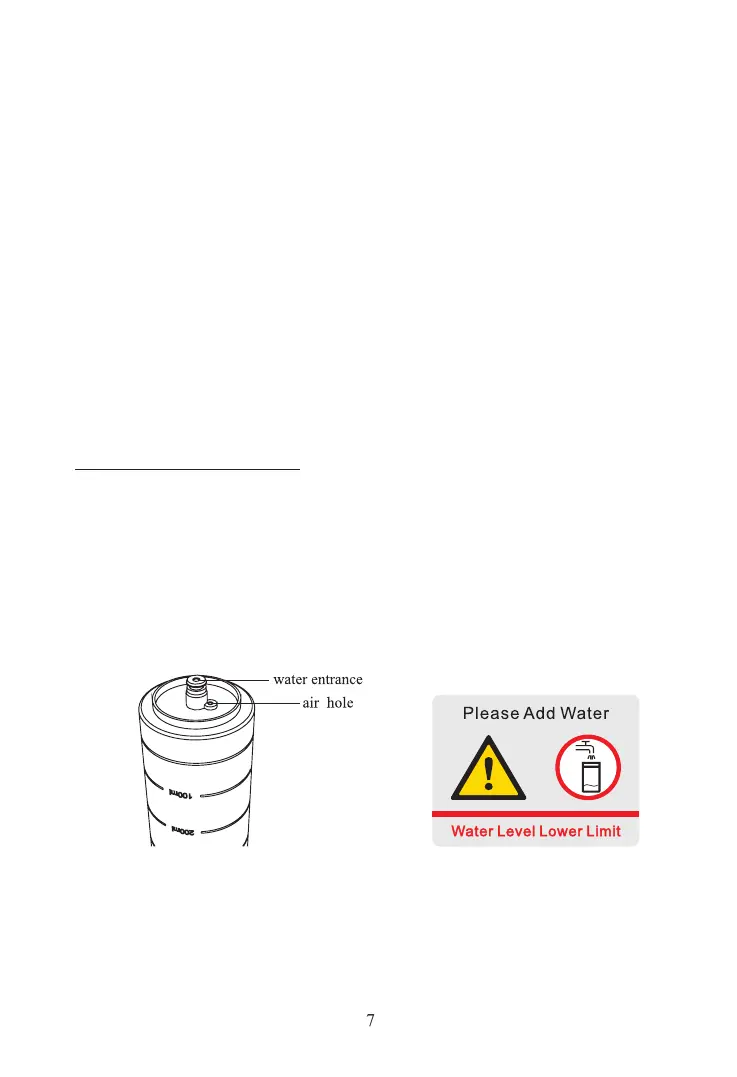
a) Make sure the air hole and water entrance are unblocked (See Figure 7).
Figure 7 Figure 8
b)
Check if the cushion inside the lid is on
good condition. If it becomes deformed or falls o, reinstall or change it.
c) Tighten the lid.
d) Clean the joint and interface of water bottle before each clinical operation.
e) After each clinical operation with clinical liquid, change a bottle with