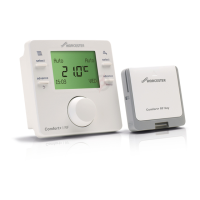
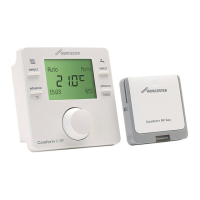
Using the control unit
Comfort+ II RF – 6720886122 (2018/07)
8
3.3 Putting the control unit into operation
▶ Switch on the heat source.
The control unit and key are set and connected at the factory
and are therefore immediately functional.
The control unit will initially display the Code 1007 “no wireless
signal” (Codes Chapter 8.1).
Once the connection has been established, the preset date and
time, the heating and DHW AUTO mode and the current room
temperature will appear on the display.
Setting the date and time:
▶ Press the menu key for at least three seconds to open the
menu.
▶ Turn the selector to select Settings.
▶ Press the selector.
▶ Set the time, date and time format ( Chapter 5).
4 Using the control unit
The control unit has preset heating and DHW switching times
( Table 2). These settings can be adapted to the
requirements of the end customer ( Chapter 5). The
switching times can also be reset to the default setting
( Chapter "Restoring the factory settings (Reset all)", Reset
all).
Table 2
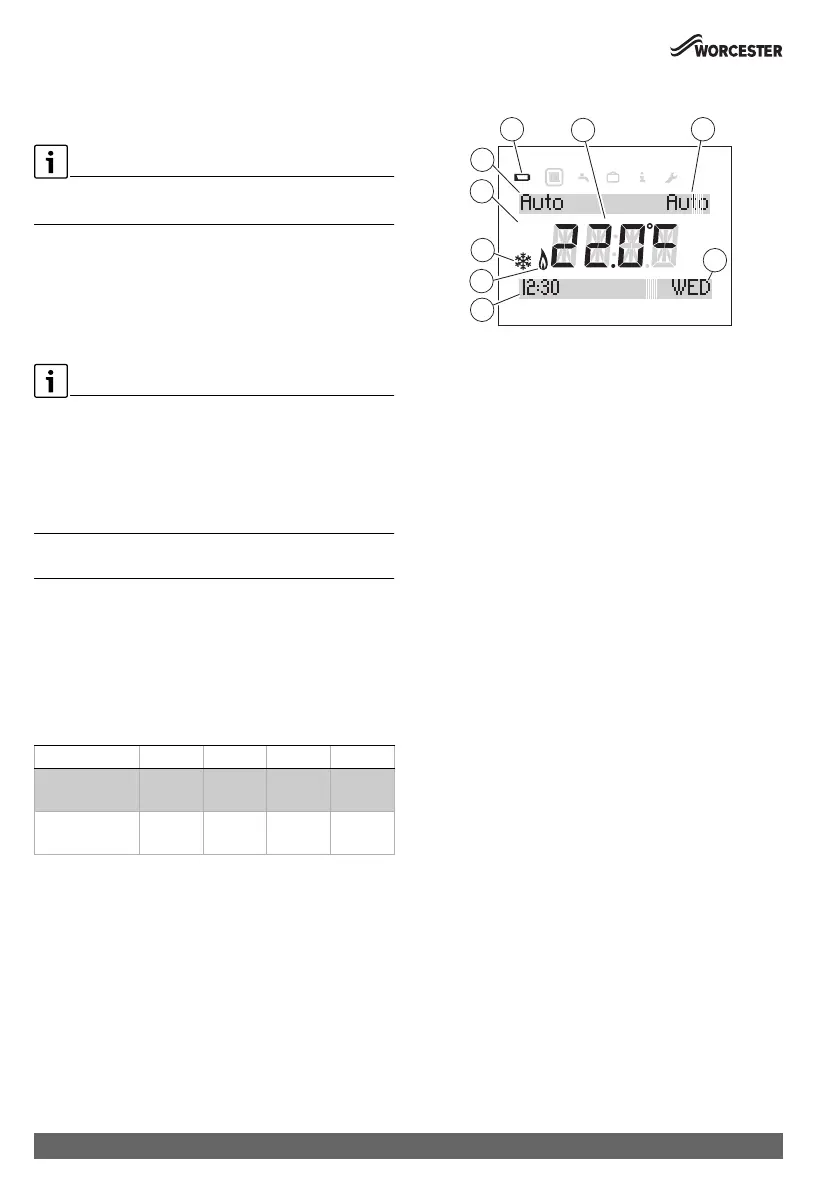
4.1 Standard display
Fig. 8 Standard display
[1] Current room temperature
[2] DHW operating mode
[3] Day of the week
[4] Clock
[5] Burner in operation (lights up if heat source is in heating
mode; up to 6-minute delay)
[6] Frost protection (lights up in heating mode OFF)
[7] am or pm (lights up if 12-hour time format is used)
[8] Heating operating mode
[9] Battery low
The standard display ( Fig. 8) shows the following:
• the current room temperature (Pos. [1]),
• the weekday (Pos. [3]),
• date and time (Pos. [4]) in 12- or 24-hour format, if the
display is illuminated,
• am or pm (Pos. [7]) in 12-hour format,
• a battery symbol (Pos. [9]), if the batteries need to be
changed ( Chapter 9.1),
• a “Burner in operation” symbol (Pos. [5]), when the burner
is in operation. There can be a delay of up to six minutes
between actual burner operation and indication on the
display.
• a “Frost protection” symbol (Pos. [6]), if the heating mode
OFF is set.
• the heating operating mode (Pos. [8]), i.e. ON, OFF, AUTO
or ADV.
Press the select heating program key to select one of the
following operating modes:
– ON = heating is permanently on
– OFF = heating is permanently off
– AUTO = programmed switching times are executed
– ADV = select/deselect heating program in the AUTO
operating mode by pressing the advance key to bring
the next programmed switching time forward or to
revert to the normal program.
Switching time 06:30 08:30 16:30 22:30
Heating
temperature
20 °C 16 °C 21 °C 10 °C
Domestic Hot
Water
ON OFF ON OFF
0010009667-002
1
2
3
4
8
7
6
5
9
pmam
 Loading...