7
Installation
Worcester Wave– 6 720 810 446 (2014/09)
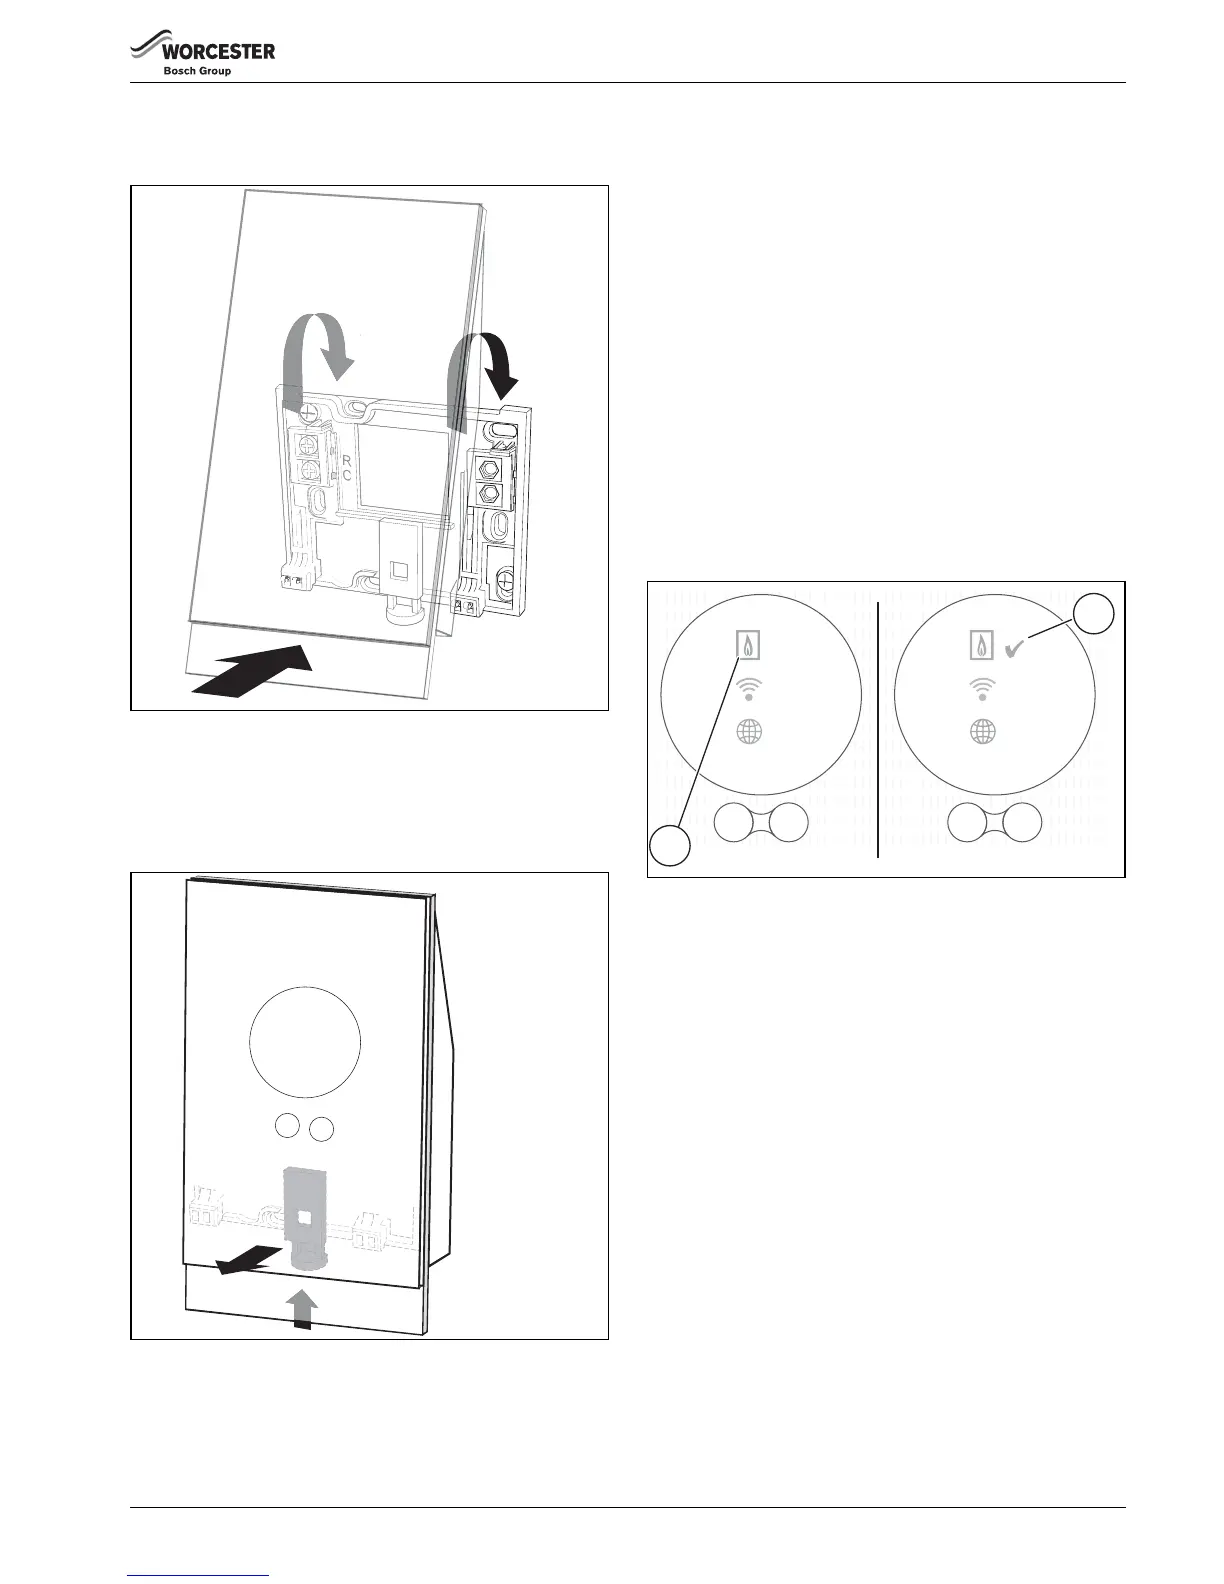
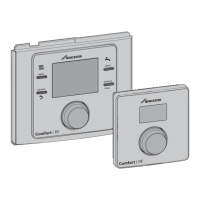
3.5 Fitting/Removing the thermostat
Fitting
Fig. 6 Fitting the thermostat
▶ Hook the thermostat to the back of the wall plate [1].
▶ Press the bottom of the thermostat against the wall plate
until you hear a “click” [2]. The thermostat is now locked.
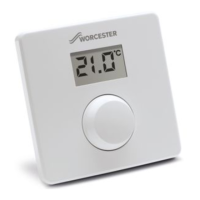
Removing
Fig. 7 Removing the thermostat
▶ Unlock the thermostat by pressing the unlock button [1]
under the front edge.
▶ Tilt the bottom of the thermostat up and remove it [2].
3.6 Using for the first time
3.6.1 Software updates to the Wave
The software is updated automatically, over your internet
connection. Straight out of the box the Wave may not have the
latest software installed, as a result, the full app. functionality
may not yet be supported. The installed software version can
be checked on the cleaning screen ( Section 6.1, page 11).
3.6.2 Starting up the thermostat
▶ Turn on the boiler, this provides power to the thermostat.
▶ Remove the plastic screen protector.
The Wave and boiler will link automatically:
• During the connection phase, the Boiler[1], Wi-Fi and
internet connection icons are present.
• The thermostat establishes a connection with the boiler
(indicated with a tick [2] next to the boiler connection icon
[1]).
Fig. 8 Connection with the boiler
• The connection has been made with the boiler.
.
6720810446-20.1Wo
02.13.00 02.13.00
1
2