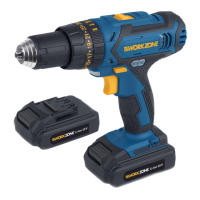
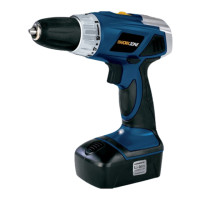
Utilising tools (fig. 7)
1. Twist counterclockwise to open the quick action safety chuck.
2. Insert a suitable drill or bit into the cavity of the chuck.
3. Tighten the quick-action safety chuck by turning clockwise.
The quick-action safety chuck is equipped with a lock. Tighten the
quick-action safety chuck until it clicks into place. Twist beyond the click
to increase the clamping tension.
Removing tools (fig. 7)
1. Turn the quick-action safety chuck (1) counterclockwise.
2. Take the tool out of the quick-action safety chuck and store it
properly in the storage case (19).
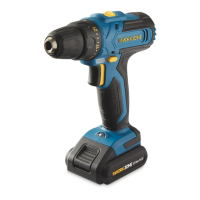
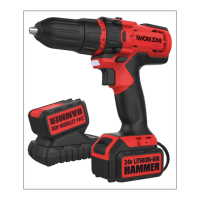
Screwing, drilling and hammer drilling (fig. 5)
1. Mark the required spot.
2. Insert the battery pack (8) into the battery receptacle (10) until you
hear the mechanical click.
3. Use a drill and/or stone drill or a bit and/or bit holder (see chapter
"Utilising tools").
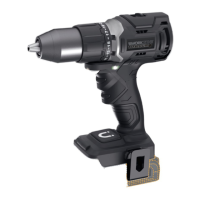
4. Twist the rotating bezel (3).
• to the symbol (drilling) if you want to drill through wood,
plastic or metal. Do not use this setting for screwing.
• to the symbol (hammer drilling) if you want to drill through
bricks, concrete or stone. Do not use this setting for screwing.
• to the symbol (screwing) if you want to screw.
Set the torque ring (2) to the desired position:
Minimal torque: small screws, sensitive material
Maximum torque: large screws and robust material
The rotating bezel and the torque ring each lock with an audible
click.
Operation
24
WZ-5451513-Bedien-1611_(24) 22.11.16 15:24 Seite 24