HANGZHOU BLUE WHALE MUSIC TECHNOLOGY CO.,LTD HANGZHOU WORLDE MUSIC ELECTRONIC CO., LTD
WEBSITE: WWW.WORLDE.COM.CN EMAIL:SALES@WORLDE.COM.CN TEL:86 571 88730848
- 5 -
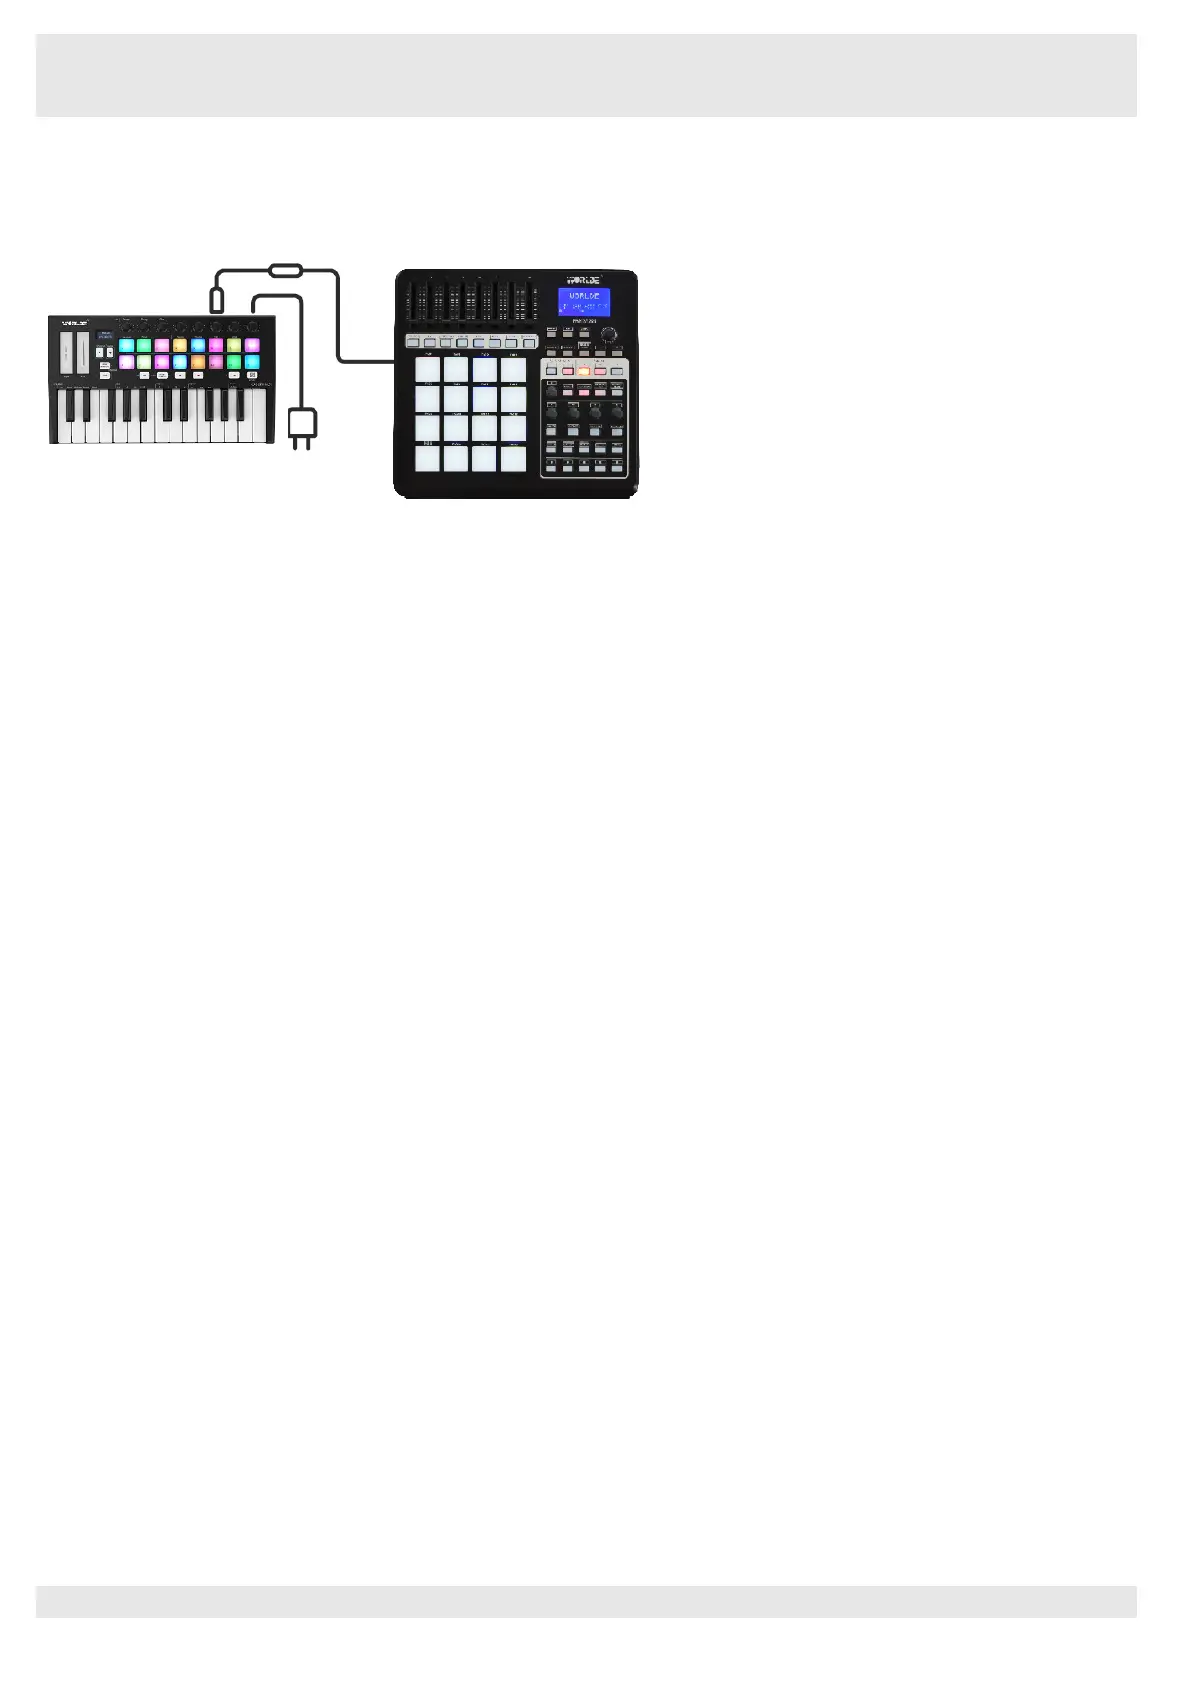
3.5 Using as a Standalone MIDI Controller
The 3.5mm TRS MIDI Out port can be used to connect the Orca mini 25 to a hardware sequencer, an external synthesizer or sound
module. 3.5mm TRS MIDI Out to MIDI IN adaptor is not included.
If you want to use the 3.5mm TRS MIDI output on the Orca mini 25 without a computer, you can power the unit with a standard USB power
supply (5V DC, minimum 500mA).
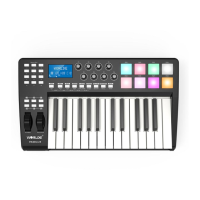
4. Parts and Their Functions
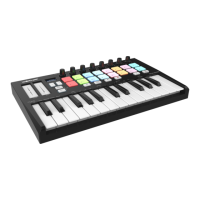
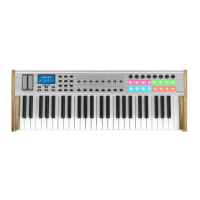
4.1 Keyboard
When you play the keyboard, MIDI note messages are sent. These messages are read by your computer software or external MIDI gear
and used to generate sound accordingly. The sound played by the keyboard is from your computer software or external MIDI gear. With
the MENU and +/- button it’s possible to adjust the keyboard velocity curve, octave, transpose, channel, program change etc. More details
can be found in section 5.
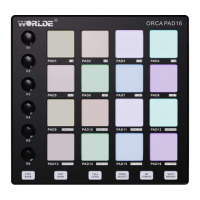
4.2 Trigger pads
The 16 RGB Pads can transmit MIDI note messages. With the MENU and +/- button it’s possible to adjust the pad velocity curve, midi note
number, RGB color of the pad backlight etc. More details can be found in section 5.
4.3 Knobs
The 8 knobs can transmit control change messages. It can be assigned to control any editable parameter on the selected device. More
details can be found in section 5.
4.4 Pitch and Modulation touch strips
Pitch bend and modulation are activated by pressing the touch strips. If you touch the Pitch bend strip at its center and move your finger
forward or backward it will alter the pitch of the played sound.
Similarly, moving your finger along the Modulation strip alters the modulation amount of the played sound.
4.5 OLED Display
OLED display is for immediate parameter setting.
4.6 Program change /+/-button
Press Program change button to adjust the voice of current channel. It only works when connected with Ableton Live.
Press +/- buttons to input the value for the selected controller, it’s used with the MENU button. Initial setting is for Octave adjustment.
4.7 MENU/ Transpose button
Press MENU button to select the following functions of Orca mini 25:Octave, Velocity curve, Pad velocity, Store all parameters, Recall all
parameters, MIDI channel, Program change, Control assign, Transpose, Pad color R, Pad color G, Pad color B, Reset all.
Press transpose button to change the Pitch up/down by semi-tone.
4.8 SHIFT button
Press Shift and other buttons at the same time to access secondary functions.
Shift is used to select the pads which are great for triggering clips in Ableton Live’s Session View and playing drums. Holding Shift button
lights up the top row of pads, with the current pad mode lit the brightest. You can then switch between the 2 pad modes:
Session: For triggering clips and navigating Live’s Session View.
Drum: For playing drums with the velocity-sensitive pads.