HANGZHOU BLUE WHALE MUSIC TECHNOLOGY CO.,LTD HANGZHOU WORLDE MUSIC ELECTRONIC CO., LTD
WEBSITE: WWW.WORLDE.COM.CN EMAIL:SALES@WORLDE.COM.CN TEL:86 571 88730848
- 8 -
5.5 Assignable Pads
5.5.1 Pad Note Setting
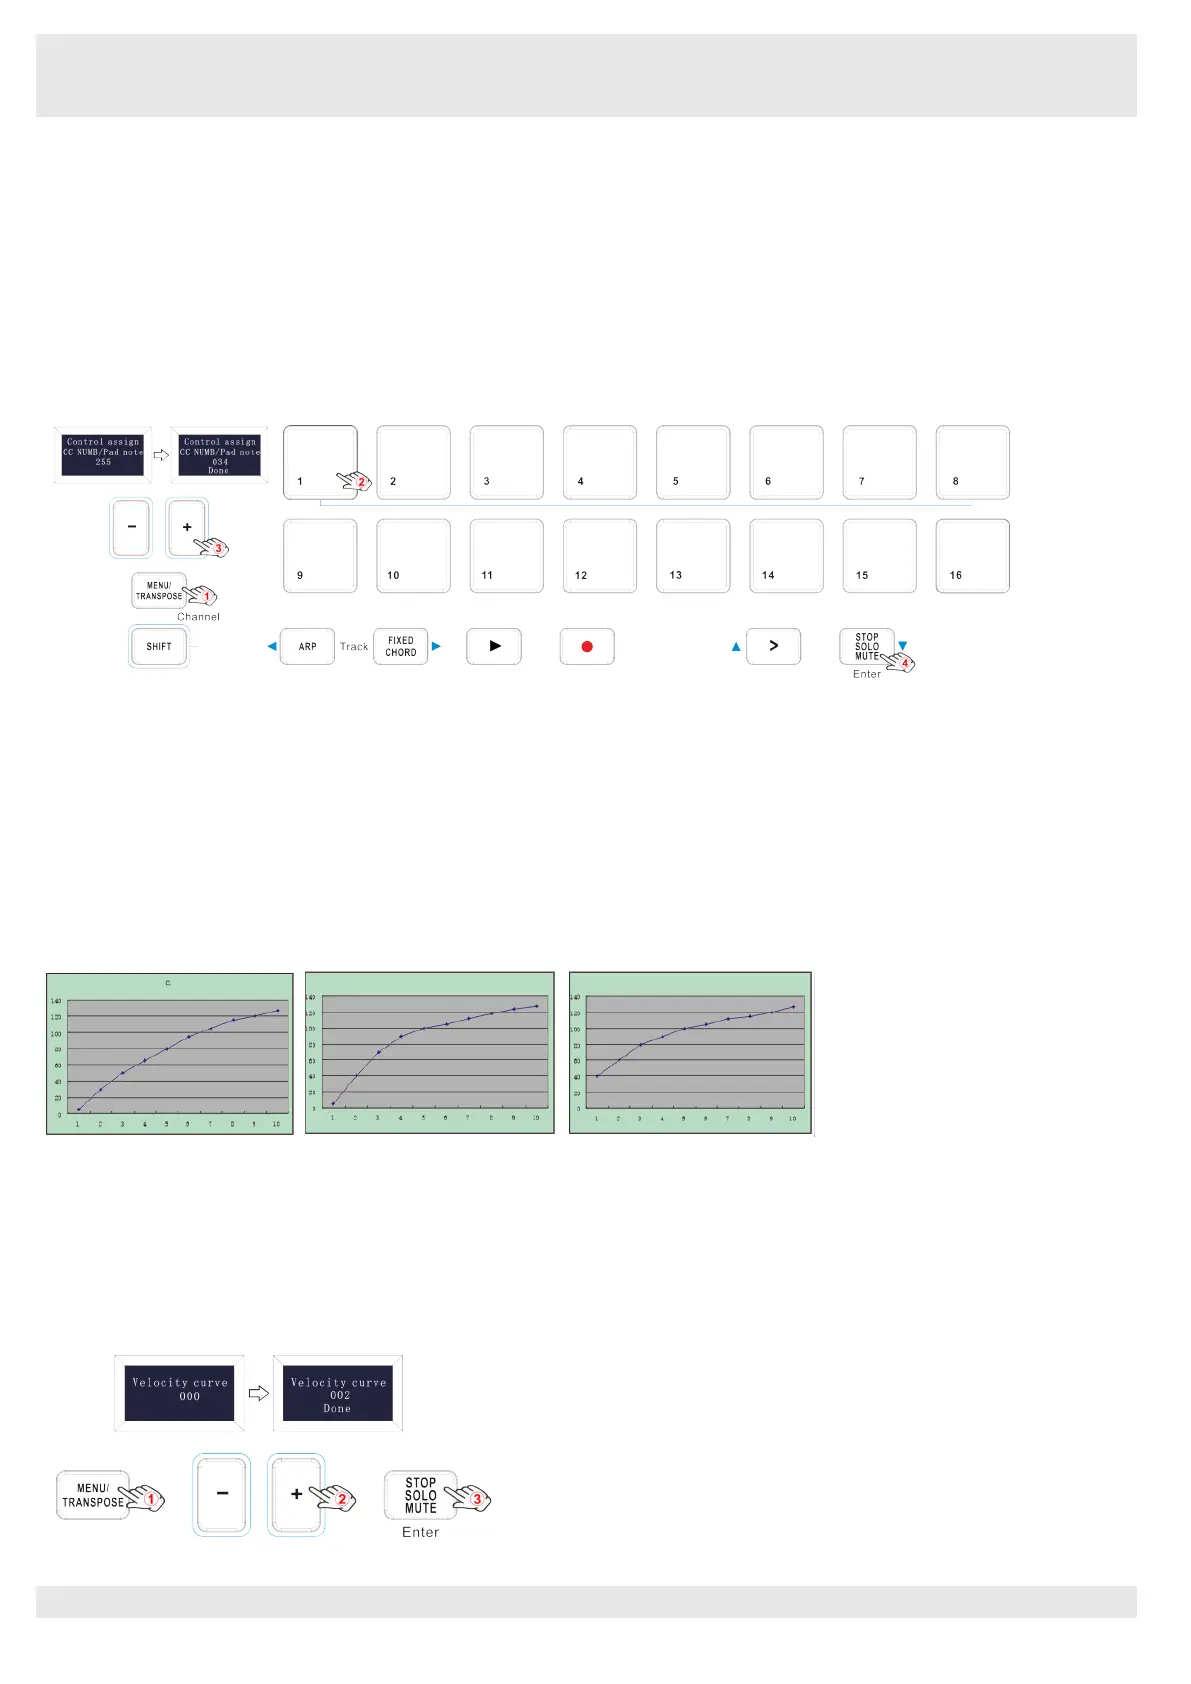
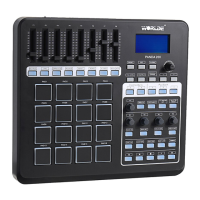
There’re 16 pads that can be assigned to transmit MIDI note messages (drums, stabs, bass notes, whatever). Press the MENU button
repeatedly until the OLED dispays “CC NUMB/Pad note”, then trigger the pads you wish to program. Input the desired MIDI note
messages with +/- button and confirm the value with “Enter” button. Holding the “Enter” button for 2 seconds to exit the edit mode.For
example, you may want to set the Pad1 to transmit note message 34. This is done by assigning controller 34 to the Pad1. The operation
steps is shown as below and the OLED displays the following:
(1) Press the MENU button repeatedly until the OLED dispays “Control assign CC NUMB/Pad note”.
(2) Trigger the Pad1.
(3) Press “+” or “-” button until the OLED displays “34”.
(4) Press the “Enter” button to confirm and the OLED will display “Done”. Holding the “Enter” button for 2 seconds to exit the edit mode.
5.6 Advanced Settings
5.6.1 Keyboard Velocity Curve
Every time you press a key, a MIDI note message is sent with a velocity value between 0 and the maximum; this value specifies how hard
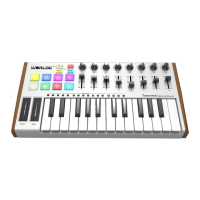
you pressed the key. Since different people have different playing styles, your Orca mini 25 offers 3 different velocity curves and 1 one
constant velocity as shown below. The default is the first one. You should experiment with the different velocity curves to seek the curve
that best suits your playing style.
Keyboard Velocity Curves
To change the keyboard velocity curve:
Press the MENU button repeatedly until the OLED dispays “Velocity curve” to start the function of selecting keyboard velocity curve. When
this function is valid, the OLED displays the “Velocity curve” and the Number of current velocity curve. It can be adjusted by +/- button and
confirmed by Enter button. The initial value is 1, adjusting scale is 1~4. The operation steps is shown as below and the OLED displays the
following:
(1) Press the MENU button repeatedly until the OLED dispays “Velocity curve”.
(2) Press “+” or “-” button to adjust the keyboard velocity curve, the OLED will display the current selected velocity curve.
(3) Press the “Enter” button to confirm and the OLED will display “Done”. Holding the “Enter” button for 2 seconds to exit the edit mode.