HANGZHOU BLUE WHALE MUSIC TECHNOLOGY CO.,LTD HANGZHOU WORLDE MUSIC ELECTRONIC CO., LTD
WEBSITE: WWW.WORLDE.COM.CN EMAIL:SALES@WORLDE.COM.CN TEL:86 571 88730848
- 7 -
Effect Control
Modulation 1
Volume 7
Pan 10
Expression 11
Reverb depth 91
Chorus depth 93
There are many different types of virtual instruments available and most of these respond to MIDI controller messages, allowing you to
control a variety of parameters from your Orca mini 25 keyboard. Please review the manual that came with your software or external gear
to see what these controller numbers are.
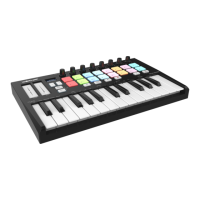
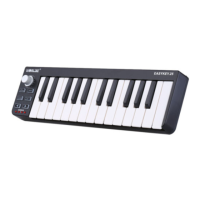
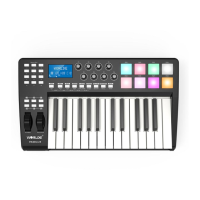
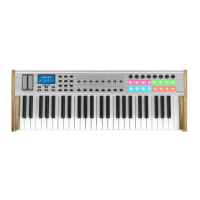
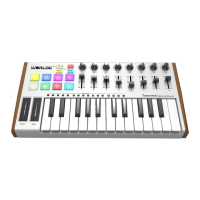
5.2 Programming the Controls on Your Orca mini 25
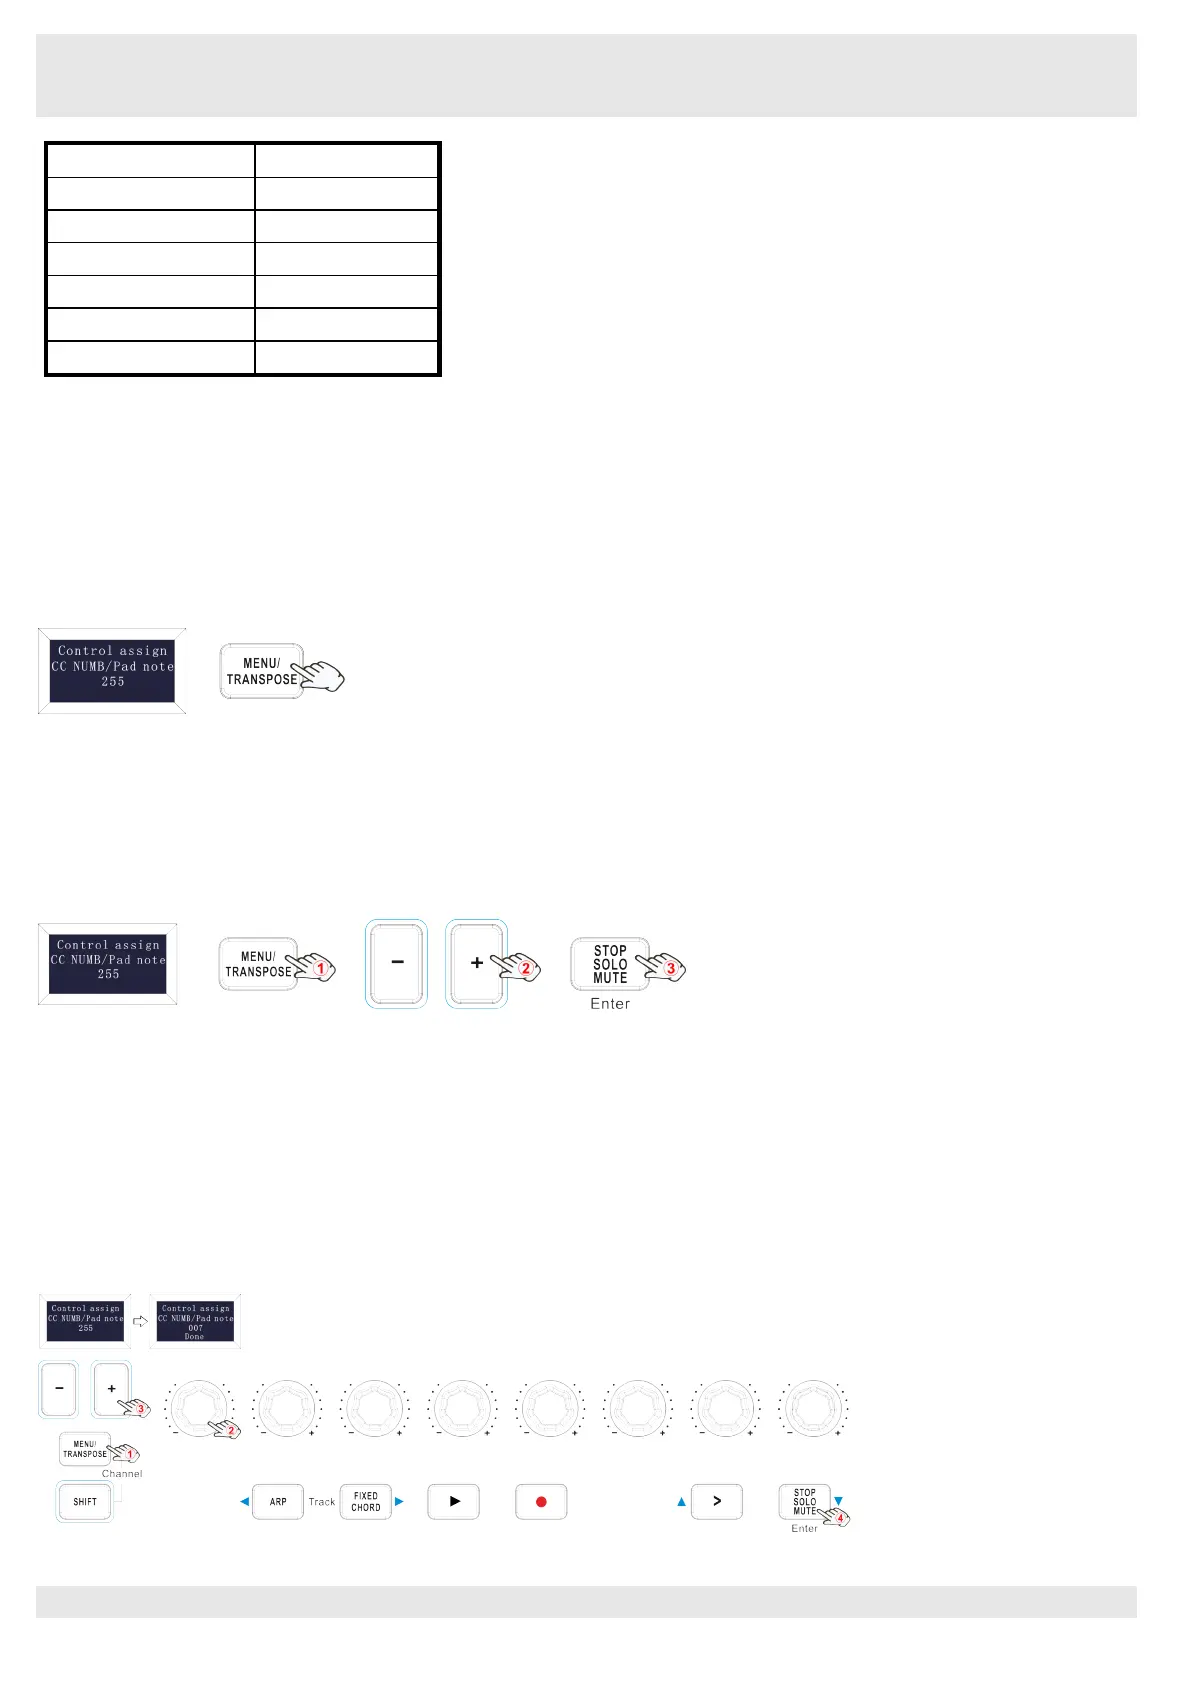
When programming a physical controller on your Orca mini 25, the controller that was last used will be the first one selected for
programming. To select a different physical controller for programming, the method is: Press the MENU button repeatedly until the OLED
dispays “Control assign CC NUMB/Pad note”, then move the physical controller you wish to program. When control assignment mode
works, the OLED displays the following:
5.3 Control assignment
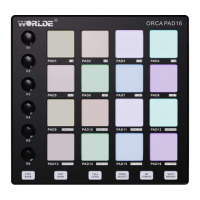
In control assignment mode the 8 assignable knobs and 16 assignable pads can be programmed to any MIDI controller messages that are
used for controlling the MIDI-adjustable parameters in your software or on your external MIDI gear.
To select a different physical controller for programming, the method is: Press the MENU button repeatedly until the OLED dispays
“Control assign CC NUMB/Pad note”, then move the physical controller you wish to program. Input the desired controller value with +/-
button and confirm the value with “Enter” button. Holding the “Enter” button for 2 seconds to exit the edit mode.The OLED displays the
following for control assignment:
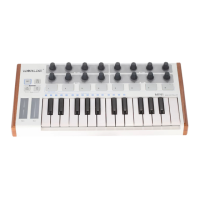
5.4 Assignable Knobs
There’re 8 sliders that can be assigned as controller No. independently. Press the MENU button repeatedly until the OLED dispays “CC
NUMB/Pad note”, then rotate the knobs you wish to program. Input the desired controller value with +/- button and confirm the value with
“Enter” button. For example, you may want to set the Knob1 to control the channel volume. This is done by assigning controller 7 to the
Knob1 (first on the left). The operation steps is shown as below and the OLED displays the following:
(1) Press the MENU button repeatedly until the OLED dispays “Control assign CC NUMB/Pad note”.
(2) Rotate R1 knob (first on the left).
(3) Press “+” or “-” button until the OLED displays “007”. The numbers are the controllers.
(4) Press the “Enter” button to confirm and the OLED will display “Done”. Holding the “Enter” button for 2 seconds to exit the edit mode.