17
Cordless Chain Saw
EN
between the oil filler cap and the strainer, to
prevent leakage, and ensure machine is left in a
horizontal position when not in use.
It is important to use only the recommended
standard bar and chain oil (Grade: ISO VG32 )
to avoid damage to the Chainsaw. This can be
found at the location where you purchased this
saw or your local hardware store. Never use
recycled/old oil. Use of non approved oil will
void the warranty.
Do not swallow. If swallowed, call a physician
immediately. Keep out of reach of children.
Store away from heat or open flame.
CHECKING THE AUTOMATIC OILER
Proper functioning of the automatic oiler can be
checked by running the Chainsaw and pointing the tip
of the guide chain bar towards a piece of cardboard
or paper on the ground. If an increasing oil pattern
develops on the cardboard, the automatic oiler is
operating fine. If there is no oil pattern, despite a full
oil reservoir, contact WORX customer service agent or
WORX approved service agent.
CAUTION: Do not touch the ground with
the chain. Ensure safety clearance of
30cm.
OPERATION
1. BEFORE USING YOUR CORDLESS TOOL
WARNING! The charger and battery pack are
specially designed to work together so do not
attempt to use any other devices. Never insert
or allow metallic objects into your charger or battery
pack connections because of an electrical failure and
hazard will occur.
NOTE: Your battery pack is UNCHARGED and you
must charge once before use.
The battery charger supplied is matched to the Li-ion
battery installed in the machine. Do not use another
battery charger.
2. CHECKING THE BATTERY CHARGE
CONDITION (See Fig. G)
The battery level can be known from the battery
indicator light by pressing the button beside the lights.
NOTE: Fig. G only applies for the battery pack with
battery indicator light.
3. CHARGING YOUR BATTERY PACK (See Fig. H)
The Li-ion battery is protected against deep
discharging. When the battery is empty, the machine
is switched off by means of a protective circuit. Each
battery must be fully charged before the first use.
In a warm environment or after heavy use, the battery
pack may become too hot to permit charging. Allow
time for the battery to cool down before recharging.
NOTE: Always fully charge the two batteries
at same time. More details can be found in
charger’s manual.
4. TO REMOVE OR INSTALL BATTERY PACK
(See Fig. I)
Depress the battery pack release button to remove the
2 battery packs from your tool. After recharging, insert
the 2 battery packs into the battery ports. A simple
push and slight pressure will be sufficient until a click
is heard. Check to see if the battery is fully secured.
Note:
• When removing the battery pack, hold it
firmly to avoid dropping and injury.
• This machine will only run when 2 batteries
are installed. It is recommended to use the
same two batteries and charge the two
batteries at the same time.
• When you use two batteries with different
power, the machine will only run to the
lower common denominator.
5. POWER INDICATOR LIGHT (See Fig. J)
IMPORTANT:
When only one light is illuminated, your battery
is overly discharged, even though the machine
may still be capable to work. Continuing to
operate your machine with the battery in this
discharged condition may reduce the life and
performance of your battery.
When no light are illuminated, at least one
battery is not fully installed or battery may be
defective, please double check the batteries are
fully seated into position.
BATTERY STATUS
• Before starting or after use, press the button
beside the power indicator light on the machine to
check the battery capacity.
• During operation, the battery capacity will be
indicated automatically by the battery power
indicator. The indicator constantly senses and
displays the battery condition as follows.
• For the machine with 2 battery packs with different
power, the power indicator light displays the
battery condition with the lower one of the two
batteries.
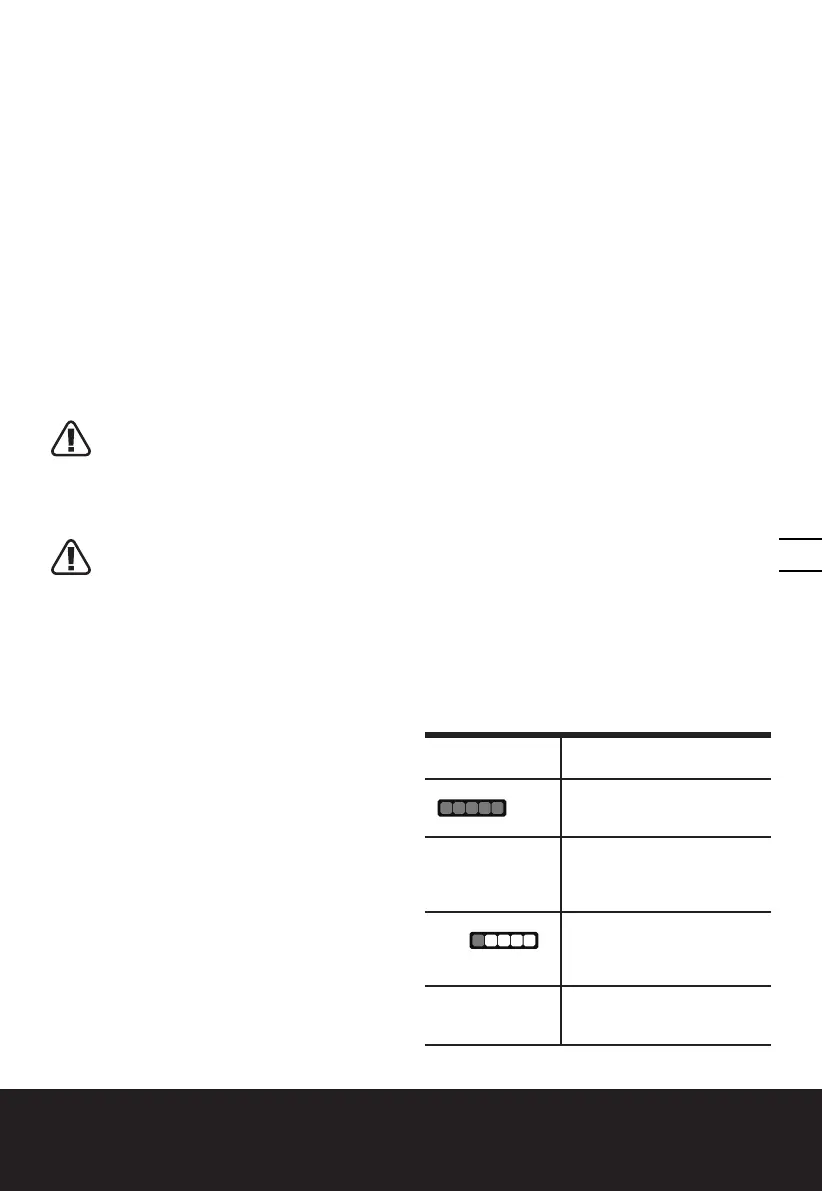
Battery indicator
light status
Battery condition
Five green lights
(
) are
illuminated.
The two batteries are in a
highly charged condition.
Two, three or four
green lights are
illuminated.
The two batteries have a
remaining charge. The more
lights are illuminated, the
more battery capacity.
Only one green
light (
)
is illuminated.
The battery level of at least
one battery pack is very low.
Please check and charge the
battery pack.
No light is
illuminated.
At least one battery is not fully
installed or battery may be
defective.
 Loading...