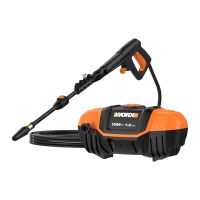
Electric Pressure Washer EN
9
TECHNICAL DATA
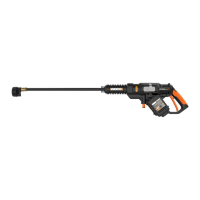
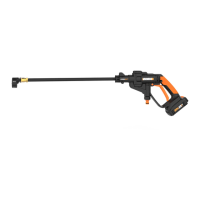
WG605
Rated Voltage
Rated current
Rated pressure
1800 PSI
Permissible pressure
Maximum inlet pressure
Maximum rated flow
Kickback force
Maximum rated tempera-
ture
Machinery weight
Protection class
/II
ACCESSORIES
WG605
40°Nozzle 1
Soap Nozzle 1
Turbo Nozzle 1
20ft Hose 1
Declogging needle 1
We recommend that you purchase your accessories listed
in the above list from the same store that sold you the tool.
Refer to the accessory packaging for further details. Store
personnel can assist you and offer advice.
OPERATING INSTRUCTIONS
NOTE: Before using the tool, read the instruction
book carefully.
INTENDED USE
The electric high pressure washer is intended for residen-
tial cleaning projects-from porch to patio, driveways and
decks, boats, pavers, bricks, BBQs and more.
ASSEMBLY & OPERATION
ACTION FIGURE
ASSEMBLY
Attach the lance to the wand.
Note: when attaching, align the
two projections on the lance with
the grooves on the wand.
See Fig. A1 ,A2
Attach the wand holder
See Fig. B1 B2
Screw& Unscrew the high
pressure hose
Note: Make sure the hose is
tightly connected.
Note: For convenience of
unscrewing the hose, please
pull the trigger to drain water
from wand when operation is
completed and switch is in “O”
position.
See Fig.
C1,C2,C3,C4
Attach the garden hose
Connect one end of the home
garden hose (not supplied) to
the adapter and another end to
waterspout.
See Fig. D
OPERATION
Extension cord
It is not recommended to use
the extension cord. If neces-
sary, ensure the plug and ex-
tension cord connection is on
an elevated surface that does
not contact the water area.
See Fig.E
GFCI plug test
Press “test”, the light will be out.
Press “reset”, the power regains
and the light will illuminate.
Note: To keep good operation
of GFCI, please implement it
once a month.
See Fig. F
STARTSTOP

 Loading...