62
Insert the cable into the
LCD interface and press
the connector down.
*
Notice:
When installing the LCD cable
,
the
metal face of the LCD cable is
facing down. When pressing the
interface
,
please confirm that the
cable is fully connected to the LCD
interface.
LCD screen cable
LCD screen
Z axis
Working panel
LCD screen FPC interface
Replace the LCD screen
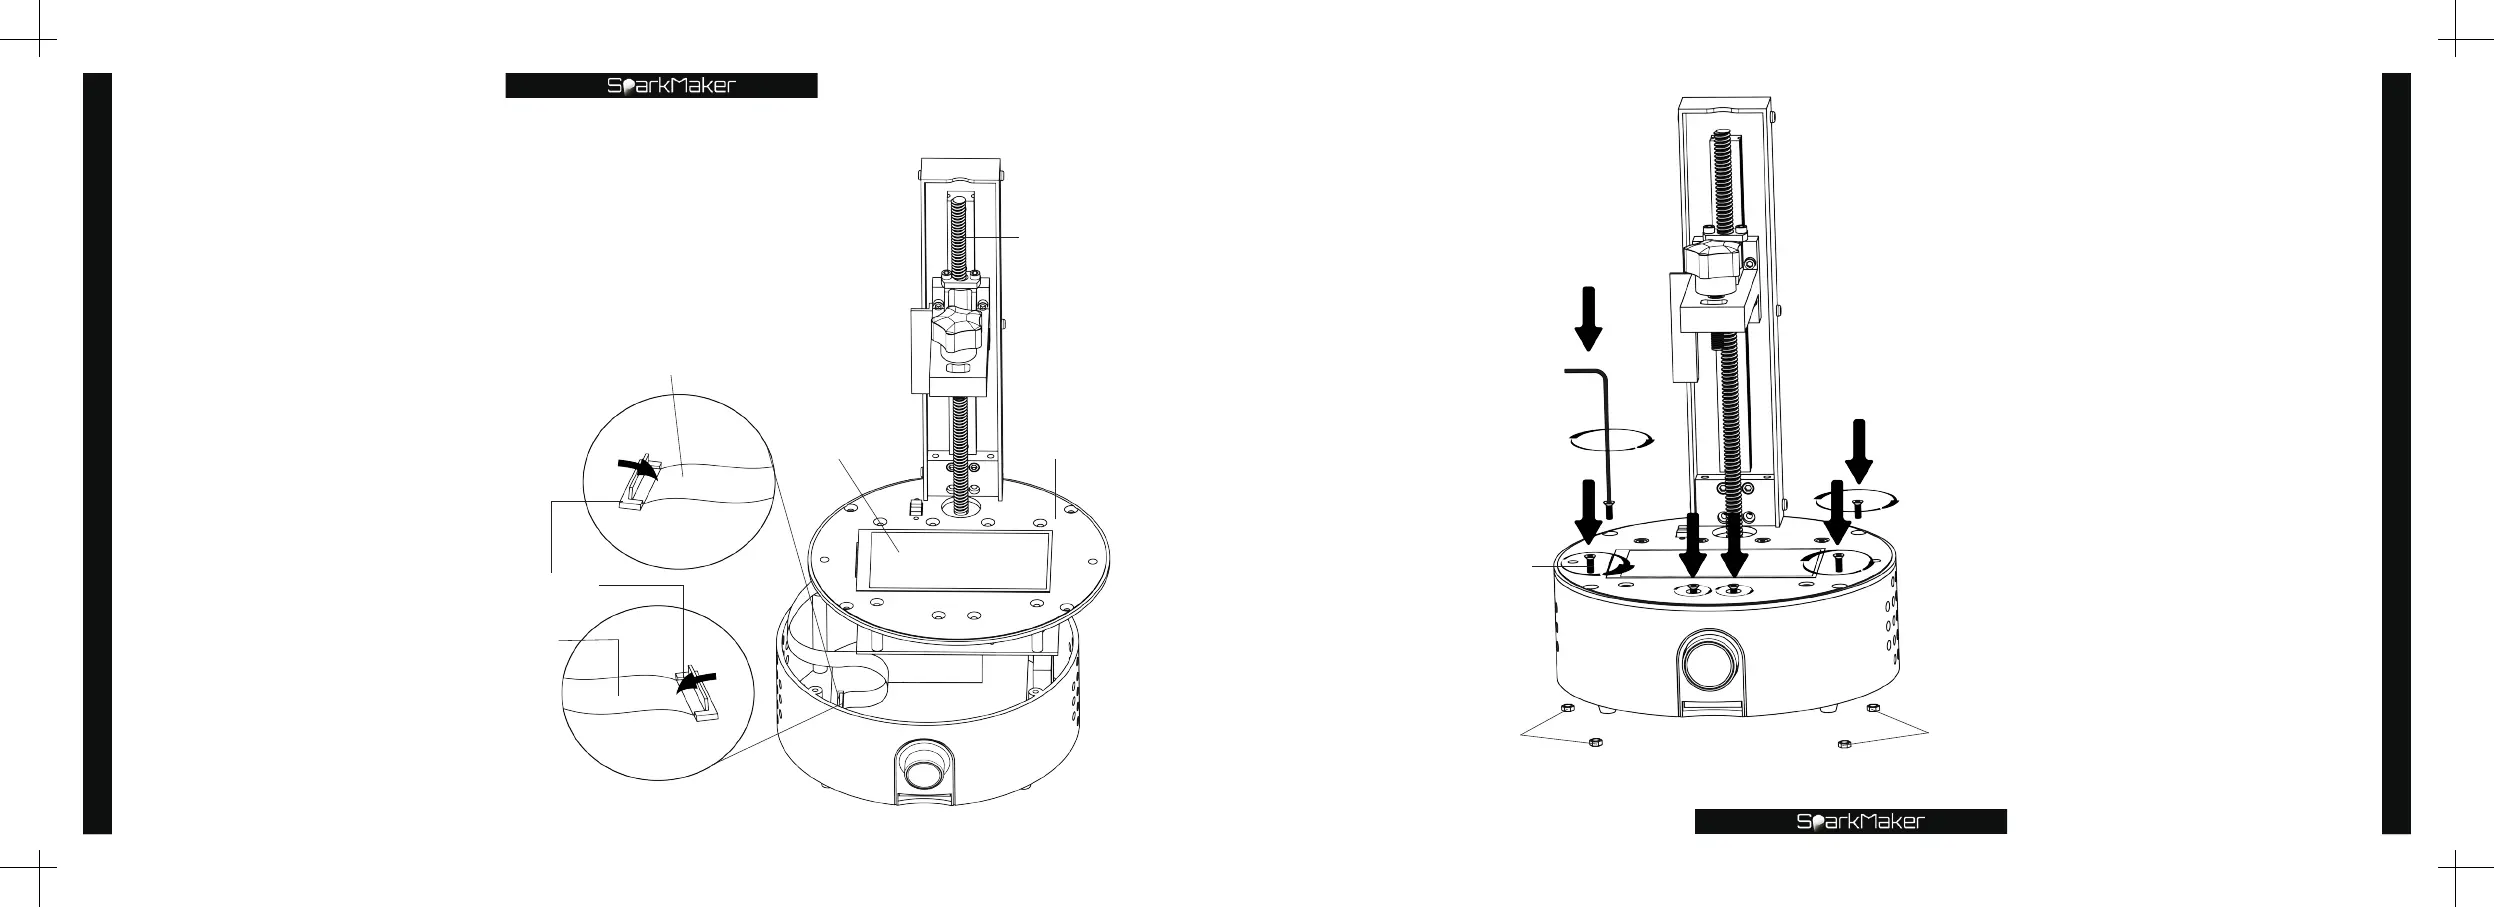
63
Slowly lower the Z-axis
and working panel and
close the housing. Plug
the four M3 nuts on the
bottom of the housing
back into the bottom
mounting holes
,
and then
tighten the six flat head
screws shown.
*
Notice:
Do not damage the LCD screen.
M3 nut
M3 nut
Small hex wrench
Flat head screw
Replace the LCD screen
LCD screen cable
SparkMaker
SparkMaker
FHD