This document is a user manual for the X-Sense Link+ Wireless Interlinked Smoke Alarm, models SD19-W and SD20-W.
Function Description:
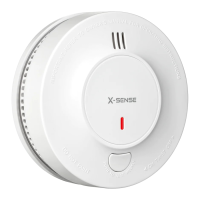
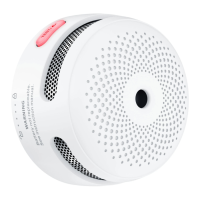
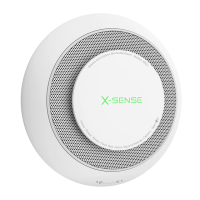
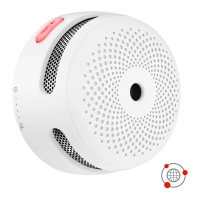
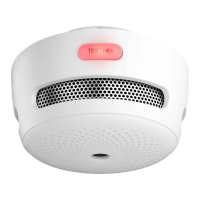
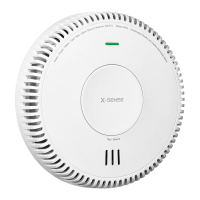
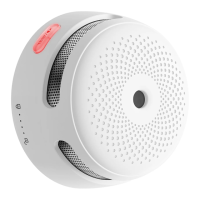
The X-Sense Link+ Wireless Interlinked Smoke Alarm is designed to detect smoke and alert occupants to potential fire hazards. It features a built-in RF module that enables wireless interconnection with other X-Sense Link+ alarms, forming an interlinked network. When one unit is triggered, all interconnected alarms will sound, providing a comprehensive warning system throughout the home. This model is specifically designed to interlink with other X-Sense Link+ smoke, carbon monoxide, and combination smoke and carbon monoxide alarms, but not with wireless interlinked alarms from other manufacturers. The device utilizes a photoelectric sensor for smoke detection.
Important Technical Specifications:
- Power Supply: 10-year sealed lithium battery.
- Sensor Type: Photoelectric.
- Coverage Area: 215-430 sq. ft (20-40 m²).
- Operating Temperature: 40-100°F (4.4-37.8°C).
- Operating Relative Humidity: ≤ 85% (non-condensing).
- Alarm Loudness: ≥ 85 dB at 10 ft (3 m) @ 3.2 ± 0.3 kHz pulsing alarm.
- Silence Duration: Approximately 9 minutes.
- Operating Frequency: 915 MHz.
- Maximum Number of Interconnected Units: 24 wireless units (only compatible with X-Sense wireless alarms).
- Transmission Range: Over 820 ft (250 m) in open air.
Usage Features:
- Interconnection: Alarms in a multi-pack are pre-interconnected. For multiple multi-packs or adding new units, a simple pairing process is required: quickly press the test/silence button on one unit four times (enters pairing mode), then quickly press the test/silence button on the other unit twice (enters searching mode). Up to 24 alarms can be interconnected.
- Activation: For models SD19-W/SD20-W, the alarm is turned on by attaching it to the mounting bracket and turning it clockwise to lock. If the mounting bracket is not attached, the activation button on the back must be held down to turn it on for testing or connecting.
- Alarm Test: A test/silence button is provided for weekly testing. Pressing it once tests a single alarm (3 short beeps, red LED flashes once per second). Holding it down tests all interconnected alarms (initiating alarm beeps continuously with flashing red LED, other alarms receive signal after 5 seconds and beep continuously with flashing red LED). The test function checks the smoke sensing circuit without requiring actual smoke.
- Silence Mode: During an alarm, pressing the test/silence button activates a 9-minute silence mode. The red LED flashes once every 5 seconds during this period. The initiating smoke alarm cannot be triggered again during this 9-minute duration, but other interconnected alarms will temporarily silence and re-alert if they detect dangerous smoke levels. To silence all interconnected units, the test/silence button on the initiating smoke alarm must be pressed.
- LED Indicator and Audible Alarm:
- Normal: Red LED flashes once every 60 seconds (no audible alarm).
- Alarm: Red LED flashes once every second (short quick beeps).
- Test (Single): Red LED flashes once every second (3 short quick beeps).
- Test (Interconnected): Red LED flashes once every second (continuous beeping until button release).
- Silence Mode: Red LED flashes once every 5 seconds (no audible alarm).
- Low Battery: Red LED flashes once every 60 seconds (1 beep every 60 seconds).
- Malfunction: Red LED flashes twice every 40 seconds (2 beeps every 40 seconds).
- Installation Positioning:
- Prioritize installation in bedrooms and walkways, ensuring audibility from all sleeping areas.
- Install above stairways and on every floor.
- Install in the middle of the ceiling where possible, at least 20 inches (50 cm) from corners.
- If wall-mounted, keep 4-12 inches (10-30 cm) below the ceiling.
- For rooms/halls over 30 feet (900 cm), install multiple alarms.
- On angled walls/ceilings, install within 3 feet (90 cm) of the highest point.
- In multi-level homes, install at least one alarm per level in a straight vertical line with minimal obstacles for optimal signal transmission.
- Avoid installation near large metal surfaces, cables, fluorescent lamps, amateur radios, electrical equipment, or other RF signal transmitters to prevent interference and false alarms.
- If installed in a kitchen, ensure an accessible silence button and install far from the stove and sink to avoid false alarms.
Maintenance Features:
- Weekly Testing: Verify the unit's alarm sound and indicator are working properly by testing once a week. Also test after initial setup, group configuration changes, and returning from long trips/vacations.
- Regular Cleaning: Clean the smoke alarm at least once every 3 months. Remove from the ceiling and use a vacuum cleaner with a soft brush attachment to clean the cover and vents, removing dust and dirt.
- Cleaning Precautions:
- Never use detergents or other solvents to clean the unit.
- Avoid spraying air fresheners, hair spray, or other aerosols near the alarm.
- Do not paint the unit, as paint can seal vents and interfere with the sensor.
- Do not attempt to disassemble or clean inside the unit, as this will void the warranty.
- Continuous Protection: When removed for cleaning, place the smoke alarm back in its proper location as soon as possible.
- Ventilation: Ensure the area is ventilated when household cleaning supplies or similar contaminants are used.
- Troubleshooting: The manual provides solutions for common issues like the alarm not sounding during testing, false alarms, low battery warnings, and malfunction warnings. For low battery, the battery is sealed and cannot be replaced; the device must be replaced. For malfunction, clean the alarm and if it persists, replace the device.