IIddeennttiiffyyiinngg JJaamm LLooccaattiioonnss
• When Jam Assist is set to On, the printer flushes blank pages or
pages with partial prints after a jammed page has been cleared.
Check your printed output for blank pages.
• When Jam Recovery is set to On or Auto, the printer reprints
jammed pages.
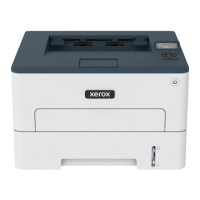
1. Standard output tray
2. Front door
3. Manual feeder
4. Standard 250–sheet tray
5. Rear door
6. Duplex unit
PPaappeerr JJaamm iinn tthhee TTrraayy
1. Remove the tray.
2. Remove the jammed paper.
Note: Make sure that all paper fragments are removed.
3. Insert the tray.
PPaappeerr JJaamm iinn tthhee FFrroonntt DDoooorr
1. Open the front door.
Warning: To prevent damage from electrostatic discharge,
touch any exposed metal frame of the printer before
accessing or touching interior areas of the printer.
2. Remove the imaging unit.
Warning: Do not expose the imaging unit to direct light for
more than 10 minutes. Extended exposure to light may cause
print quality problems.
Warning: Do not touch the photoconductor drum. Doing so
may affect the quality of future print jobs.
5
 Loading...
