18
Xerox
®
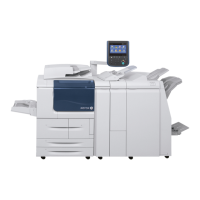
D95/D110/D125 Copier/Printer Security Function Supplementary Guide
Set Xerox
®
FreeFlow
®
1. Click [Connectivity] on the [Properties] screen.
2. Click [Protocols].
3. Click [FreeFlow].
4. Uncheck the [Freeflow Port Status] .
5. Click [Apply].
Set WebDAV
Note: When Remote Authentication is used, follow the procedure below to set [WebDAV] to
[Disabled].
1. Click [Connectivity] on the [Properties] screen.
2. Click [Port Setting].
3. Uncheck the [Enabled] box for [WebDAV].
4. Click [Apply].
Set Receive E-mail
1. Click [Connectivity] on the [Properties] screen.
2. Click [Port Setting].
3. Uncheck the [Receive E-mail] box.
4. Click [Apply] .
Set IPP
1. Click [Connectivity] on the [Properties] screen.
2. Click [Port Setting].
3. Check the [Enabled] box for [IPP].
4. Click [Apply].
 Loading...


